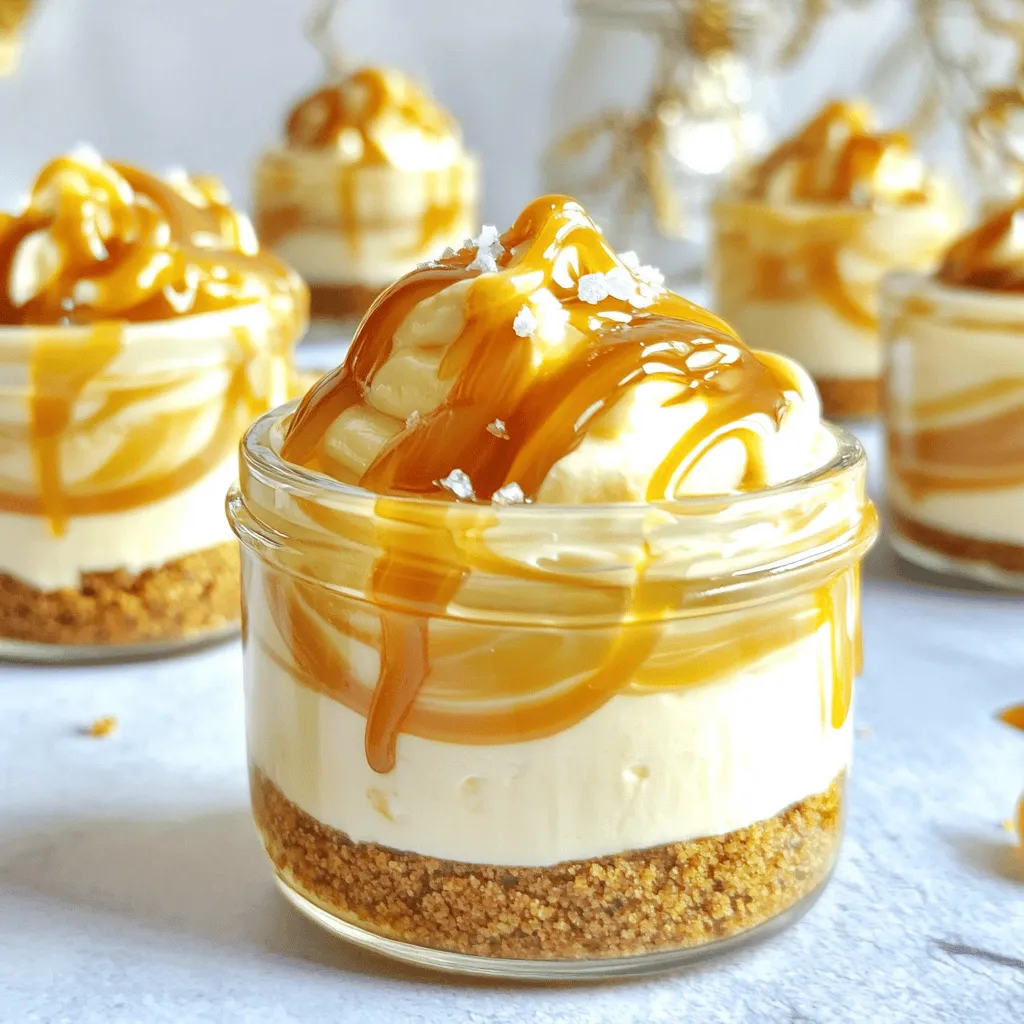
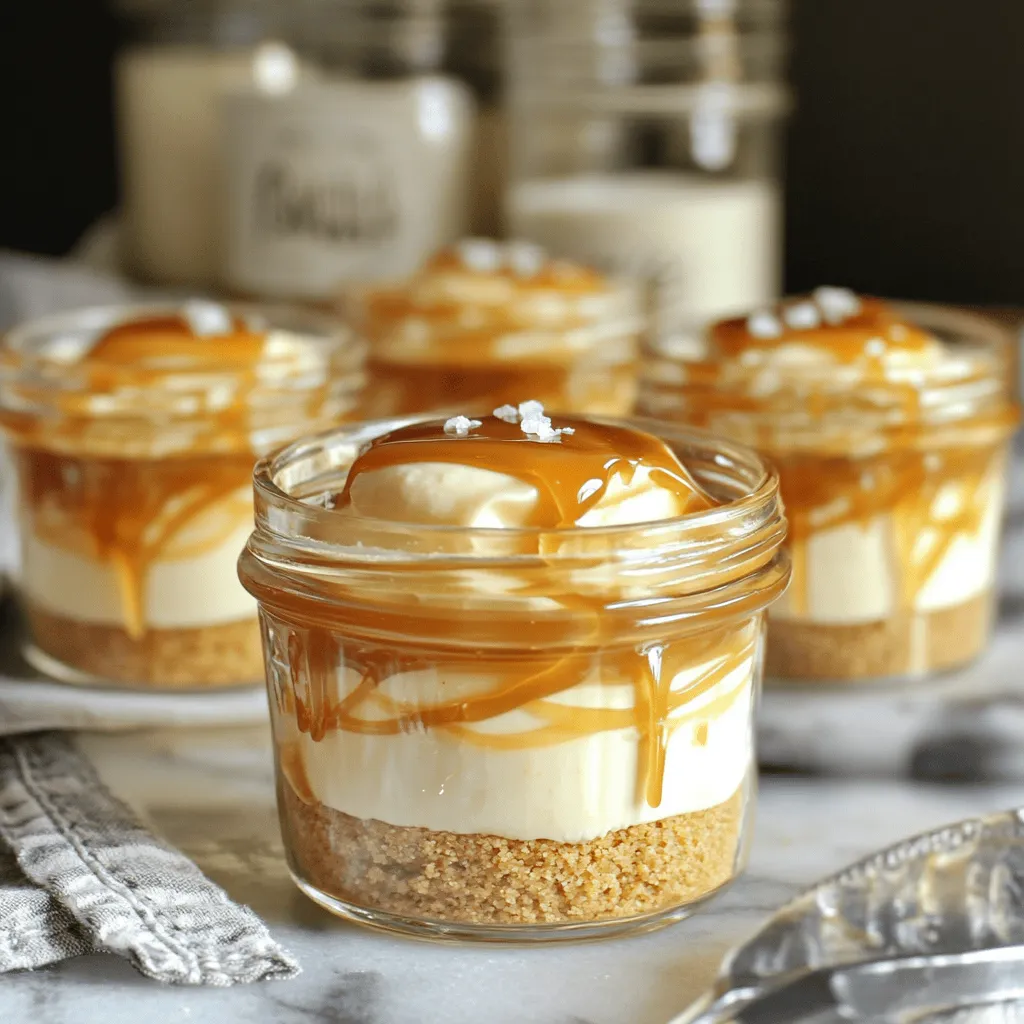
Get ready to indulge in something truly delightful! My No-Bake Salted Caramel Cheesecake Cups offer creamy perfection without turning on the oven. You’ll learn how to whip up a tasty graham cracker crust and a rich cream cheese filling. Plus, I’ll share tricks for the perfect caramel drizzle and fun flavor ideas. Whether you’re hosting a party or treating yourself, these cups are a sweet win! Let’s dive in!
Ingredients
List of Essential Ingredients
To make No-Bake Salted Caramel Cheesecake Cups, you’ll need:
– 1 cup graham cracker crumbs
– 4 tablespoons unsalted butter, melted
– 16 oz cream cheese, softened
– 1 cup powdered sugar
– 1 teaspoon vanilla extract
– 1 cup heavy whipping cream
– 1/2 cup caramel sauce (plus more for drizzling)
– 1 teaspoon sea salt (plus more for garnish)
These ingredients provide a rich and creamy flavor. The graham cracker crumbs form a tasty crust. The cream cheese and whipped cream give the cheesecake its light and fluffy texture.
Ingredient Substitutions
You can swap some ingredients if needed. Use vegan butter instead of unsalted butter for a dairy-free option. For a lighter version, try using low-fat cream cheese. If you want a sweeter taste, consider using a flavored cream cheese. You can also use store-bought whipped topping instead of whipping cream.
Tips for Selecting Fresh Ingredients
Always check the dates on cream cheese and heavy cream. Fresh ingredients make a big difference in flavor. For the best taste, use high-quality caramel sauce. When selecting sea salt, look for flaky varieties for a nice texture on top. For graham crackers, choose ones with minimal added sugar for a balanced flavor.
Step-by-Step Instructions
Preparation of the Graham Cracker Crust
Start by mixing the graham cracker crumbs and melted butter in a bowl. Use a fork to blend well until it looks like wet sand. This is your crust. Next, take your serving cups or small jars. Layer the graham cracker mix evenly at the bottom. Press down firmly to form a solid base.
Making the Cream Cheese Filling
In a new bowl, beat the softened cream cheese with an electric mixer. You want it smooth and creamy. Add the powdered sugar slowly, mixing until it’s well blended. Then, pour in the vanilla extract. In another bowl, whip the heavy cream until you see stiff peaks. Gently fold the whipped cream into the cream cheese mix until combined. This step is key for a light texture.
Assembling the Cheesecake Cups
Now it’s time to put everything together. Spoon the cream cheese mixture over the graham cracker crust in each cup. Fill it nearly to the top. Next, drizzle in the caramel sauce. You want to create a marbled effect, so mix it lightly.
Chilling and Final Touches
Once assembled, refrigerate the cheesecake cups for at least four hours. This helps them set. Before serving, drizzle more caramel sauce on top. Sprinkle some sea salt for a nice contrast. Enjoy your delicious creation!
Tips & Tricks
How to Achieve the Perfect Whipped Cream
To get the best whipped cream, use cold heavy cream. Cold cream whips faster and holds its shape better. Beat it with an electric mixer until you see stiff peaks. This means the cream stands tall when you lift the beaters. Be gentle when you fold it into the cream cheese mix. This keeps the light and fluffy texture.
Best Practices for Marbling Caramel
When adding caramel to your cheesecake mix, drizzle it in slowly. Use a spatula to fold it in gently. You want swirls of caramel, not a full blend. This gives your cheesecake cups a beautiful look. If you want more caramel flavor, add extra sauce on top before serving.
Suggestions for Serving and Presentation
Serve your cheesecake cups on a nice tray. Place a small spoon next to each cup for easy eating. To make them look fancy, sprinkle some chocolate shavings or crushed graham crackers on top. This adds a fun texture and makes them pop. Don’t forget to drizzle more caramel over the top for a sweet touch!
Variations
Flavor Twist Ideas
You can change the flavor of your cheesecake cups. Try adding chocolate, fruit, or nuts. For a chocolate twist, mix in cocoa powder. You can also add melted chocolate to the cream cheese mix. If you love fruit, try fresh berries or banana slices. Just fold them in gently. This makes a fun and tasty treat.
Alternative Toppings
Toppings can really change your dessert. Instead of caramel, use chocolate sauce or fruit puree. You can also top with whipped cream and crushed cookies. Nuts add a nice crunch too. Use pecans or almonds for a savory touch. Get creative and mix flavors you love!
Gluten-Free or Vegan Options
You can make this dessert gluten-free. Choose gluten-free graham crackers for the crust. For a vegan version, swap cream cheese with cashew cream. Use coconut cream for the whipped topping. Maple syrup can replace powdered sugar for sweetness. These swaps keep the flavor while meeting your diet needs.
Storage Info
How to Properly Store Cheesecake Cups
To keep your no-bake salted caramel cheesecake cups fresh, place them in an airtight container. This way, they stay moist and tasty. If you used small jars, simply cover each jar with a lid or plastic wrap. Make sure to store them in the fridge. They will stay good for several days this way.
Best Ways to Freeze Leftovers
You can freeze these cheesecake cups for later enjoyment. First, let them chill in the fridge for at least four hours. Then, cover each cup with plastic wrap or foil. Place them in a freezer-safe container. When ready to eat, thaw them in the fridge overnight. This keeps the creaminess intact.
Shelf Life and Freshness Tips
These cheesecake cups can last up to five days in the fridge. After that, they may lose their creamy texture. If you freeze them, they can last for about two months. Always check for any off smells or changes in texture before eating. Keeping them well-covered helps maintain their freshness.
FAQs
Can I make these ahead of time?
Yes, you can make these cups a day in advance. They taste even better after chilling. Just keep them covered in the fridge until you serve them.
What can I do if the mixture is too runny?
If your mixture is too runny, try adding more cream cheese. You can also beat the heavy cream longer to make it stiffer. This helps the cheesecake set better.
How long do these keep in the fridge?
These cheesecake cups stay fresh for about 3 to 4 days in the fridge. Just make sure they are covered well to keep them from drying out.
Can I use low-fat cream cheese?
Yes, you can use low-fat cream cheese. However, it may change the texture slightly. The cheesecake might be a bit less creamy, but it will still taste great.
How can I adjust the sweetness?
To adjust sweetness, add more or less powdered sugar to your taste. You can also use less caramel sauce if you want it less sweet. Taste as you mix to find the perfect balance.
This blog post covered key ingredients for cheesecake cups, including essential items and substitutions. I shared step-by-step instructions for the crust, filling, and assembly. You learned helpful tips for whipped cream and caramel. Variations offered fun ways to switch flavors and toppings. Proper storage methods ensure your treats stay fresh.
Remember, exploring your creativity can lead to delicious results. Enjoy making these cheesecake cups!