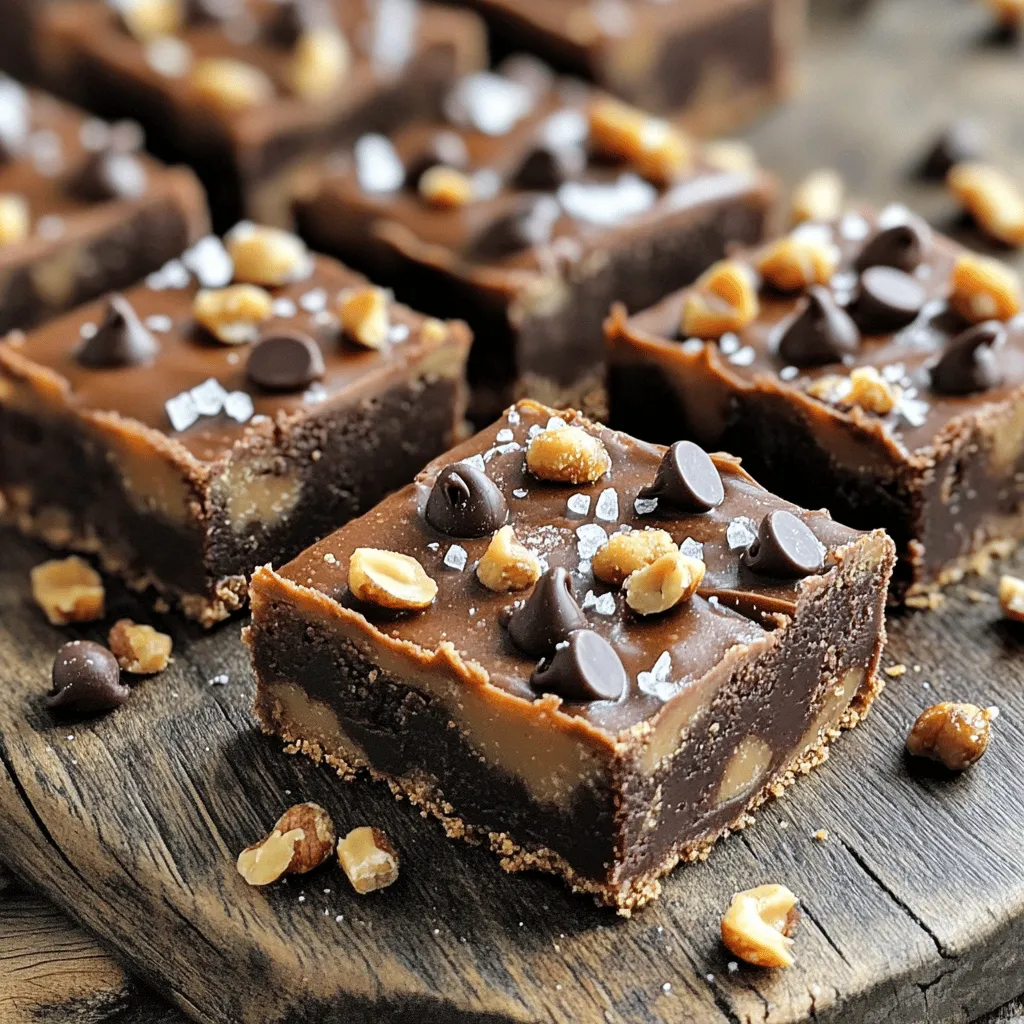
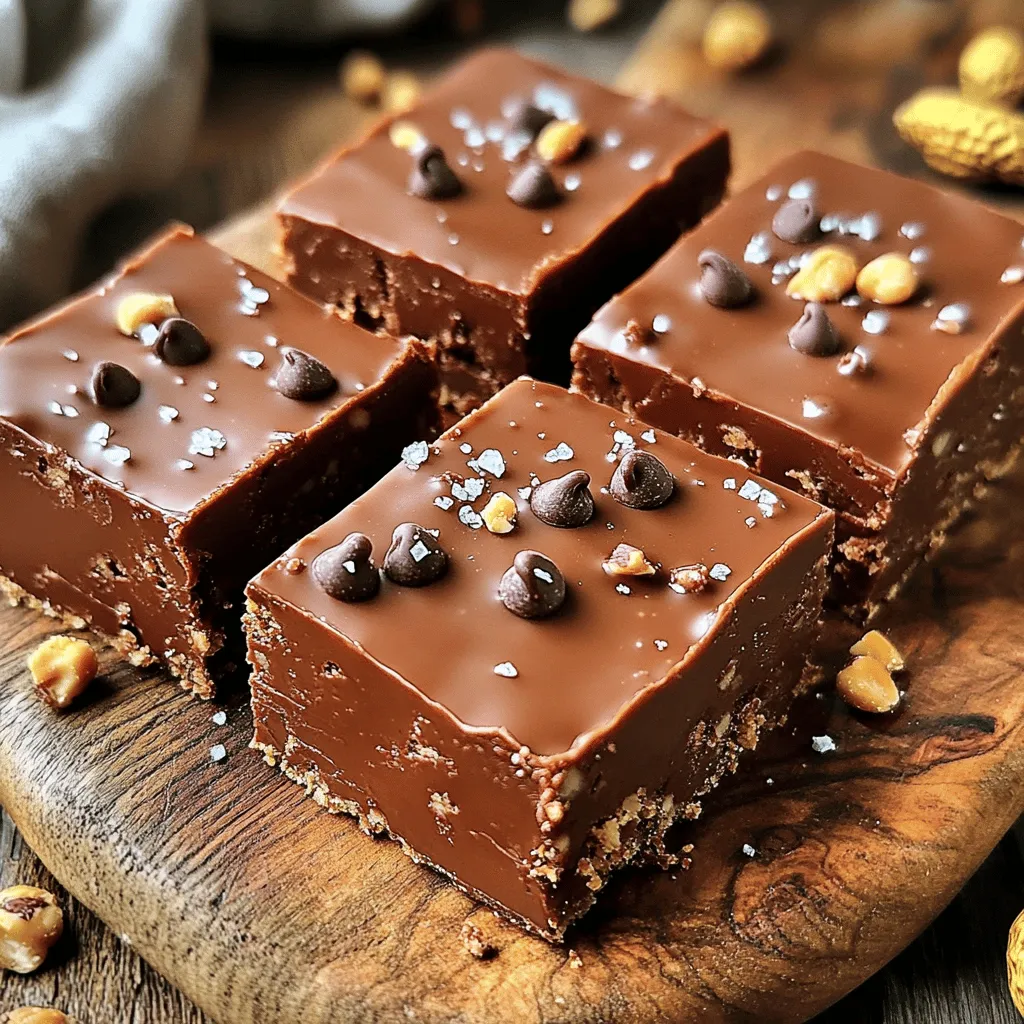
Craving a sweet treat that’s easy to make? You’ll love my No-Bake Chocolate Peanut Butter Bars! This simple recipe mixes rich chocolate and creamy peanut butter for a snack that satisfies any sweet tooth. With just a few easy steps and ingredients, you’ll whip up a delicious dessert in no time. Ready to dive into this scrumptious world of no-bake goodness? Let’s get started!
Ingredients
Complete List of Ingredients
To make these no-bake chocolate peanut butter bars, you need a few simple items:
– 1 cup peanut butter (creamy or crunchy, your choice)
– 1/2 cup honey or maple syrup
– 1 teaspoon vanilla extract
– 2 cups rolled oats
– 1/2 cup chocolate chips (dark or semi-sweet)
– 1/4 teaspoon sea salt
– Optional toppings: crushed nuts, shredded coconut, or extra chocolate drizzle
Peanut butter options: You can choose between creamy or crunchy peanut butter. Creamy gives a smooth texture, while crunchy adds a fun bite.
Alternative sweetness: You can use honey or maple syrup as your sweetener. Honey gives a rich taste, while maple syrup adds a unique flavor.
Optional toppings: You can add crushed nuts, shredded coconut, or an extra drizzle of chocolate. These toppings make your bars even more delicious and fun!
Now that we have our ingredients, let’s get ready to make some tasty bars! Want to see the full recipe? Check out the [Full Recipe].
Step-by-Step Instructions
Preparation Process
Step 1: Mixing the base ingredients
In a medium bowl, add 1 cup of peanut butter, 1/2 cup of honey (or maple syrup), and 1 teaspoon of vanilla extract. Mix them well until smooth. This base gives your bars a rich flavor.
Step 2: Incorporating oats and sea salt
Next, add 2 cups of rolled oats and 1/4 teaspoon of sea salt to the mixture. Use a spatula or a wooden spoon to blend everything together. The mixture should feel thick and sticky.
Step 3: Folding in chocolate chips
Now, gently fold in 1/2 cup of chocolate chips. Make sure they spread evenly throughout the mixture. This adds sweetness and a chocolatey touch to every bite.
Step 4: Pressing the mixture into the baking pan
Line an 8×8-inch baking pan with parchment paper. Leave some paper hanging over the sides for easy removal later. Pour the mixture into the pan and press it down firmly. Use the back of a spoon or a spatula to make it flat.
Step 5: Adding optional toppings and chilling
If you want, sprinkle on some crushed nuts or shredded coconut for extra flavor. Press them down lightly. Cover the pan with plastic wrap or foil. Place it in the fridge for at least 2 hours to let it firm up. After that, lift the bars out using the parchment paper and cut them into squares. For a special touch, drizzle melted chocolate over the top before serving.
This is how you create No-Bake Chocolate Peanut Butter Bars. For the complete recipe, refer to the Full Recipe.
Tips & Tricks
Perfecting Your No-Bake Chocolate Peanut Butter Bars
To get your bars just right, start with the mixture’s consistency. It should be thick and sticky. If it feels too dry, add a splash of honey or maple syrup. This will help bind everything together. If it’s too wet, sprinkle in more oats until it feels just right.
When pressing the mixture into the pan, use the back of a spoon or a spatula. Press firmly and evenly to ensure the bars hold together. A good tip is to cover your fingers with a little water. This will help prevent sticking while you shape the mixture.
Adjusting sweetness is easy. If you like it sweeter, add more honey or chocolate chips. For less sweetness, cut back on the honey or use dark chocolate. The texture is also key. If you want a crunch, mix in some crushed nuts or seeds. If you prefer smooth, stick to just the peanut butter and oats.
For the full recipe, check the complete list above. Enjoy your tasty treats!
Variations
Flavor Enhancements
You can easily change the flavors in your no-bake bars. Here are some fun ideas:
– Nut substitutions: Try using almond butter or cashew butter. Each nut brings a unique taste. Almond butter adds a slight sweetness, while cashew butter is creamier.
– Adding superfoods: You can boost nutrition by adding chia seeds or flax seeds. Chia seeds give a nice crunch, and flax seeds add healthy omega-3s. Just a couple tablespoons will do the trick.
– Different chocolate options: Switch up the chocolate by using white chocolate or dark chocolate. White chocolate adds a sweet touch, while dark chocolate gives a rich flavor. You can even mix different types for a layered taste experience.
These variations keep the recipe exciting and let you customize it to your liking. Feel free to experiment! For the complete recipe, check out the [Full Recipe].
Storage Info
Best Practices for Storing Bars
To keep your no-bake chocolate peanut butter bars fresh, store them properly. Start by placing the bars in the fridge. They can last for about one week when stored this way. Use an airtight container to prevent them from drying out.
If you want to keep them longer, freezing is a great option. Wrap each bar in plastic wrap or foil. Place the wrapped bars in a freezer-safe bag or container. This method can extend their life to about three months. Remember to label the bag with the date for easy tracking.
When you’re ready to enjoy a frozen bar, simply take it out of the freezer. Let it thaw in the fridge for a few hours. You can also let it sit at room temperature for about 30 minutes. This way, your bars will be soft and easy to bite into.
Store your no-bake chocolate peanut butter bars correctly, and they will stay delicious for longer! For the full recipe, check out the main article.
FAQs
Common Questions About No-Bake Chocolate Peanut Butter Bars
Can I use natural peanut butter?
Yes, you can use natural peanut butter. It adds a rich flavor. Just check if it stirs well. Natural peanut butter can sometimes be runny or thick.
How long do these bars last in the fridge?
These bars last about one week in the fridge. Store them in an airtight container. This keeps them fresh and tasty for longer.
Can I make these bars vegan?
Absolutely! Use maple syrup instead of honey. Ensure your chocolate chips are dairy-free. This way, you can enjoy a vegan treat.
What can I substitute for oats?
You can use crushed graham crackers or almond flour. Both add different textures. Each option can change the taste, so choose what you like best.
For the full recipe, check the No-Bake Chocolate Peanut Butter Bars section above.
In this post, we examined how to make no-bake chocolate peanut butter bars. You learned about key ingredients, step-by-step instructions, and helpful tips. We also explored flavor variations and best storage methods. These bars are easy, tasty, and versatile. Feel free to adjust the recipe to fit your needs and preferences. Enjoy making your sweet treats, and share them with friends and family! There’s no better way to satisfy cravings than with homemade bars.
![To make these no-bake chocolate peanut butter bars, you need a few simple items: - 1 cup peanut butter (creamy or crunchy, your choice) - 1/2 cup honey or maple syrup - 1 teaspoon vanilla extract - 2 cups rolled oats - 1/2 cup chocolate chips (dark or semi-sweet) - 1/4 teaspoon sea salt - Optional toppings: crushed nuts, shredded coconut, or extra chocolate drizzle Peanut butter options: You can choose between creamy or crunchy peanut butter. Creamy gives a smooth texture, while crunchy adds a fun bite. Alternative sweetness: You can use honey or maple syrup as your sweetener. Honey gives a rich taste, while maple syrup adds a unique flavor. Optional toppings: You can add crushed nuts, shredded coconut, or an extra drizzle of chocolate. These toppings make your bars even more delicious and fun! Now that we have our ingredients, let’s get ready to make some tasty bars! Want to see the full recipe? Check out the [Full Recipe]. Step 1: Mixing the base ingredients In a medium bowl, add 1 cup of peanut butter, 1/2 cup of honey (or maple syrup), and 1 teaspoon of vanilla extract. Mix them well until smooth. This base gives your bars a rich flavor. Step 2: Incorporating oats and sea salt Next, add 2 cups of rolled oats and 1/4 teaspoon of sea salt to the mixture. Use a spatula or a wooden spoon to blend everything together. The mixture should feel thick and sticky. Step 3: Folding in chocolate chips Now, gently fold in 1/2 cup of chocolate chips. Make sure they spread evenly throughout the mixture. This adds sweetness and a chocolatey touch to every bite. Step 4: Pressing the mixture into the baking pan Line an 8x8-inch baking pan with parchment paper. Leave some paper hanging over the sides for easy removal later. Pour the mixture into the pan and press it down firmly. Use the back of a spoon or a spatula to make it flat. Step 5: Adding optional toppings and chilling If you want, sprinkle on some crushed nuts or shredded coconut for extra flavor. Press them down lightly. Cover the pan with plastic wrap or foil. Place it in the fridge for at least 2 hours to let it firm up. After that, lift the bars out using the parchment paper and cut them into squares. For a special touch, drizzle melted chocolate over the top before serving. This is how you create No-Bake Chocolate Peanut Butter Bars. For the complete recipe, refer to the Full Recipe. To get your bars just right, start with the mixture's consistency. It should be thick and sticky. If it feels too dry, add a splash of honey or maple syrup. This will help bind everything together. If it's too wet, sprinkle in more oats until it feels just right. When pressing the mixture into the pan, use the back of a spoon or a spatula. Press firmly and evenly to ensure the bars hold together. A good tip is to cover your fingers with a little water. This will help prevent sticking while you shape the mixture. Adjusting sweetness is easy. If you like it sweeter, add more honey or chocolate chips. For less sweetness, cut back on the honey or use dark chocolate. The texture is also key. If you want a crunch, mix in some crushed nuts or seeds. If you prefer smooth, stick to just the peanut butter and oats. For the full recipe, check the complete list above. Enjoy your tasty treats! {{image_2}} You can easily change the flavors in your no-bake bars. Here are some fun ideas: - Nut substitutions: Try using almond butter or cashew butter. Each nut brings a unique taste. Almond butter adds a slight sweetness, while cashew butter is creamier. - Adding superfoods: You can boost nutrition by adding chia seeds or flax seeds. Chia seeds give a nice crunch, and flax seeds add healthy omega-3s. Just a couple tablespoons will do the trick. - Different chocolate options: Switch up the chocolate by using white chocolate or dark chocolate. White chocolate adds a sweet touch, while dark chocolate gives a rich flavor. You can even mix different types for a layered taste experience. These variations keep the recipe exciting and let you customize it to your liking. Feel free to experiment! For the complete recipe, check out the [Full Recipe]. To keep your no-bake chocolate peanut butter bars fresh, store them properly. Start by placing the bars in the fridge. They can last for about one week when stored this way. Use an airtight container to prevent them from drying out. If you want to keep them longer, freezing is a great option. Wrap each bar in plastic wrap or foil. Place the wrapped bars in a freezer-safe bag or container. This method can extend their life to about three months. Remember to label the bag with the date for easy tracking. When you're ready to enjoy a frozen bar, simply take it out of the freezer. Let it thaw in the fridge for a few hours. You can also let it sit at room temperature for about 30 minutes. This way, your bars will be soft and easy to bite into. Store your no-bake chocolate peanut butter bars correctly, and they will stay delicious for longer! For the full recipe, check out the main article. Can I use natural peanut butter? Yes, you can use natural peanut butter. It adds a rich flavor. Just check if it stirs well. Natural peanut butter can sometimes be runny or thick. How long do these bars last in the fridge? These bars last about one week in the fridge. Store them in an airtight container. This keeps them fresh and tasty for longer. Can I make these bars vegan? Absolutely! Use maple syrup instead of honey. Ensure your chocolate chips are dairy-free. This way, you can enjoy a vegan treat. What can I substitute for oats? You can use crushed graham crackers or almond flour. Both add different textures. Each option can change the taste, so choose what you like best. For the full recipe, check the No-Bake Chocolate Peanut Butter Bars section above. In this post, we examined how to make no-bake chocolate peanut butter bars. You learned about key ingredients, step-by-step instructions, and helpful tips. We also explored flavor variations and best storage methods. These bars are easy, tasty, and versatile. Feel free to adjust the recipe to fit your needs and preferences. Enjoy making your sweet treats, and share them with friends and family! There's no better way to satisfy cravings than with homemade bars.](https://recipespursuit.com/wp-content/uploads/2025/05/831cfa05-b362-423d-91f7-06c517d32a1b-250x250.webp)