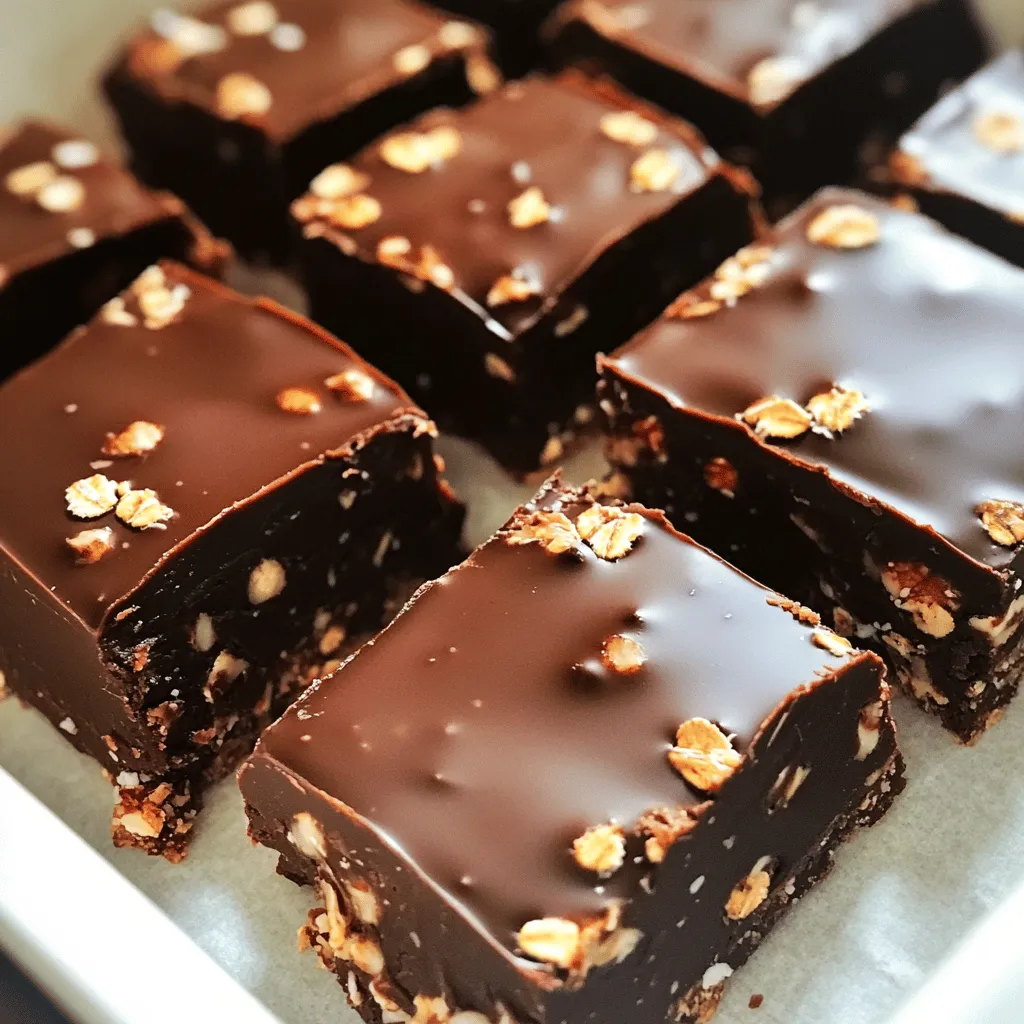
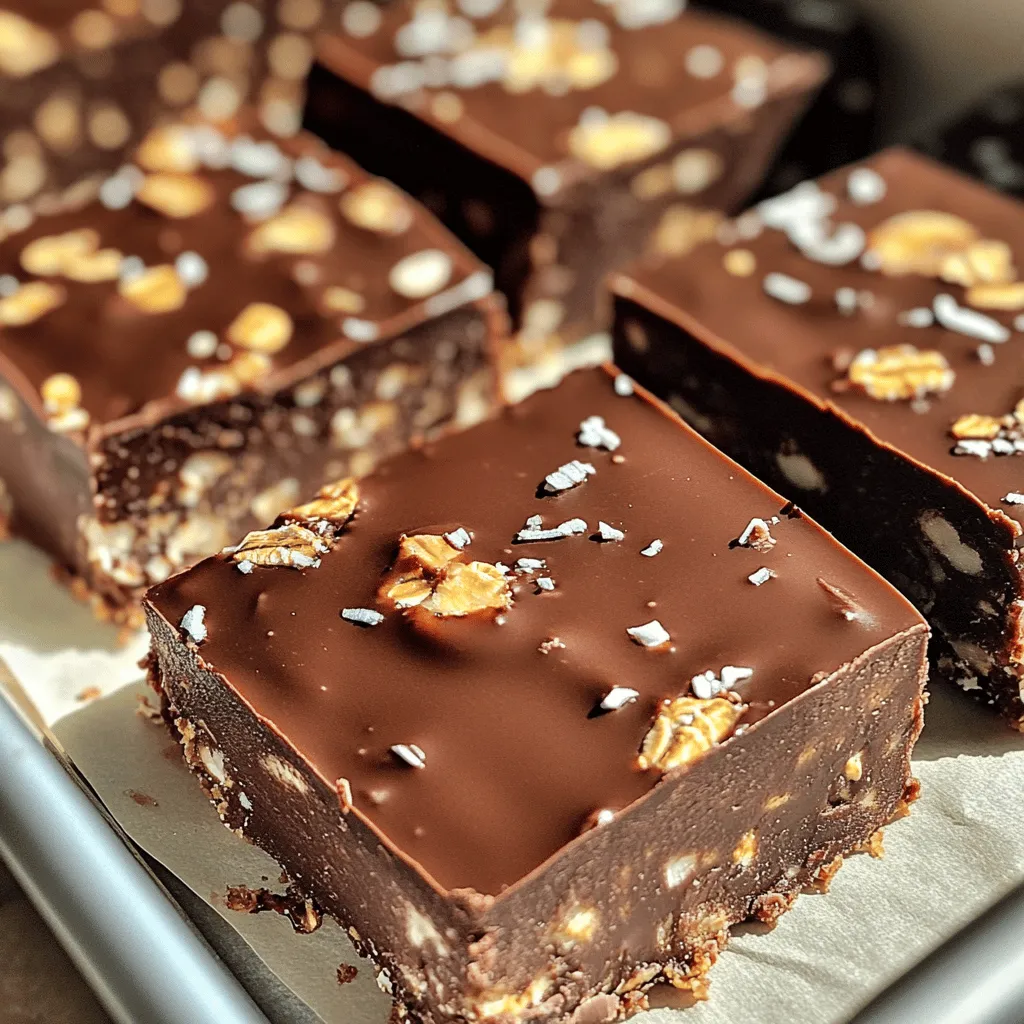
Are you looking for a sweet treat that’s quick, easy, and requires no baking? You’re in luck! No-bake chocolate oat bars are your answer. With just a few simple ingredients, you can whip up a delicious snack in no time. Whether you crave something sweet or need a quick energy boost, these bars hit the spot. Let’s dive into how to make these tasty delights!
Ingredients
Main Ingredients for No-Bake Chocolate Oat Bars
– 1 cup rolled oats
– 1/2 cup almond butter (or peanut butter)
– 1/3 cup honey or maple syrup
These main ingredients form the base of your no-bake chocolate oat bars. The rolled oats give a chewy texture. Almond butter adds a nutty flavor, while honey or maple syrup adds sweetness.
Additional Ingredients
– 1/4 cup cocoa powder
– 1/4 teaspoon salt
– 1/2 teaspoon vanilla extract
The cocoa powder will turn your bars into a chocolatey treat. Salt balances the sweetness. Vanilla extract adds a nice aroma and depth to the flavor.
Optional Ingredients
– 1/2 cup dark chocolate chips
– 1/4 cup chopped nuts (like walnuts or almonds)
– 1/4 cup shredded coconut
These optional ingredients let you customize your bars. Dark chocolate chips boost the chocolate flavor. Chopped nuts add crunch, and shredded coconut brings a tropical touch. Use any combo you like!
Step-by-Step Instructions
Preparation of Dry Ingredients
Start by mixing rolled oats, cocoa powder, and salt. Use a large bowl for this. Stir until everything blends well. This step is key. It makes sure each oat gets coated in chocolate flavor later.
Preparing Wet Ingredients
Next, take a separate bowl. Warm almond butter and honey in the microwave for about 20 to 30 seconds. This makes them easier to mix. After warming, add vanilla extract. Stir until smooth. The warm mix helps blend better with the dry mix.
Combining Dry and Wet Ingredients
Now, it’s time to combine! Pour the wet mix into the dry mix. Stir thoroughly until all oats are covered. You want a nice, even coating. Then, fold in dark chocolate chips and any extra additions like nuts or coconut. Mix gently until everything is well spread out. This step adds texture and flavor.
Tips & Tricks
Best Practices for Mixing
To make sure all oats get a good coat, mix well. First, combine the dry ingredients in a bowl. This includes oats, cocoa powder, and salt. Make sure everything is blended evenly. Then, pour the melted almond butter and honey mixture into the dry mix. Stir with a sturdy spoon. Keep stirring until every oat is covered in chocolate goodness. This step is key to getting a tasty bar.
Storage Solutions
To keep your bars fresh, store them in an airtight container. You can use a glass or plastic container with a lid. Place parchment paper between layers to avoid sticking. If you want to keep them longer, the fridge is a great spot. You can also freeze them for up to three months. Just wrap each bar tightly in plastic wrap before freezing.
Serving Suggestions
When it’s time to serve, you can get creative! Cut the bars into fun shapes, like squares or rectangles. For a special touch, drizzle some melted chocolate on top. Pair these bars with fresh fruit or a scoop of yogurt. You can even pack them in lunchboxes for a sweet treat. Enjoy these bars with a hot cup of tea or coffee for a cozy snack.
Variations
Flavor Variations
You can play with flavors in these bars. Swap almond butter for peanut butter. Each nut butter brings its own taste. You can also use sun butter if you need a nut-free option. For sweeteners, try agave syrup or brown rice syrup. Each choice changes the flavor a bit. You can mix things up to find what you love most.
Ingredient Substitutions
If you want dairy-free options, use dairy-free chocolate chips. They melt and taste great in the bars. You can also swap regular sugar with coconut sugar or stevia. These choices keep the bars sweet without using traditional sugar. They make the bars a bit healthier too.
Texture Variations
Want a crunch? Add seeds like chia or flaxseeds. They give the bars extra fiber and a nice bite. You can also toss in dried fruits like raisins or cranberries. These fruits add sweetness and chewiness. Both options make your bars fun and interesting to eat.
Storage Info
How to Store No-Bake Chocolate Oat Bars
To keep your no-bake chocolate oat bars fresh, use an airtight container. Glass or plastic containers work well. Make sure the bars are fully cooled before placing them inside. You can also wrap them in parchment paper for extra protection.
Shelf Life of No-Bake Bars
No-bake bars last about one week in the pantry. If you store them in the fridge, they can last up to two weeks. The cold helps keep the bars firm and fresh. Always check for any signs of spoilage before eating.
Freezing Instructions
To freeze your bars, cut them into squares first. Place them in a single layer on a baking sheet. Freeze for about an hour. Once firm, transfer the bars into a freezer-safe bag or container. To thaw, leave them in the fridge overnight or at room temperature for about 30 minutes. Enjoy your treat any time!
FAQs
Can I use quick oats instead of rolled oats?
You can use quick oats, but the texture will change. Quick oats are finer and soak up more moisture. This can make your bars softer and chewier. If you want a thicker bar, stick with rolled oats. They provide better structure and a heartier feel. The choice is yours, depending on what you prefer.
How long do no-bake chocolate oat bars need to chill?
These bars need to chill for about 1 to 2 hours. Chilling helps the bars set up nicely. If you want them to be firmer, let them chill longer. Check them after an hour. If they feel firm to the touch, they are ready. If not, give them some extra time.
Are these bars suitable for a vegan diet?
Yes, these bars can fit a vegan diet. Use maple syrup instead of honey for sweetness. Almond butter or peanut butter works well as a base. Also, choose dairy-free chocolate chips for a fully vegan treat. This way, you can enjoy a tasty snack that meets vegan needs.
In this blog post, we explored how to create delicious no-bake chocolate oat bars. We covered the main ingredients, like oats and almond butter, and discussed how to mix them properly. I shared tips for storage and serving, plus ideas for variations to keep things fun.
No-bake bars are easy to make and can fit many diets. Try making them your own with different flavors and add-ins. Enjoy your tasty treats and share them with friends!