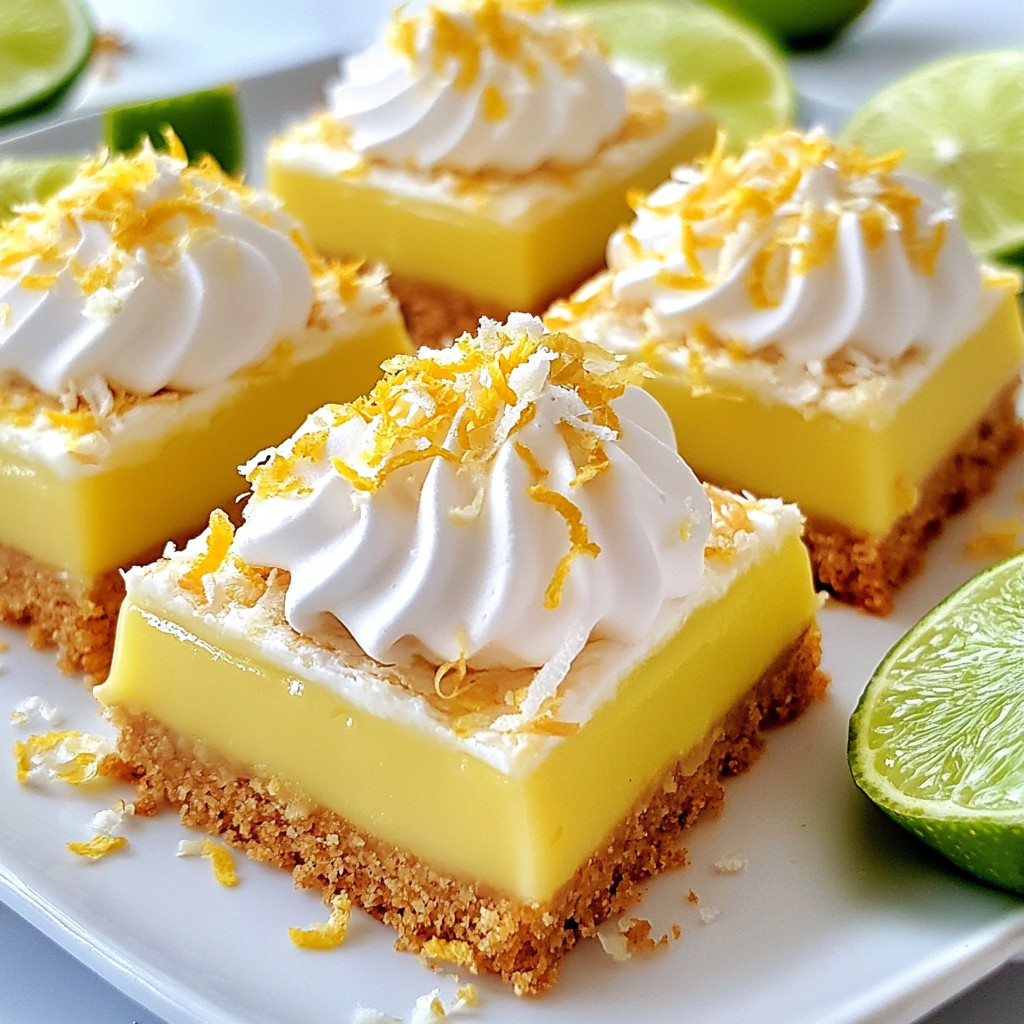
If you love a tangy treat, you’re in the right place! Key Lime Pie Bars are a simple twist on a classic dessert. With just a few easy steps, you can enjoy the sweet and tart flavor of key lime wrapped in a buttery crust. In this blog post, I’ll share everything you need to create these mouthwatering bars. Let’s dive in and make dessert time a delight!
Why I Love This Recipe
- Unique Flavor Combination: The tangy key lime pairs perfectly with the sweetness of the coconut, creating a refreshing dessert that’s hard to resist.
- Easy to Make: With simple ingredients and straightforward steps, these bars come together quickly, making them perfect for any occasion.
- Perfectly Chilled Treat: Serving these bars cold enhances their flavor and texture, making them a delightful summer dessert.
- Customizable Toppings: Top with whipped cream and extra lime zest for added flavor and an elegant presentation.
Ingredients
Detailed List of Ingredients
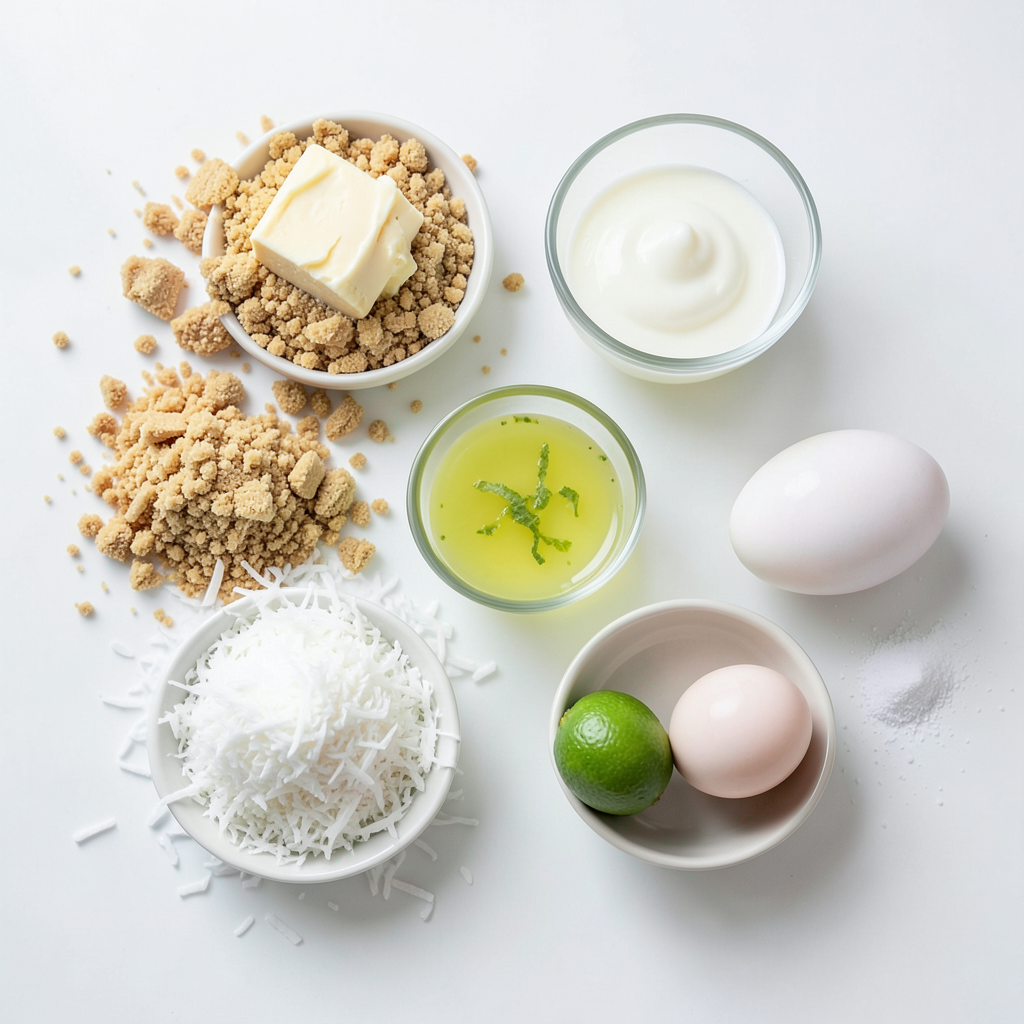
- 1 ½ cups graham cracker crumbs
- ½ cup unsweetened shredded coconut
- ½ cup unsalted butter, melted
- 1 cup sweetened condensed milk
- ½ cup fresh key lime juice (about 4-5 key limes)
- Zest from 2 key limes
- 2 large eggs
- ¼ teaspoon salt
- Optional: Whipped cream for topping
- Optional: Extra lime zest for garnish
To make key lime pie bars, you start with the crust. The graham cracker crumbs give a nice crunch. Adding unsweetened shredded coconut adds a hint of tropical flavor. Melted unsalted butter binds the crumbs together. This crust sets the stage for the creamy filling.
The filling is simple. You will need sweetened condensed milk for a rich texture. Fresh key lime juice brings that tangy punch. The zest from key limes adds even more bright flavor. Two large eggs help the filling firm up as it bakes. A pinch of salt balances the sweetness.
For a finishing touch, you can add whipped cream on top. Extra lime zest makes it look pretty. These ingredients come together to create a treat that is both sweet and tart.
Step-by-Step Instructions
Preparation Steps
1. Preheating the oven and preparing the baking dish
First, set your oven to 350°F (175°C). This heat helps the bars bake evenly. Next, line an 8x8 inch baking dish with parchment paper. Leave some overhang. This makes it easy to lift the bars out later.
2. Making the crust
In a mixing bowl, mix 1 ½ cups of graham cracker crumbs with ½ cup of unsweetened shredded coconut. Add ½ cup of melted unsalted butter and a pinch of salt. Stir until the crumbs are well coated. This mixture forms a tasty base for your bars.
3. Baking the crust
Press the crumb mixture firmly into the bottom of your prepared dish. It should be even and compact. Bake for 10-12 minutes until it turns lightly golden. This step gives your crust a crisp texture. Once baked, take it out and let it cool slightly.
4. Preparing the key lime filling
In a clean bowl, whisk together 1 cup of sweetened condensed milk, ½ cup of fresh key lime juice, and the zest from 2 key limes. Add 2 large eggs and ¼ teaspoon of salt. Mix until everything is smooth. The key lime juice gives this filling its bright flavor.
5. Baking the bars
Pour the key lime filling over the cooled crust. Spread it evenly. Bake for an additional 15-18 minutes. The filling should be set but still jiggle a bit in the center. This balance keeps the bars creamy.
6. Cooling and cutting the bars
Allow the bars to cool at room temperature. After that, place them in the fridge for at least 2 hours. This helps the bars firm up. Once chilled, use the parchment overhang to lift them out of the dish. Cut into squares or rectangles for serving.
Each step brings you closer to a delicious treat that is both easy and fun to make!
Tips & Tricks
Perfecting the Recipe
To make the crust just right, mix the graham cracker crumbs, shredded coconut, and melted butter. Press the mixture firmly into the pan. Bake it until golden, about 10 to 12 minutes. A firm crust holds the filling well.
For the filling, it is key to whisk all ingredients until smooth. Use fresh key lime juice for the best taste. Bake until the filling is slightly set, about 15 to 18 minutes. It should jiggle just a little in the center.
When zesting limes, use a microplane for fine zest. This method gives you the best flavor. Avoid the white pith, as it can taste bitter.
For serving, cool the bars at room temperature first. Then, chill them for at least 2 hours. This step helps them firm up nicely. Top each bar with whipped cream and a sprinkle of lime zest. You can also add lime slices for a fun touch.
Pro Tips
- Use Fresh Key Limes: Freshly squeezed key lime juice provides a vibrant flavor that bottled juice can't match. Look for limes that feel heavy for their size and have a slight shine to them.
- Chill Before Serving: Allow the bars to chill in the refrigerator for at least 2 hours after baking. This helps the filling set properly and enhances the overall texture.
- Perfecting the Crust: Press the crust mixture firmly into the baking dish to ensure it holds together when cut. A well-formed crust gives the bars stability and a satisfying crunch.
- Garnish for Appeal: Top the bars with whipped cream and extra lime zest before serving. This not only adds visual appeal but also enhances the flavor experience.
Variations
Different Flavor Profiles
You can easily change the flavors of your Key Lime Pie Bars. Here are some ideas to try.
- Coconut Key Lime Pie Bars: Add more coconut for a tropical twist. Mix in an extra ¼ cup of unsweetened shredded coconut into the crust. This adds flavor and texture. You can also top the bars with toasted coconut for a nice crunch.
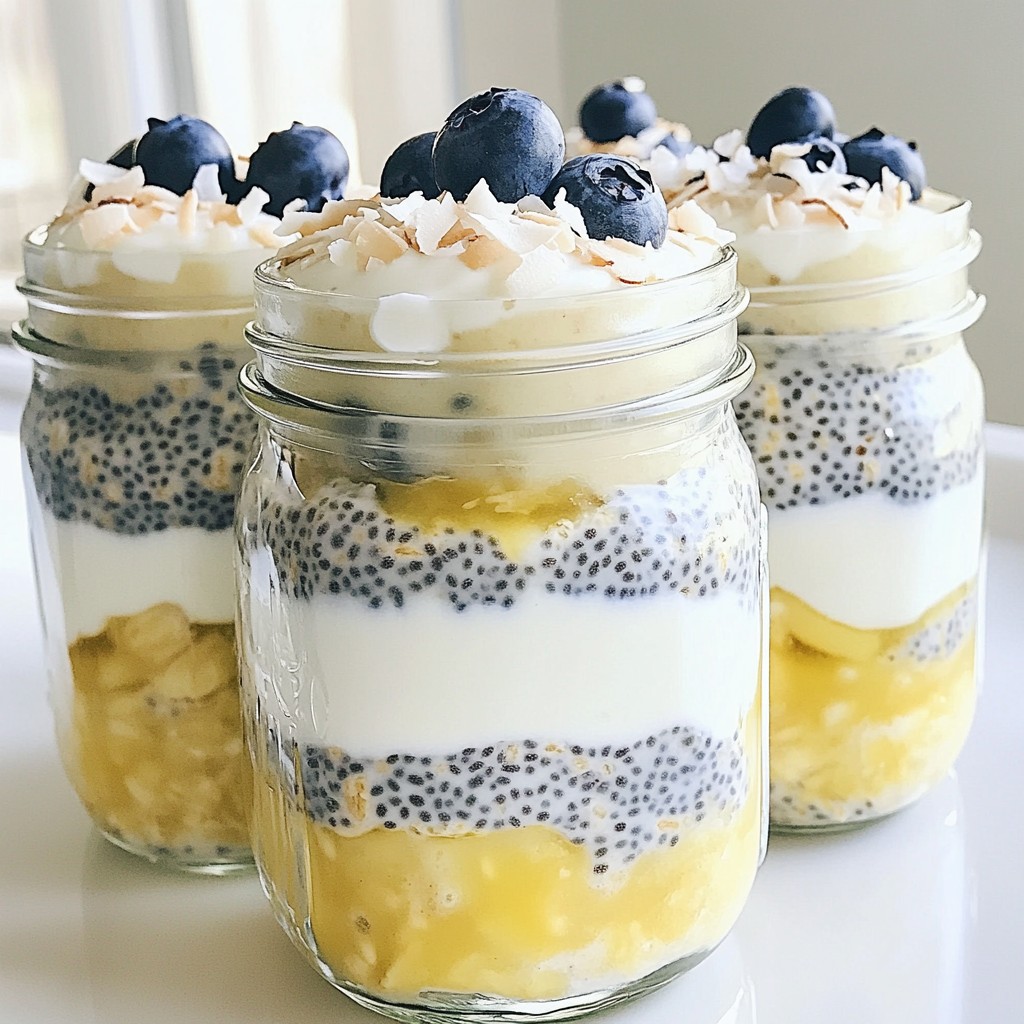
- Berry Key Lime Bars: Want to add some fruit? Mix in fresh berries like raspberries or blueberries. Just fold in about one cup of berries into the filling. This gives your bars a sweet and tart taste. The berry color also makes them look pretty!
- Gluten-Free Option: Use gluten-free graham crackers instead of regular ones. Make sure to check the label and choose a brand that fits your needs. This way, everyone can enjoy the bars without worry.
- Vegan Key Lime Pie Bars: Swap the eggs and condensed milk for plant-based options. Use silken tofu blended until smooth instead of eggs. For the milk, use coconut cream or a similar vegan product. This makes the bars creamy and delicious without dairy.
These variations keep the essence of the classic dessert while offering fresh tastes!
Storage Info
Best Practices for Storing
To keep your Key Lime Pie Bars fresh, use these easy tips:
- Refrigeration tips: Store the bars in an airtight container. They stay fresh in the fridge for up to five days. Make sure to chill them well before serving. The cool temperature makes the flavors pop.
- Freezing instructions: You can freeze these bars for up to three months. Wrap each bar in plastic wrap, then place them in a freezer bag. Let them thaw in the fridge before serving. This keeps them tasty and fresh.
- How to store leftovers for freshness: If you have leftovers, cut them into squares and store them in a single layer. This prevents sticking. Use parchment paper between layers if needed. Always check for any signs of freezer burn before eating.
Following these steps helps your Key Lime Pie Bars stay delicious and ready to enjoy!
FAQs
Common Questions About Key Lime Pie Bars
What can I substitute for key limes? If you can't find key limes, use regular limes. They will work well too. The taste will be slightly different but still great. You can also use bottled key lime juice for a quick option.
Can I make these bars ahead of time? Yes, you can make these bars a day in advance. They taste even better when chilled. Just store them in the fridge until you are ready to serve them.
How do I know when the filling is set? The filling is set when it is firm but still jiggly in the middle. It should not look wet or runny. You can check it by gently shaking the pan. If the filling wobbles a bit, it’s done!
Are Key Lime Pie Bars gluten-free? These bars are not gluten-free due to the graham cracker crumbs. However, you can use gluten-free graham crackers to make them suitable for a gluten-free diet. Just check the label to be sure!
In this post, we explored the key ingredients for making delicious Key Lime Pie Bars. From constructing the perfect crust to mastering the key lime filling, each step plays an important role in achieving a tasty treat. We shared tips for perfecting your recipe and some fun variations to try. Finally, I covered the best ways to store your bars so you can enjoy them longer. Now, you have all the tools you need to create these delightful bars at home! Enjoy your baking adventure!