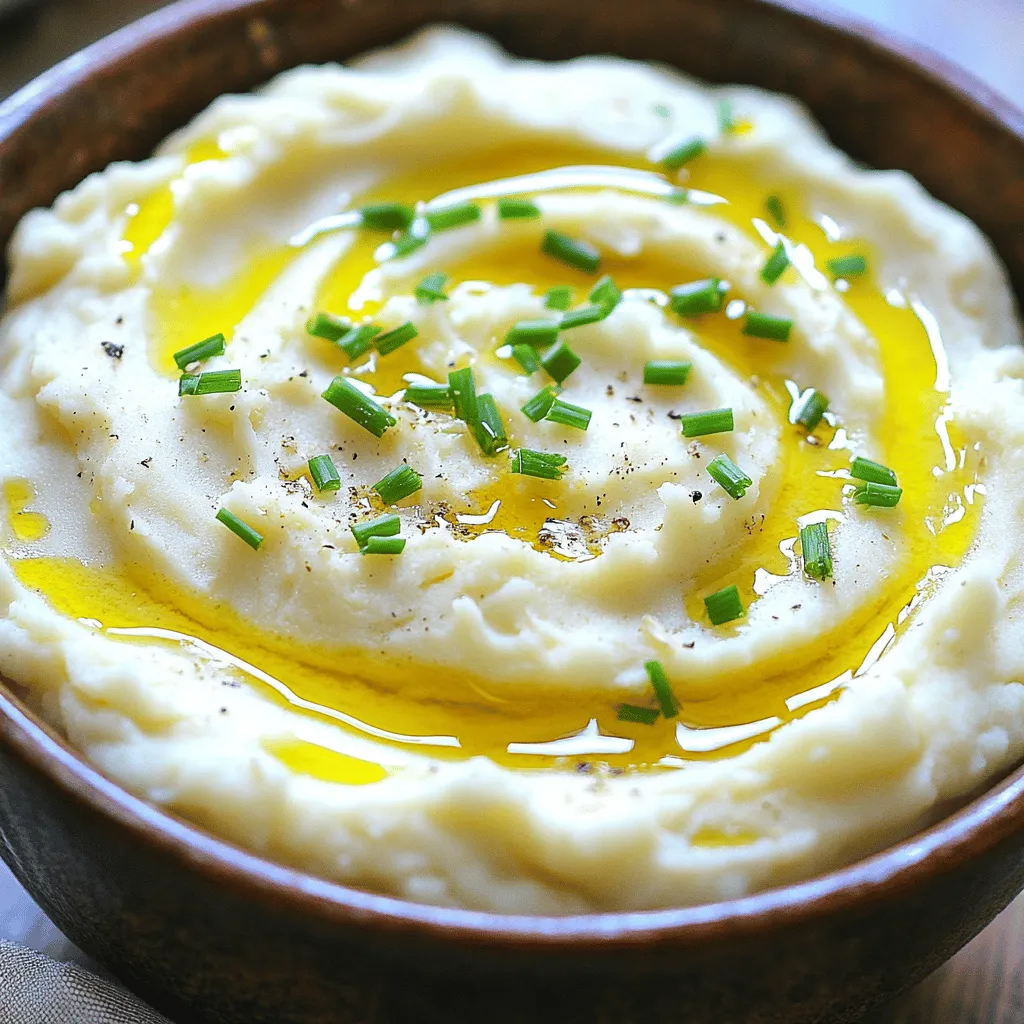
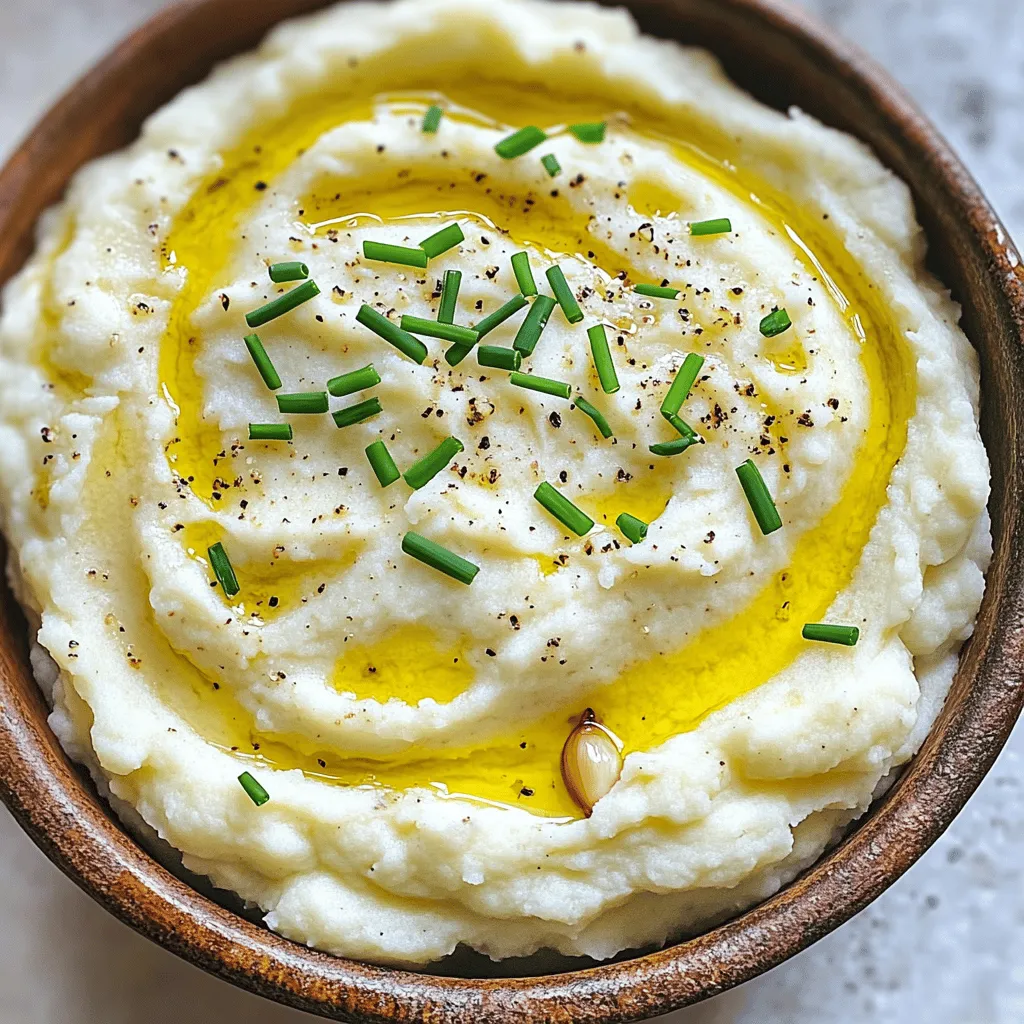
Are you ready to elevate your side dish game? My Creamy Roasted Garlic Mashed Cauliflower Delight is a game-changer. This dish is rich, smooth, and bursting with flavor. With just a few simple ingredients and easy steps, you’ll impress your family and friends. Whether you’re looking for a tasty alternative to traditional mashed potatoes or a health-conscious option, this recipe is perfect for you. Let’s dive into culinary bliss together!
Ingredients
Main Ingredients List
– 1 medium head of cauliflower, cut into florets
– 5 cloves of garlic, peeled
– 3 tablespoons olive oil
– 1/2 cup cream cheese, softened
– 1/4 cup milk (or dairy-free alternative)
Optional Ingredients
– 1/4 teaspoon nutmeg
– Fresh chives, finely chopped
Ingredient Substitutions
For a dairy-free option, use a nut-based cream cheese. You can also swap milk for almond or soy milk. If you want different flavors, try adding spices like paprika or garlic powder. For a twist, mix in a little cheese like Parmesan or cheddar.
Step-by-Step Instructions
Preparation Steps
1. First, preheat your oven to 400°F (200°C). This heat makes the cauliflower soft and sweet.
2. Next, take a medium head of cauliflower and cut it into florets.
3. In a baking dish, toss the cauliflower florets and 5 peeled garlic cloves with 2 tablespoons of olive oil.
4. Spread the mixture out into an even layer. This helps the cauliflower roast evenly.
Cooking Instructions
1. Roast the cauliflower and garlic in the preheated oven for 25-30 minutes. The goal is for the cauliflower to become tender and the garlic to turn golden brown.
2. After roasting, allow the garlic to cool slightly. Squeeze the garlic cloves out of their skins into a mixing bowl.
3. Add the roasted cauliflower, 1/2 cup of softened cream cheese, and 1/4 cup of milk to the bowl.
4. Use a potato masher or hand mixer to mash everything together until it is creamy and smooth.
Final Touches
1. Season the mixture with salt, pepper, and 1/4 teaspoon of nutmeg if you want.
2. Mix well to combine all flavors.
3. For a little extra flavor, drizzle the remaining 1 tablespoon of olive oil on top before serving.
4. Transfer the creamy mix to a serving dish and garnish with fresh chives, finely chopped. This adds a nice touch of color and flavor.
Tips & Tricks
Perfecting the Texture
To get that creamy consistency, start with roasted cauliflower. Roasting brings out its sweet flavor. Use a potato masher for a slightly chunky texture or a hand mixer for super smooth results. I love using a hand mixer because it makes the cauliflower light and fluffy.
Flavor Enhancements
Try adding different seasonings to boost the flavor. You can use garlic powder or smoked paprika for a twist. Fresh herbs like thyme or rosemary work great too. They add freshness and depth. I often sprinkle in fresh chives for a bright touch.
Serving Suggestions
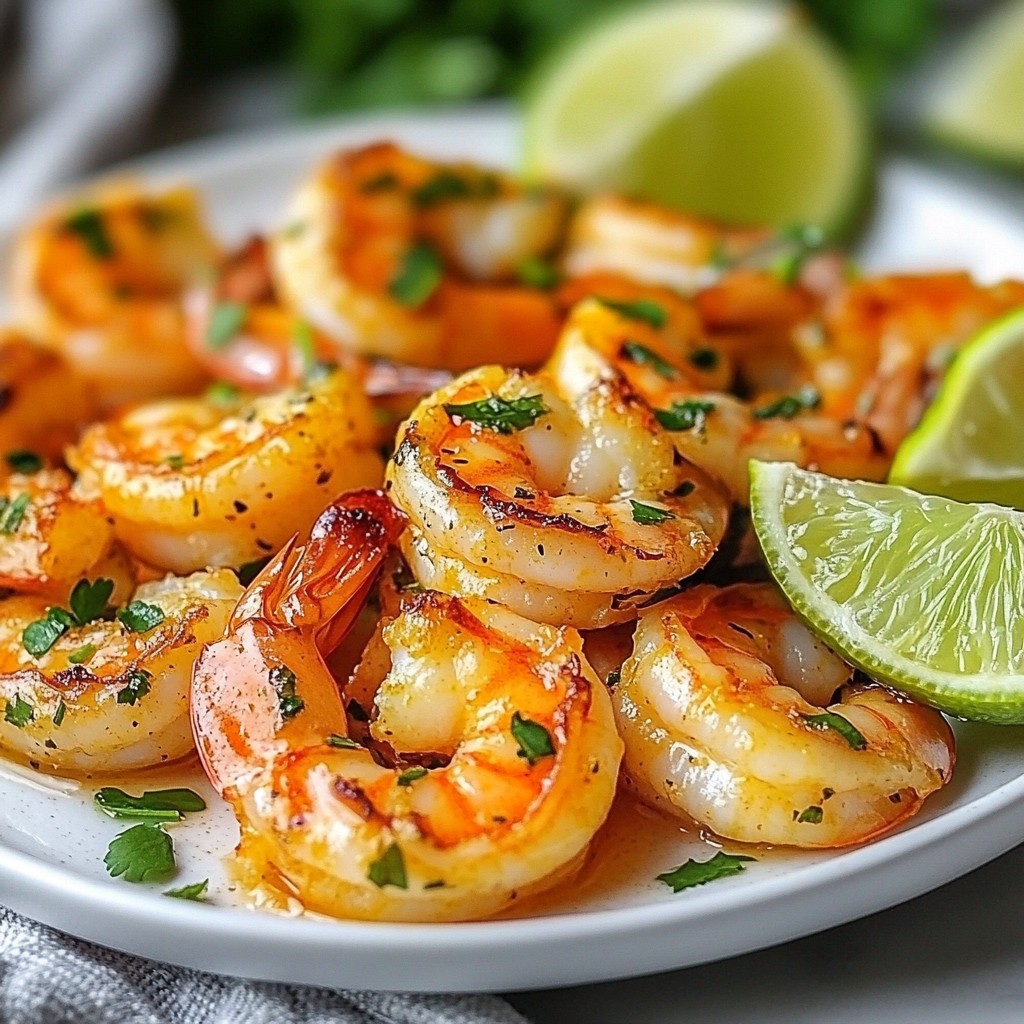
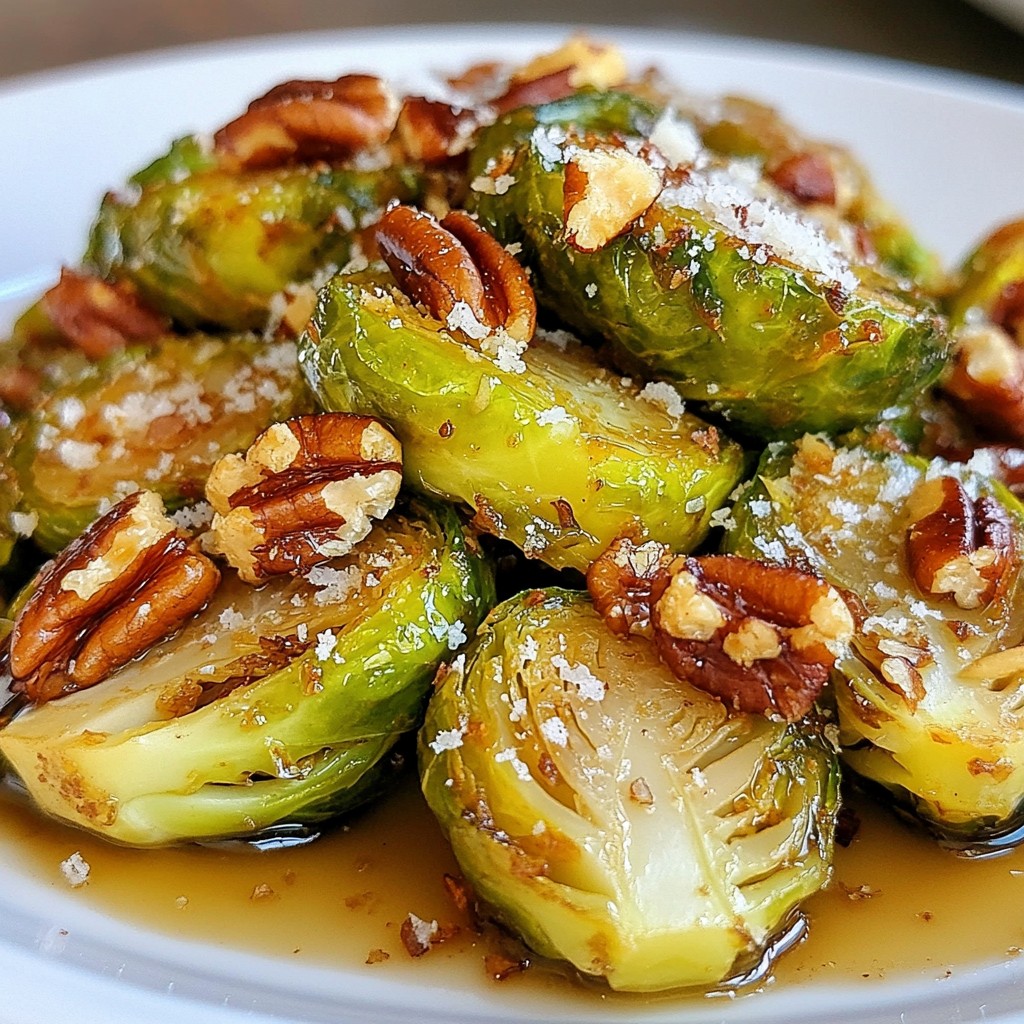
For a beautiful presentation, serve the mashed cauliflower in a rustic bowl. Drizzle with olive oil and sprinkle fresh chives on top. It looks lovely! This dish pairs well with grilled chicken or roasted fish. You can also serve it with a hearty stew or as a side for your favorite meat.
Variations
Alternative Flavor Profiles
You can easily change the taste of creamy roasted garlic mashed cauliflower. One great way is to add cheese. Try sharp cheddar for a strong flavor or cream cheese for richness. Mixing with other vegetables also adds fun. For example, include steamed broccoli or carrots for color and taste.
Health-Conscious Swaps
If you want a low-carb or keto version, skip the cream cheese. Use pureed cauliflower and a bit of butter instead. For a vegan option, swap cream cheese with soaked cashews or vegan cream cheese. This keeps the dish creamy without dairy.
Serving Sizes and Adjustments
You can easily scale this recipe. For more servings, just double or triple the ingredients. Adjust the garlic and cream cheese to fit your taste. Want it creamier? Add more milk or cream cheese. Enjoy making it your own!
Storage Info
Storing Leftovers
Once you have your creamy roasted garlic mashed cauliflower, store any leftovers in the fridge. Place them in an airtight container to keep them fresh. This dish stays good for about three days. If you want to avoid spills, use a container with a tight lid.
Freezing Instructions
To freeze your mashed cauliflower, let it cool first. Then, put it in a freezer-safe container. Leave some space at the top for expansion. It can last up to three months in the freezer. When you need it, thaw it overnight in your fridge. Reheat it in a pot on low heat or in the microwave. Add a splash of milk if it seems dry.
Shelf Life
For the best taste, eat your creamy mashed cauliflower within three days if refrigerated. If it starts to smell sour or has a change in color, it’s time to toss it. Always check for signs of spoilage. Eating fresh food keeps you healthy and happy!
FAQs
What does creamy roasted garlic mashed cauliflower taste like?
Creamy roasted garlic mashed cauliflower has a rich and smooth flavor. The roasted garlic adds a sweet, nutty taste that blends well with the creamy texture. You will enjoy a comforting dish that feels like a warm hug. The hint of nutmeg, if used, gives a gentle spice that makes it even better.
Can I make this recipe vegan?
Yes, you can easily make this recipe vegan. Use dairy-free cream cheese and a plant-based milk alternative. The flavor will stay rich and creamy, even without dairy. Just make sure to choose a vegan cream cheese that you like. This way, everyone can enjoy this delightful dish.
How can I adjust the creaminess?
To adjust the creaminess, you can add more cream cheese or milk. If you want it thicker, use less milk. If you like it creamier, add more cream cheese or milk gradually. Using a hand mixer will also help achieve the perfect smoothness. Play around with the amounts until you find your ideal texture.
Can I use frozen cauliflower instead of fresh?
Yes, you can use frozen cauliflower instead of fresh. Just make sure to thaw and drain it well before mashing. Frozen cauliflower may be softer, so adjust your cooking time. It may also need less roasting time since it’s already cooked. This swap can save time and still give you a tasty dish.
This blog post covered how to make creamy roasted garlic mashed cauliflower. You learned about the main and optional ingredients, along with useful substitutions. I walked you through preparation, cooking, and final touches for great flavor. You also got tips for texture, flavor boosts, and serving ideas. Variations let you mix in your favorites, while storage info helps you keep leftovers fresh.
Now, it’s your turn to create and enjoy this dish!