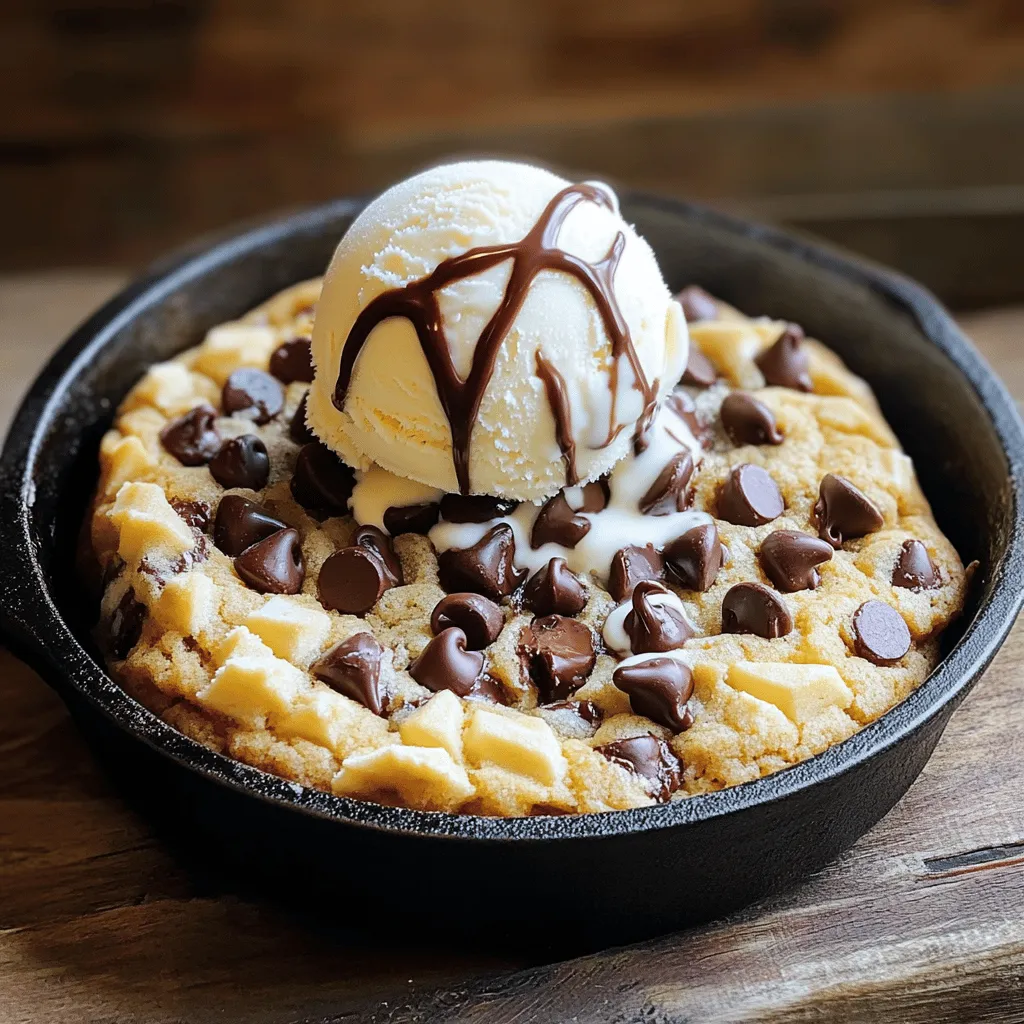
Are you ready to indulge in a warm, gooey dessert that’s perfect for sharing? This Chocolate Chip Cookie Skillet is an irresistible treat that brings together the joy of fresh cookies and the warmth of a cast-iron skillet. In just a few simple steps, you can create a mouthwatering dessert that will delight your friends and family. Let’s dive into the ingredients and get baking for some sweet fun!
Ingredients
List of Essential Ingredients
– 1 cup unsalted butter, softened
– 3/4 cup brown sugar, packed
– 1/4 cup granulated sugar
– 1 large egg
– 1 teaspoon vanilla extract
– 2 1/4 cups all-purpose flour
– 1 teaspoon baking soda
– 1/2 teaspoon salt
– 1 cup semi-sweet chocolate chips
– 1/2 cup chopped nuts (optional, like walnuts or pecans)
– Vanilla ice cream (for serving)
The main ingredients for this cookie skillet are simple but key. Each plays a role. The butter gives a rich taste. The sugars add sweetness and help with browning. The egg binds the dough and adds moisture. Flour creates the structure. Baking soda helps the cookie rise. Salt enhances the flavors. Chocolate chips are the star! They melt and create gooey pockets. Nuts add crunch if you choose to include them.
Optional Ingredients for Variations
– Different types of chocolate chips (milk, dark, or white)
– Nuts other than walnuts or pecans
– Sprinkles or additional toppings for serving
You can switch things up with options. Use milk or dark chocolate chips for different sweetness. Try white chocolate for a unique twist. Other nuts work well too, like almonds or hazelnuts. For extra fun, add sprinkles on top. These choices let you customize your dessert and make it your own!
Step-by-Step Instructions
Preparation Steps
– Preheat the oven to 350°F (175°C).
– Cream together the butter and sugars until smooth and fluffy.
Start by preheating your oven. This helps your cookie bake evenly. While it’s warming up, take a large mixing bowl. Add your softened butter, brown sugar, and granulated sugar. Use a mixer or a spoon to blend them. You want the mix to be light and fluffy. This step adds air, making your cookie soft.
Mixing the Dough
– Beat in the egg and vanilla extract.
– Combine dry ingredients (flour, baking soda, and salt) in a separate bowl.
Next, beat in one large egg and one teaspoon of vanilla extract. Mix until combined well. The egg adds moisture, and the vanilla gives it that great flavor. In a different bowl, whisk together your dry ingredients: flour, baking soda, and salt. This helps to distribute the baking soda evenly, ensuring your cookie rises well.
Baking the Cookie Skillet
– Gradually add the dry mixture to the wet ingredients.
– Transfer the dough to a skillet and bake for 20-25 minutes.
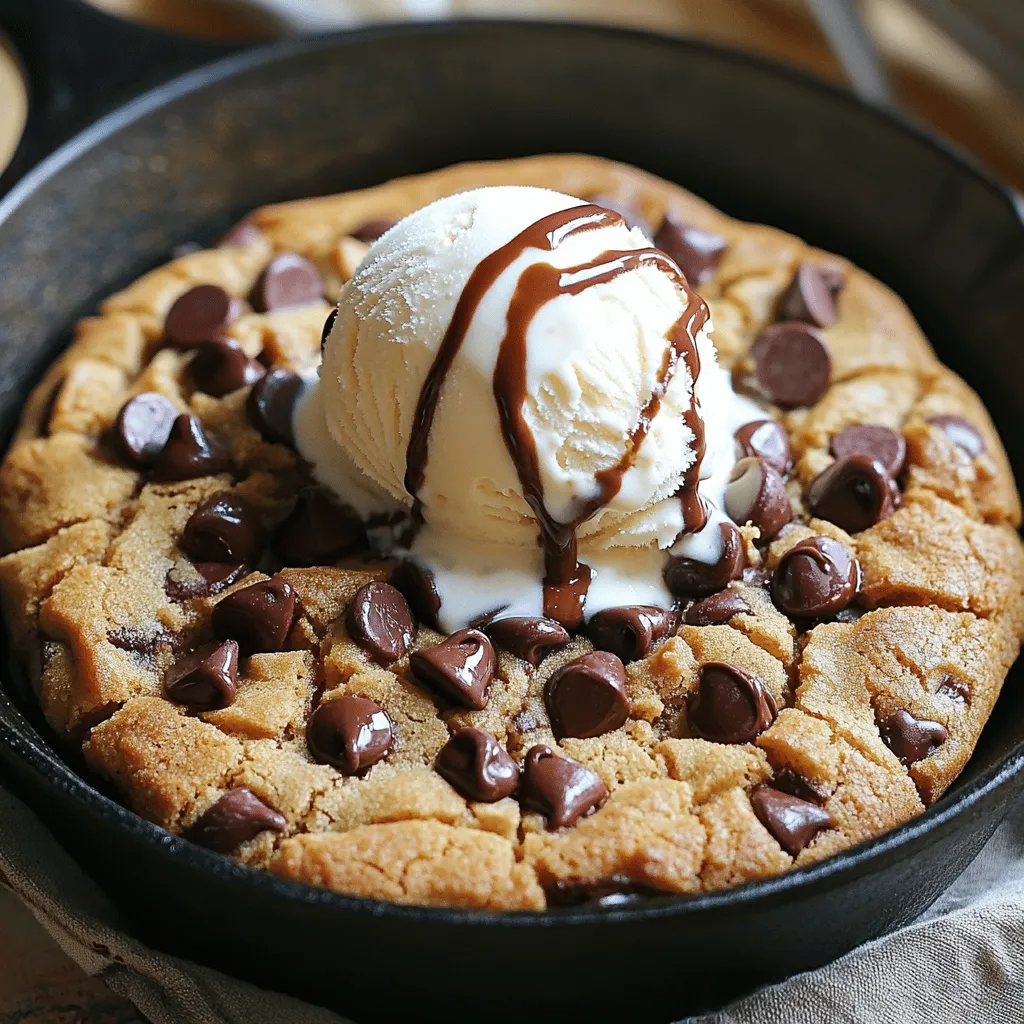
Now, slowly add your dry mixture to the wet ingredients. Mix gently until just combined. Over-mixing can make the cookie tough. Fold in one cup of semi-sweet chocolate chips and nuts if you like. Transfer your dough to a 10-inch cast-iron skillet. Spread it evenly and smooth the top. Place the skillet in the oven and bake for 20-25 minutes. The edges will turn golden brown while the center stays soft. After baking, let it cool for about 5-10 minutes. This cookie skillet is best warm. Enjoy with a scoop of vanilla ice cream on top!
Tips & Tricks
Perfecting the Texture
To get that perfect chewy center, slightly underbake your cookie. This means taking it out when the edges look golden but the center is still soft. It will firm up as it cools. Using room temperature ingredients also helps. This makes mixing easier and gives you a smoother dough.
Serving Suggestions
Serving this cookie directly from the skillet makes it feel extra special. The rustic look is charming and inviting. You can add toppings like chocolate syrup, whipped cream, or even a sprinkle of sea salt. A scoop of vanilla ice cream on top takes it to another level!
Cleanup Tips
Cleanup can be simple if you grease the skillet well. This helps prevent sticking. You can also use parchment paper for easy removal. Just line the bottom of your skillet before adding the dough. It makes cleanup a breeze!
Variations
Flavor Variations
You can make your chocolate chip cookie skillet even better with fun flavors. Try adding different extracts. Almond extract adds a nice touch. You can also mix in spices. A dash of cinnamon warms up the taste. Espresso powder brings a rich, bold flavor. Experimenting with these flavors can make each skillet unique!
Dietary Modifications
If you need a gluten-free option, swap regular flour with gluten-free flour. This change keeps the taste while catering to dietary needs. You can also make it vegan. Just use vegan chocolate chips instead of regular ones. This way, everyone can enjoy this treat without worries!
Seasonal Variations
Celebrate the seasons with fun toppings. In fall, add candy corn for a festive twist. During summer, fresh fruits like strawberries or bananas can brighten your skillet. These seasonal touches keep the dessert exciting and fresh. You can create new memories with each variation!
Storage Info
Room Temperature Storage
The cookie skillet can last up to two days at room temperature. To keep it fresh, cover it with plastic wrap or foil. This helps prevent it from drying out. Make sure the skillet is completely cooled before covering.
Refrigeration Tips
If you want to keep it longer, you can store it in the fridge. Place the cooled cookie skillet in an airtight container. It stays good for up to a week in the refrigerator. When you’re ready to eat it, simply reheat in the oven at 350°F (175°C) for about 10 minutes. This brings back its warm, gooey texture.
Freezing Instructions
You can freeze the cookie dough before baking. Just scoop the dough into balls and place them on a baking sheet. Freeze until firm, then transfer to a zip-top bag. The dough lasts for up to three months in the freezer. To bake, just place the frozen dough in a skillet and add a few extra minutes to the baking time. If you have leftover baked cookie skillet, cool it completely before wrapping it tightly in plastic wrap. It can also freeze for about three months. Reheat it in the oven when you’re ready to enjoy it again.
FAQs
Can I make the cookie skillet in advance?
Yes, you can prepare the cookie skillet ahead of time. To do this, mix your dough and place it in the skillet. Cover it tightly with plastic wrap. Store it in the fridge for up to 24 hours. This keeps the dough fresh. When you’re ready, just bake it straight from the fridge. You might need to add a few extra minutes to the baking time.
How do I know when the cookie skillet is done?
Look for a few signs to tell when your skillet cookie is done. The edges should be golden brown, while the center looks slightly soft. A toothpick inserted in the middle should come out with a few moist crumbs. If it comes out clean, it might be overbaked. Remember, the cookie will continue to cook a bit after you take it out.
What should I serve with my chocolate chip cookie skillet?
Serving your cookie skillet with a scoop of vanilla ice cream is a classic choice. The warm cookie and cold ice cream create a nice contrast. You can also drizzle chocolate syrup or caramel sauce on top. Fresh berries or whipped cream can add a fun touch too. For a twist, try serving it with peanut butter or a fruit compote for extra flavor.
Can I use a different baking dish instead of a skillet?
You can use other baking dishes if you don’t have a skillet. A 9-inch round cake pan or a square baking dish works well. Just watch the baking time closely. The cookie may cook faster in a thinner dish. Check for doneness a few minutes earlier than the recipe suggests. Enjoy your cookie skillet from whatever dish you choose!
This recipe outlines all you need for a delicious chocolate chip cookie skillet. You’ve learned about essential ingredients, preparation, and baking tips. Remember to enjoy variations that suit your taste, like different chocolates or nuts. Serve it warm and consider toppings for a tasty treat. Proper storage keeps leftovers fresh, and preparing ahead saves time. Whether you’re a beginner or a pro, this dish offers fun and flavor. Happy baking!