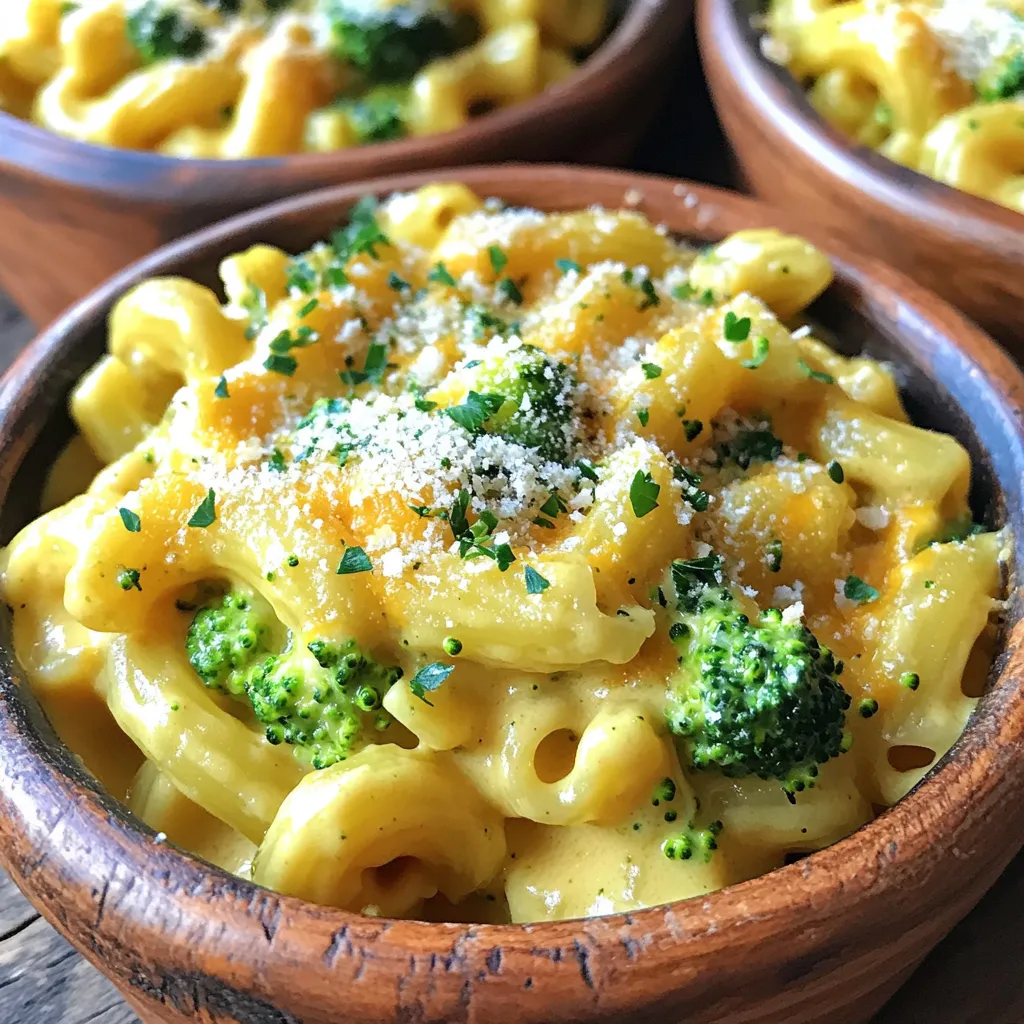
Instant Pot Creamy Broccoli Mac and Cheese Delight
Craving a warm, cheesy comfort food? You’ll love this Instant Pot Creamy Broccoli Mac and Cheese! It combines tender macaroni,
Craving a warm, cheesy comfort food? You’ll love this Instant Pot Creamy Broccoli Mac and Cheese! It combines tender macaroni,
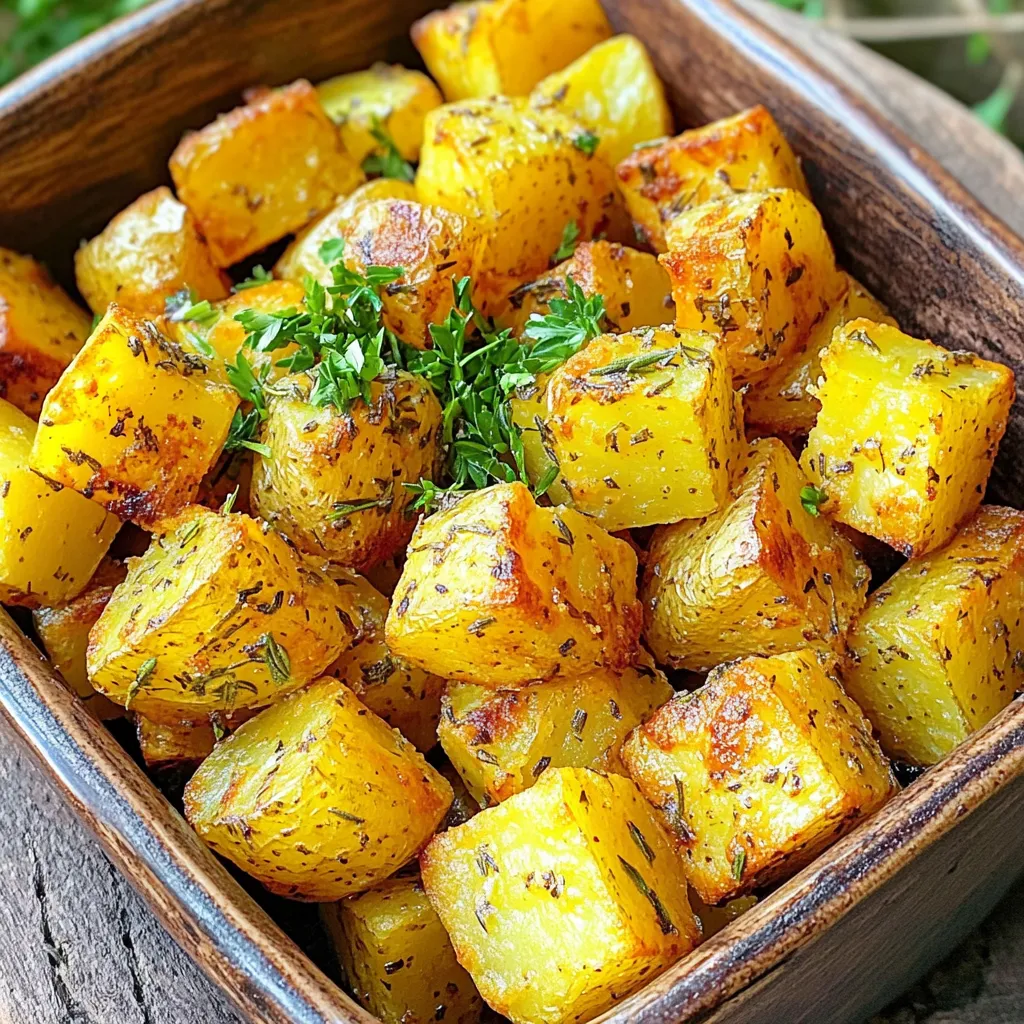
If you crave crispy, flavorful sides, I have the perfect recipe for you! These Air Fryer Garlic Herb Potato Cubes
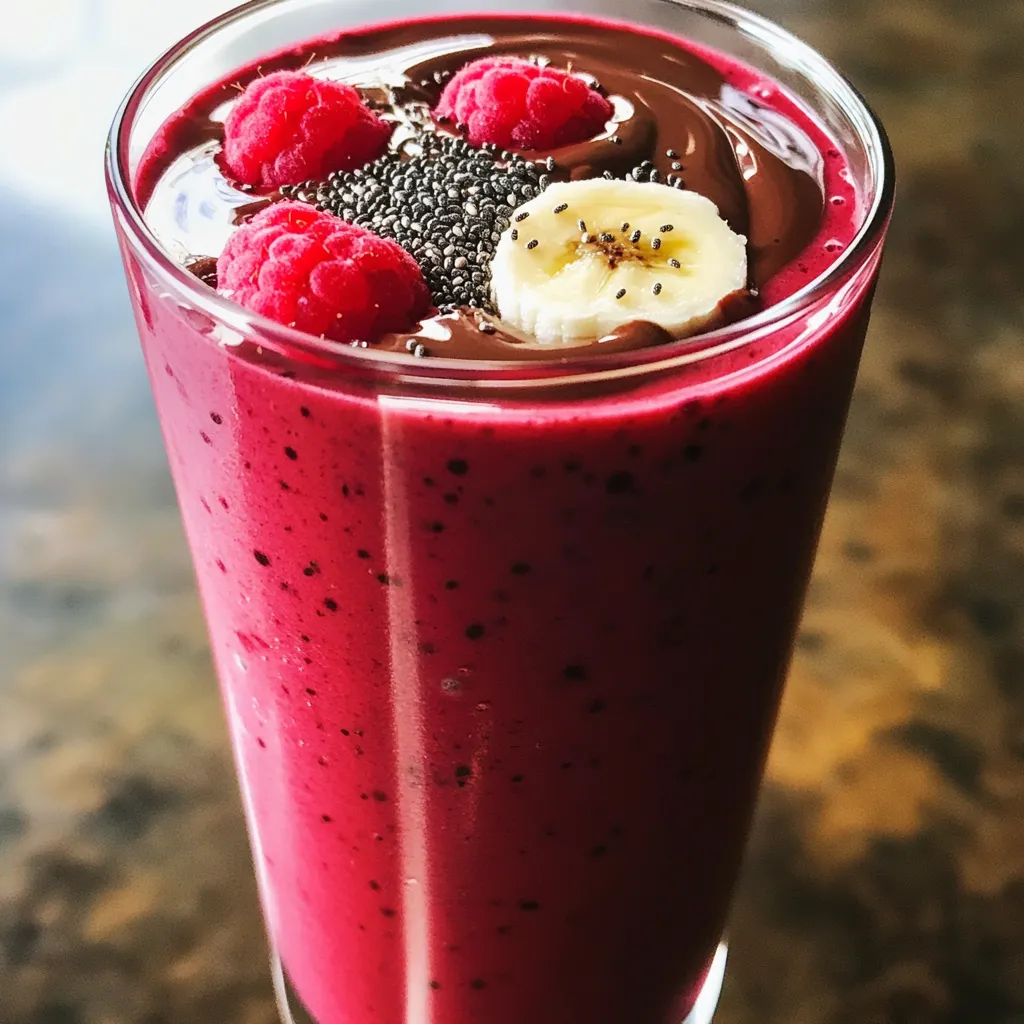
Welcome to my delightful world of smoothies! Today, I’m excited to share my recipe for a High-Protein Chocolate Raspberry Smoothie.
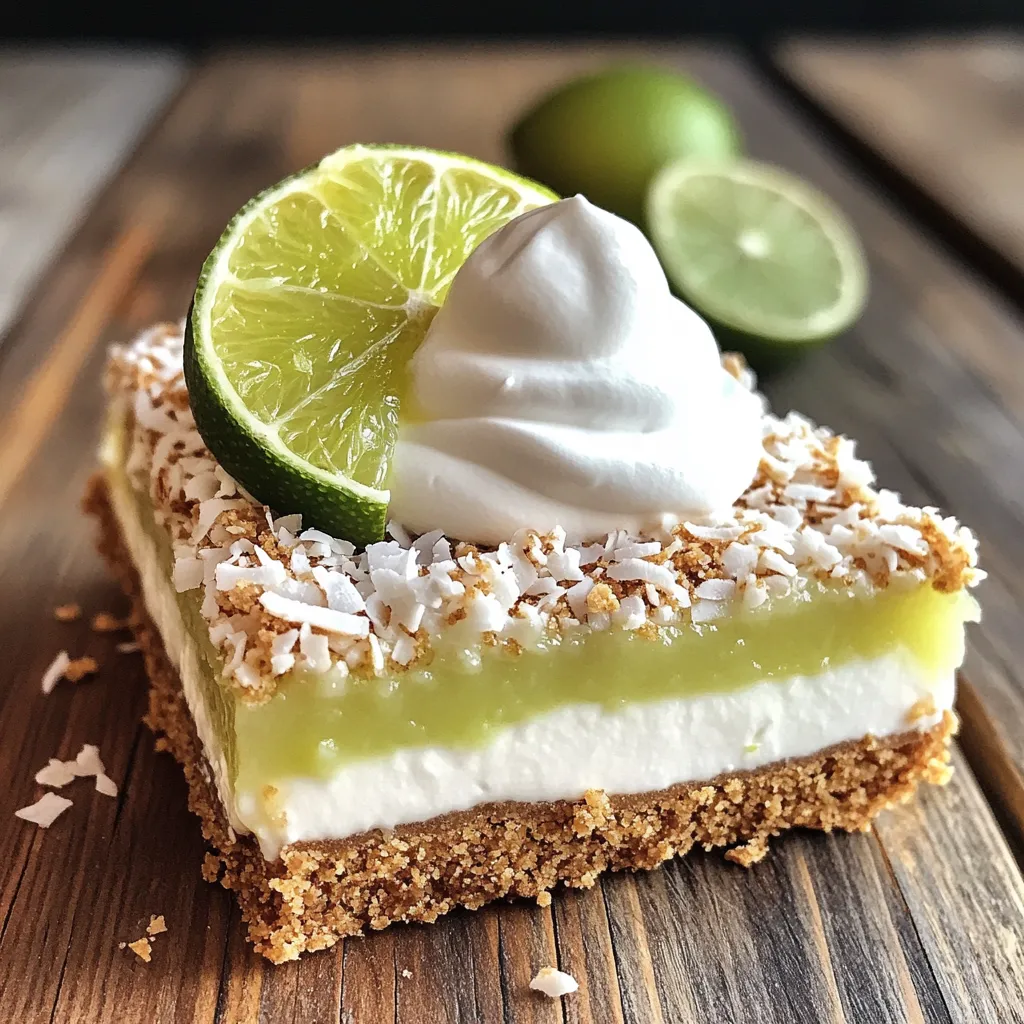
Get ready to make a treat that shines with zesty delight! My No-Bake Key Lime Pie Bars are easy to
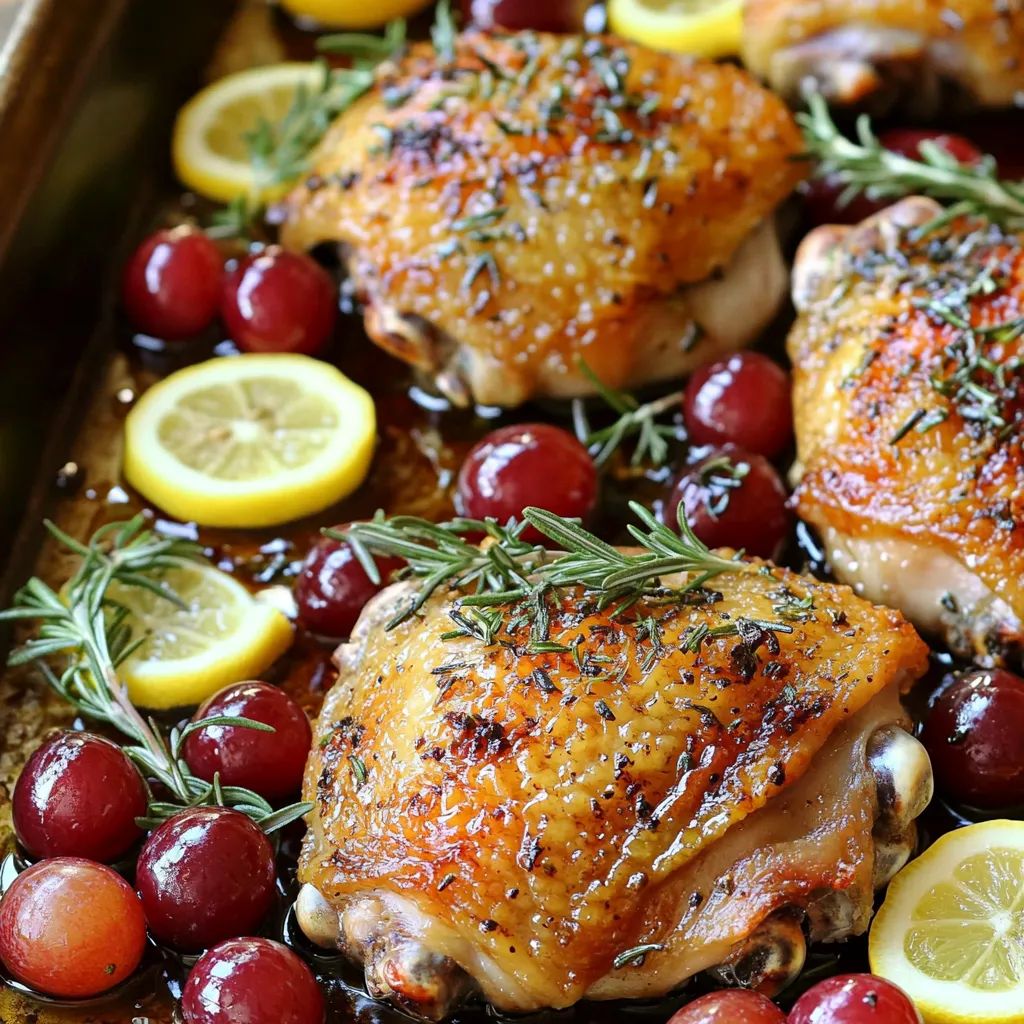
Are you ready to elevate your dinner game? In this blog post, I’ll show you how to make a delicious
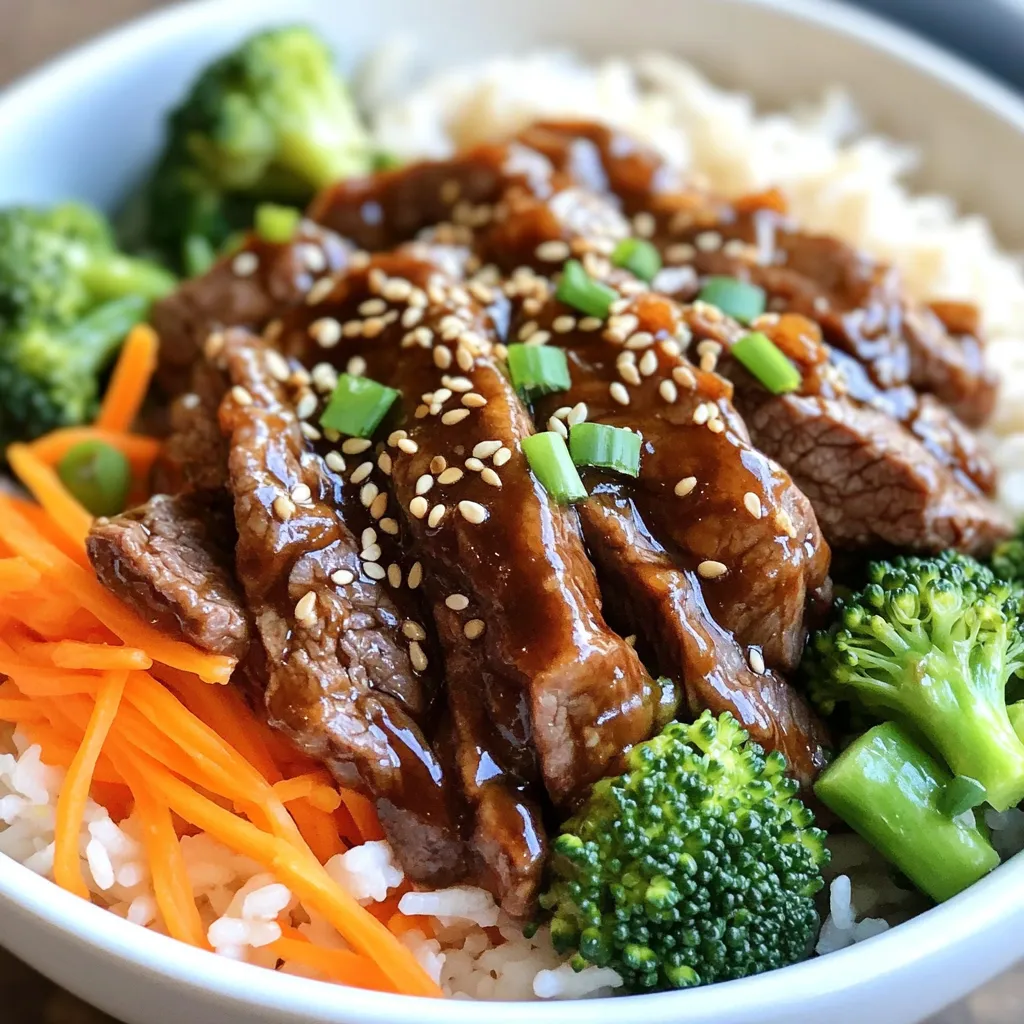
Craving a quick, tasty meal? These Minute Korean BBQ Beef Rice Bowls are your answer! With juicy beef sirloin, rich
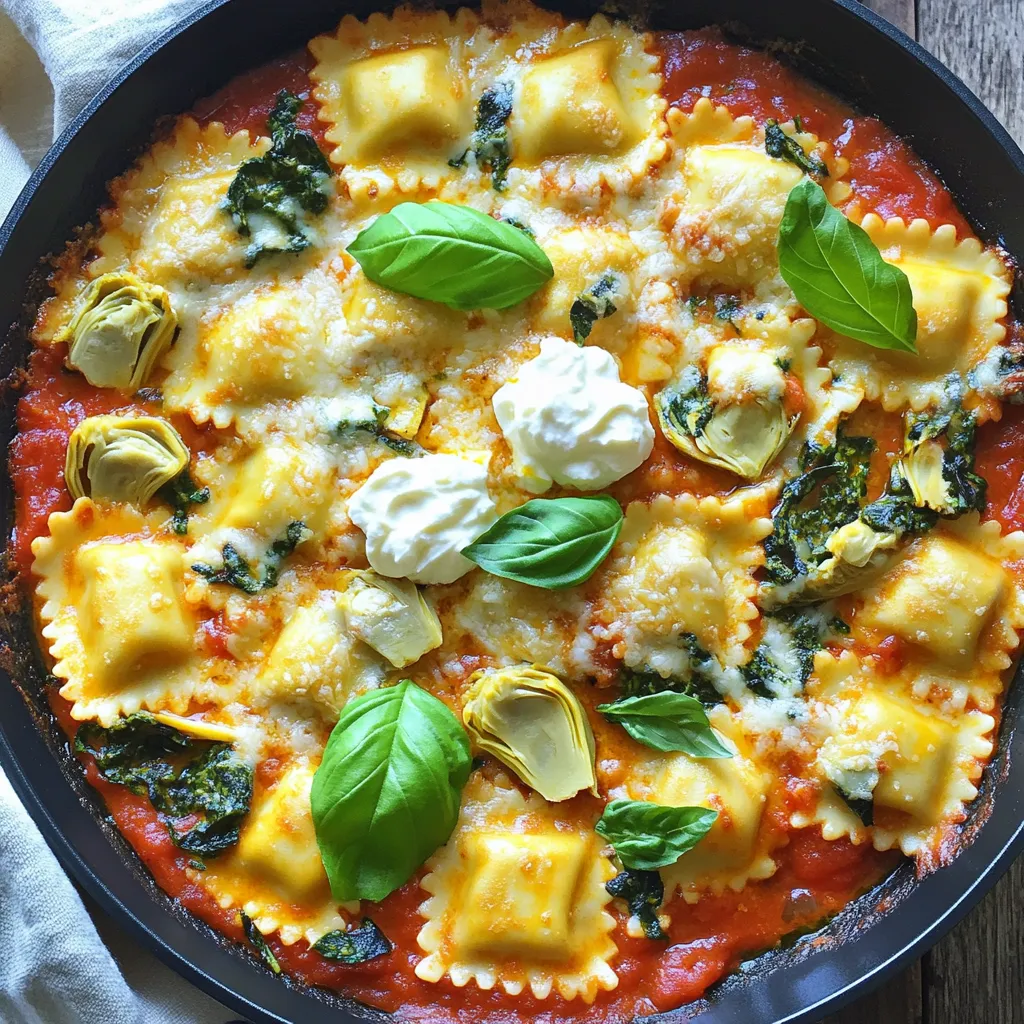
If you’re craving a creamy, cheesy meal that’s easy to make, you’re in the right place! My One-Pan Creamy Spinach
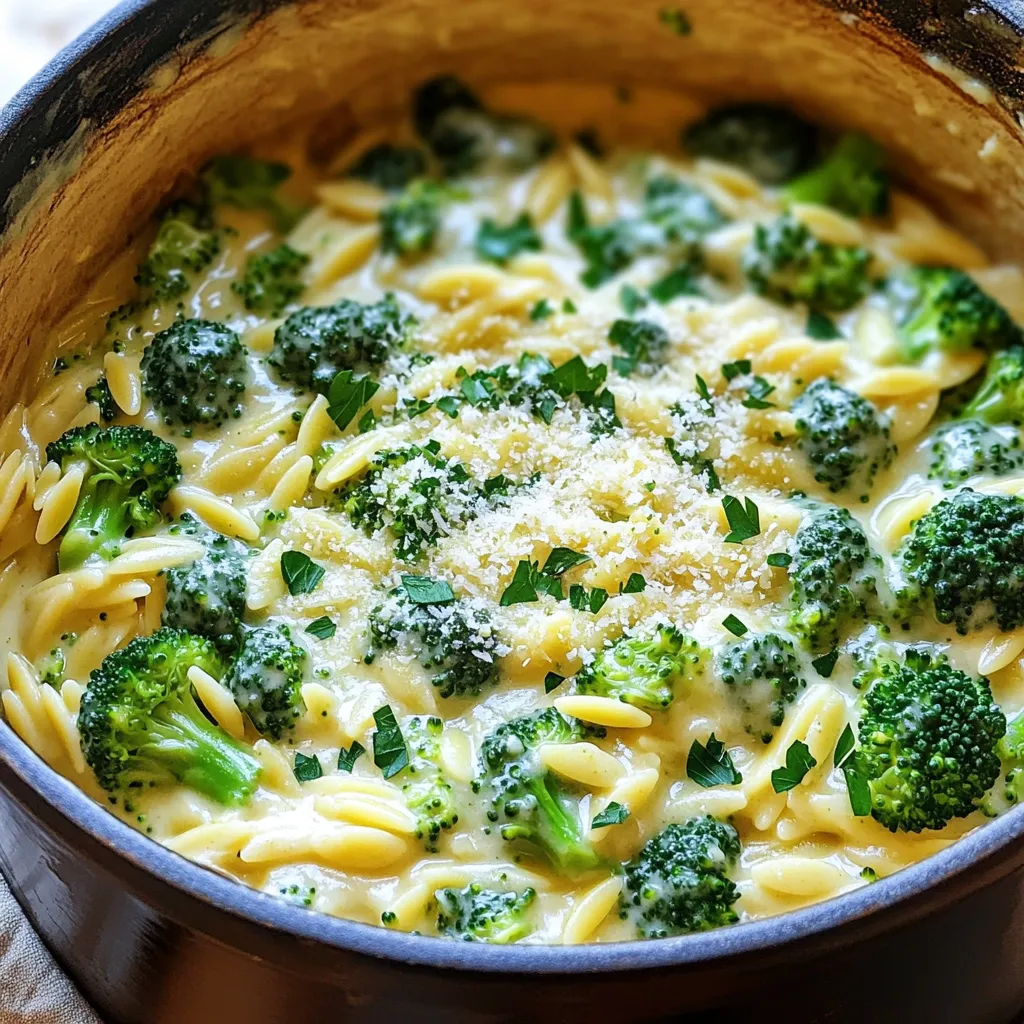
Welcome to One-Pot Creamy Broccoli Alfredo Orzo Delight! If you love quick, tasty meals, this dish is perfect for you.
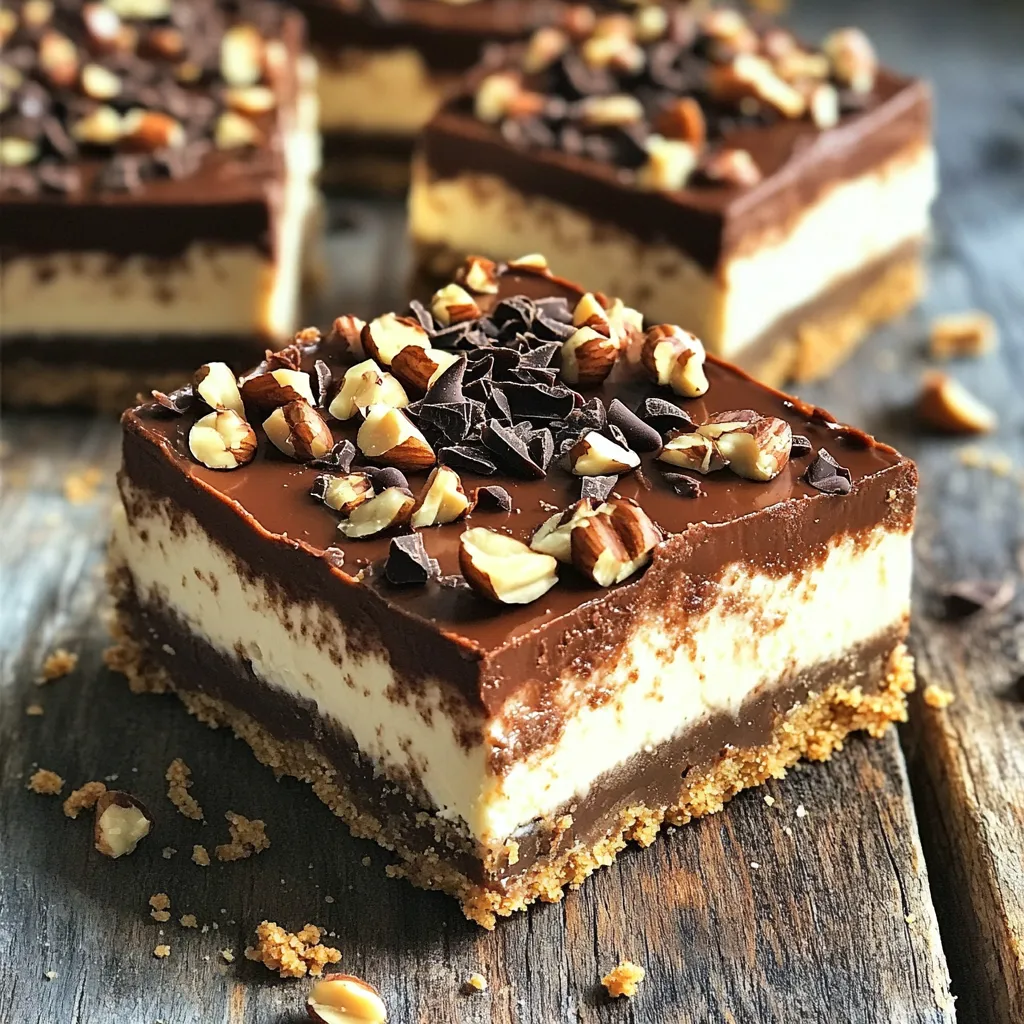
Are you ready for a dessert that’s easy and oh-so-delicious? No-Bake Chocolate Hazelnut Cheesecake Bars blend rich chocolate and creamy
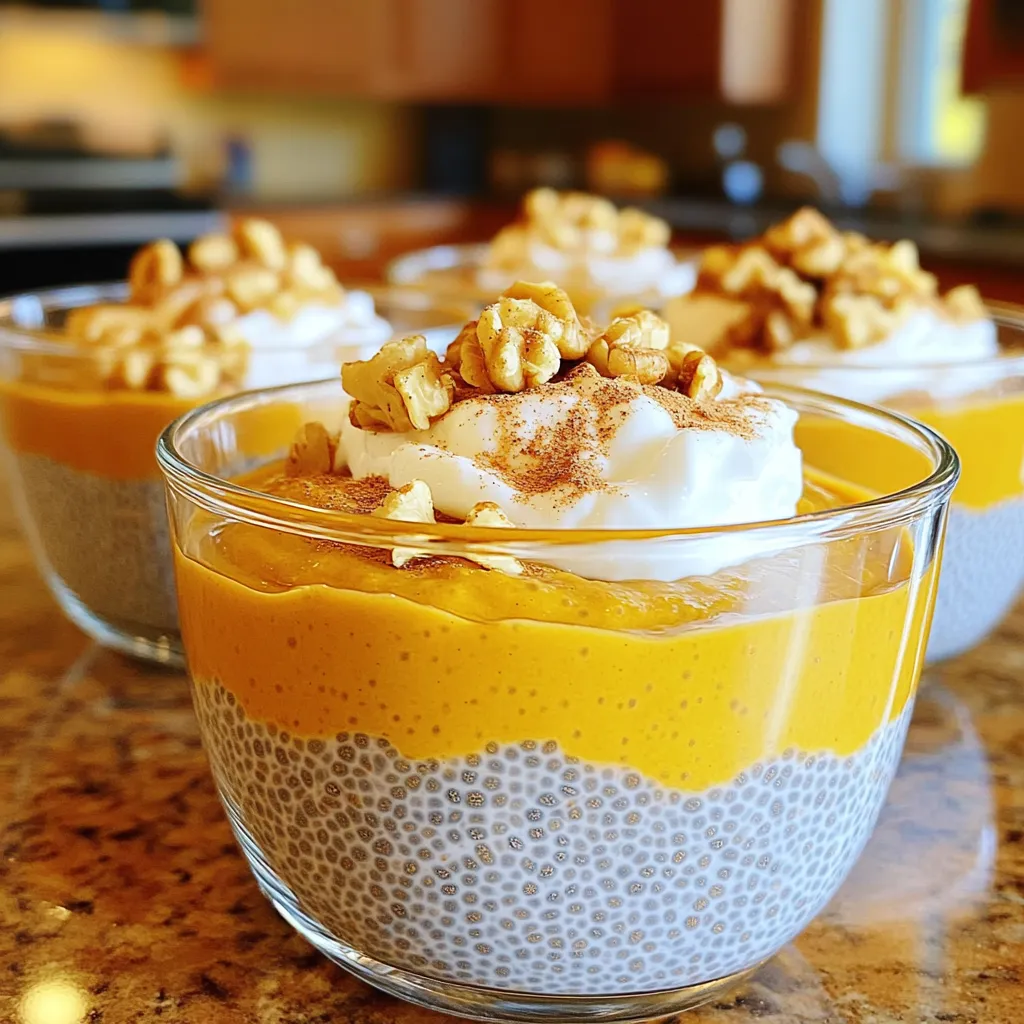
Love pumpkin pie but want a healthier twist? You’ll enjoy my High-Protein Pumpkin Pie Chia Pudding Delight! This creamy, delicious
