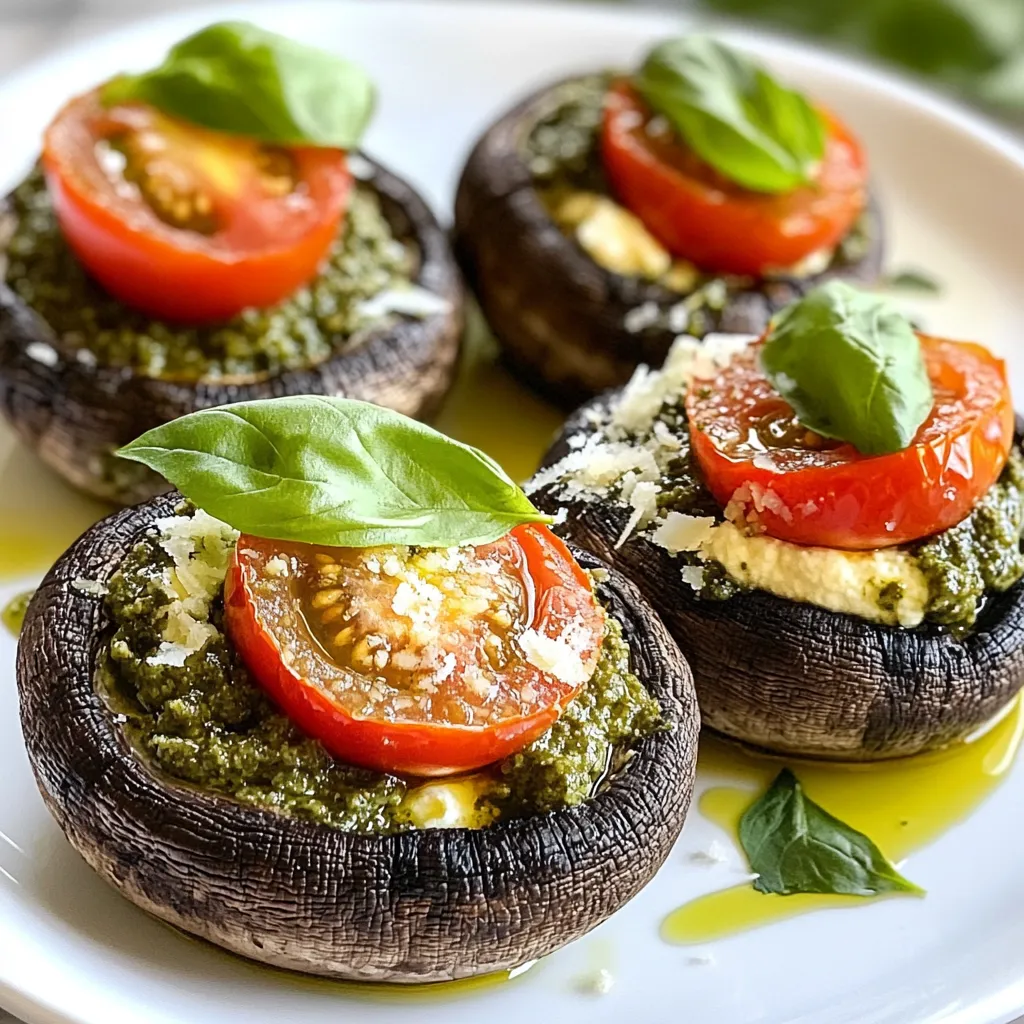
Pesto Ricotta Stuffed Portobello Mushrooms Delight
Are you ready to savor a dish that’s simple yet bursting with flavor? My Pesto Ricotta Stuffed Portobello Mushrooms are
Are you ready to savor a dish that’s simple yet bursting with flavor? My Pesto Ricotta Stuffed Portobello Mushrooms are

Are you ready to dive into a warm treat that’ll thrill your taste buds? Salted Caramel Hot Chocolate is a
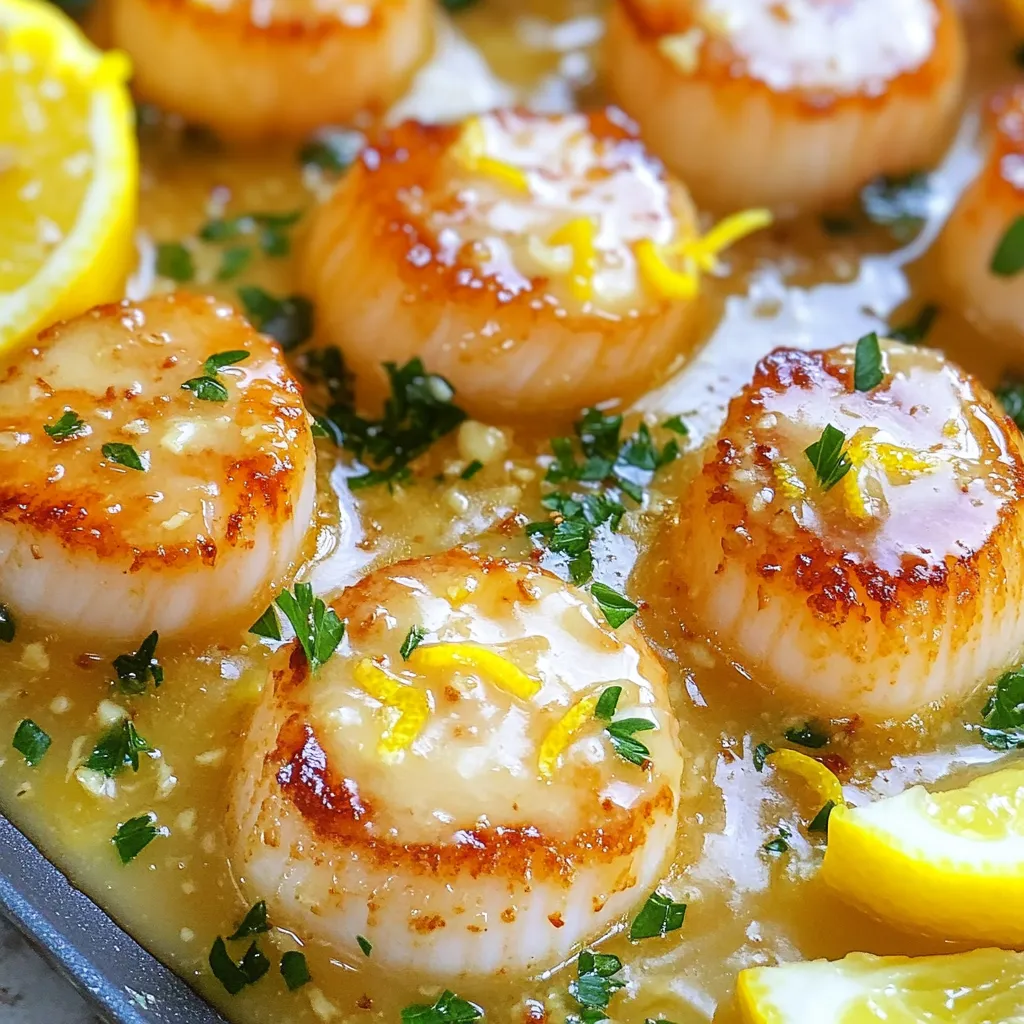
If you crave a quick and easy dinner, look no further! This Lemon Garlic Butter Scallops recipe is your answer.
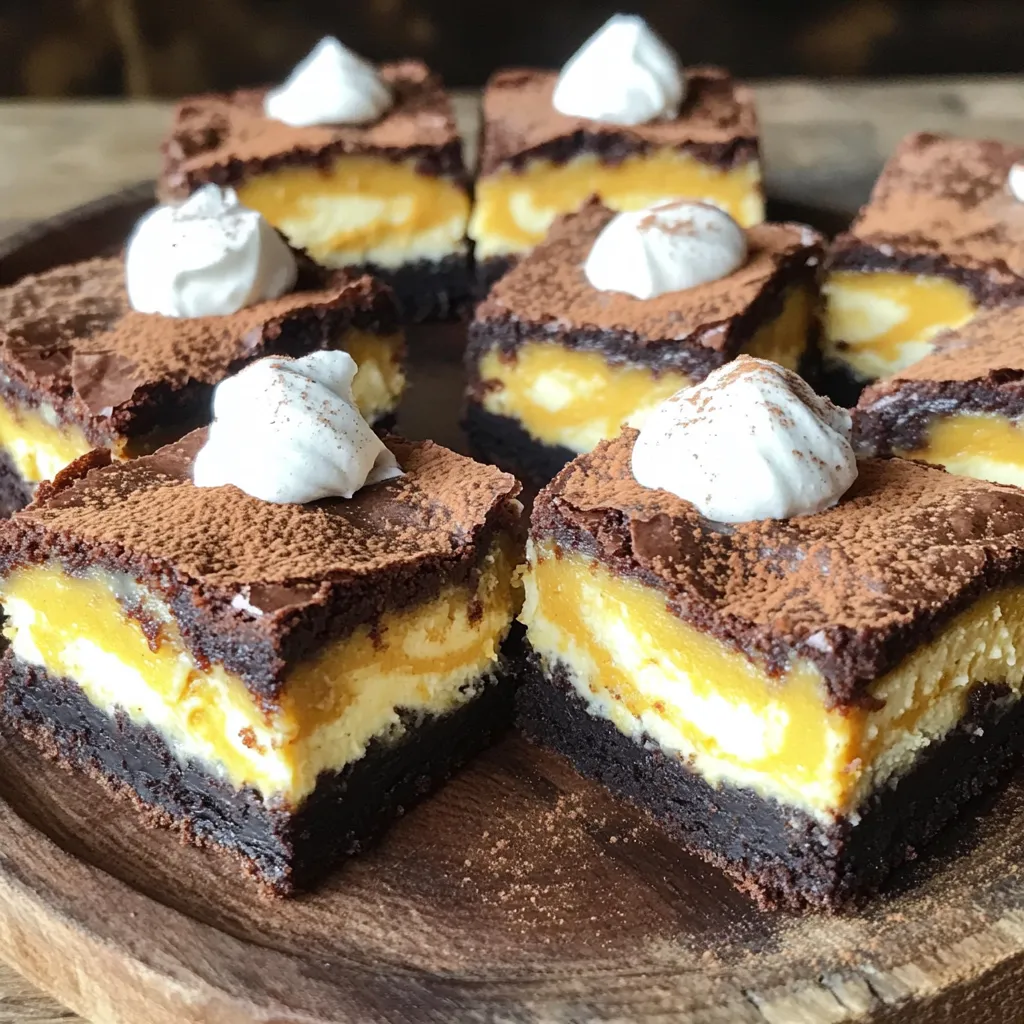
Get ready for a treat that combines two favorites: pumpkin and chocolate! These Pumpkin Cheesecake Swirl Brownies are rich, fudgy,
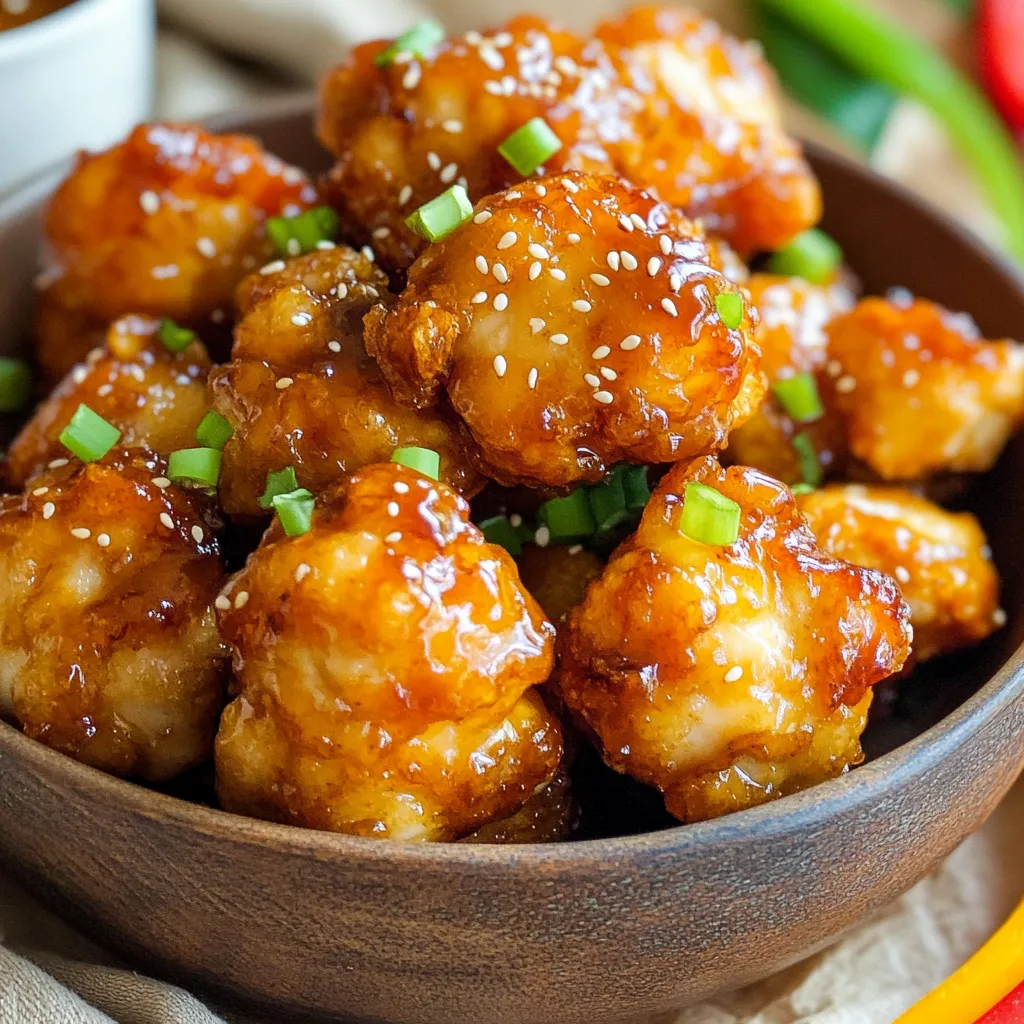
Are you ready to take your meals to the next level? I’ve got a tasty treat for you: Air Fryer
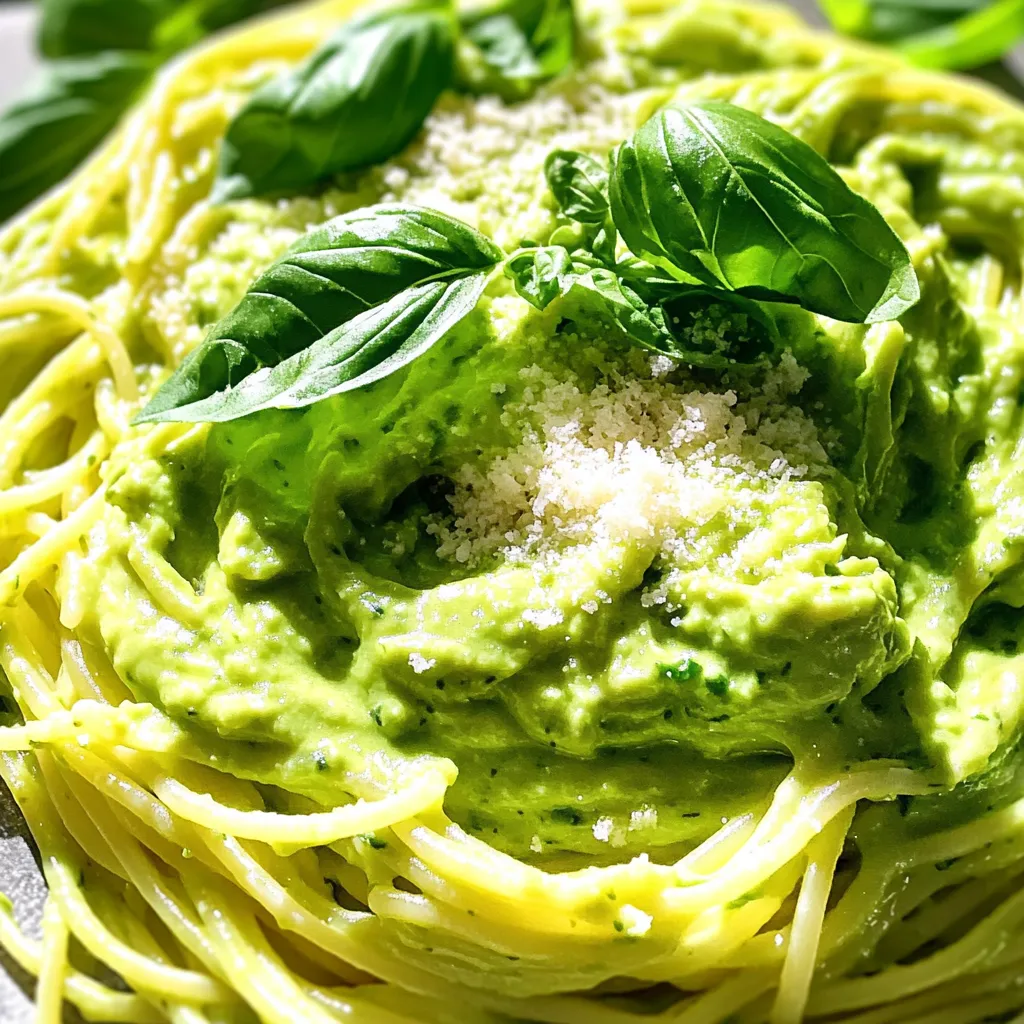
If you love quick meals bursting with flavor, you’ll adore creamy avocado pasta. This simple dish combines rich avocados with
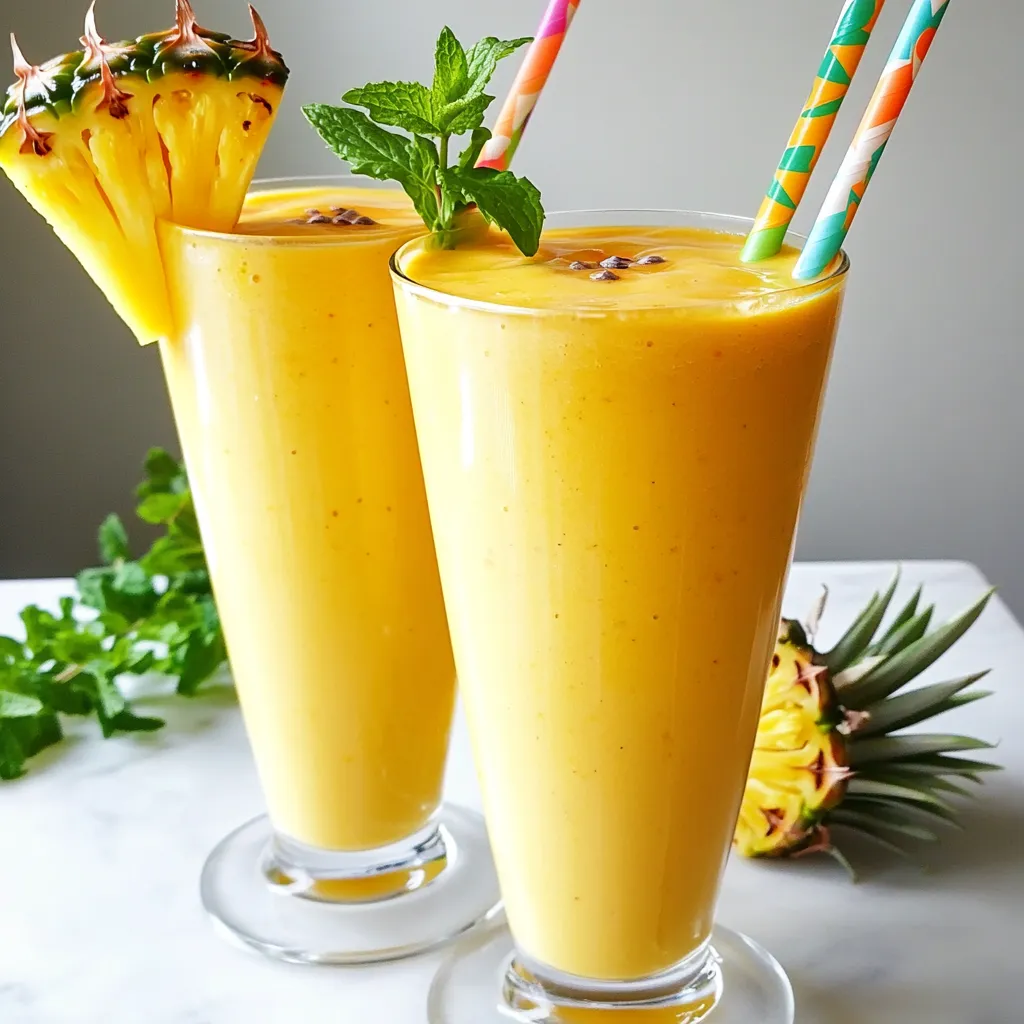
Are you ready to brighten your day with a delicious Mango Pineapple Smoothie? This refreshing and vibrant blend bursts with
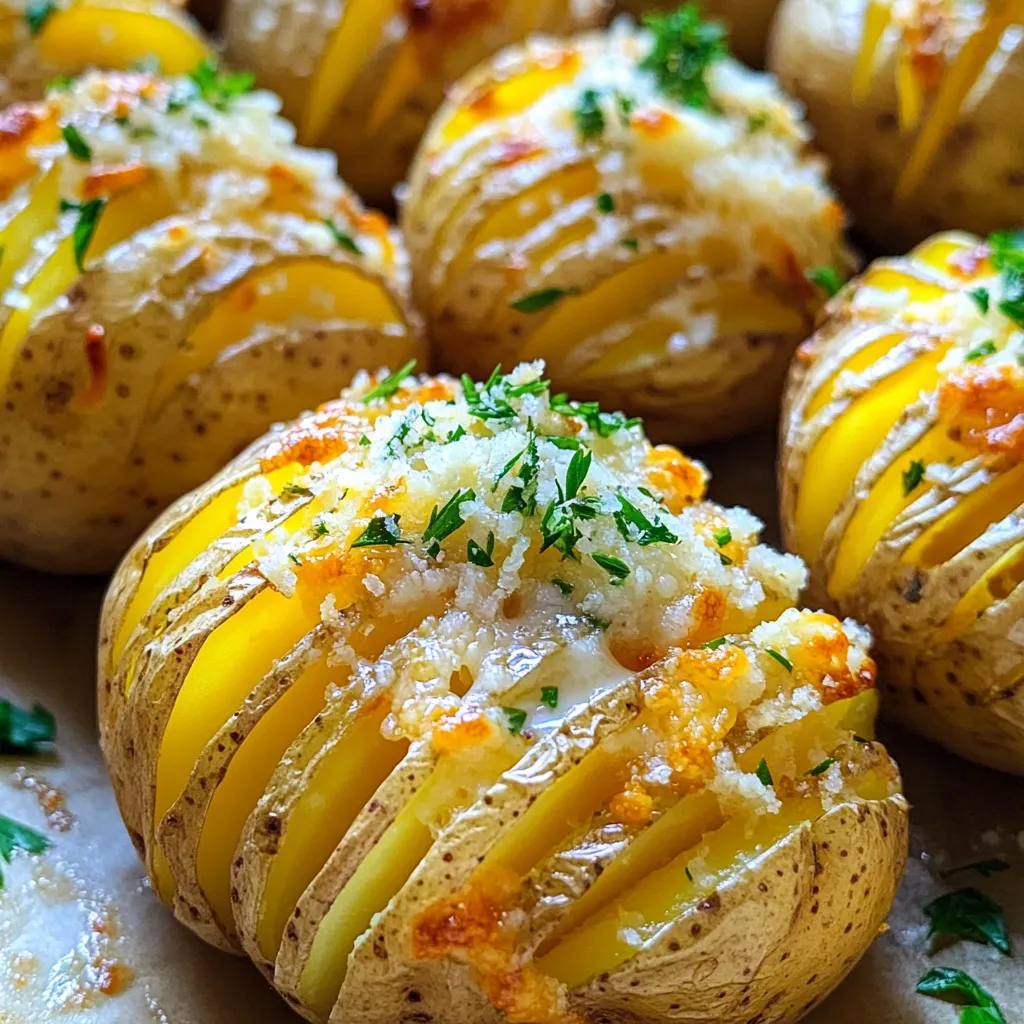
Are you ready to elevate your potato game? Garlic Butter Parmesan Accordion Potatoes are crispy, cheesy, and packed with flavor.
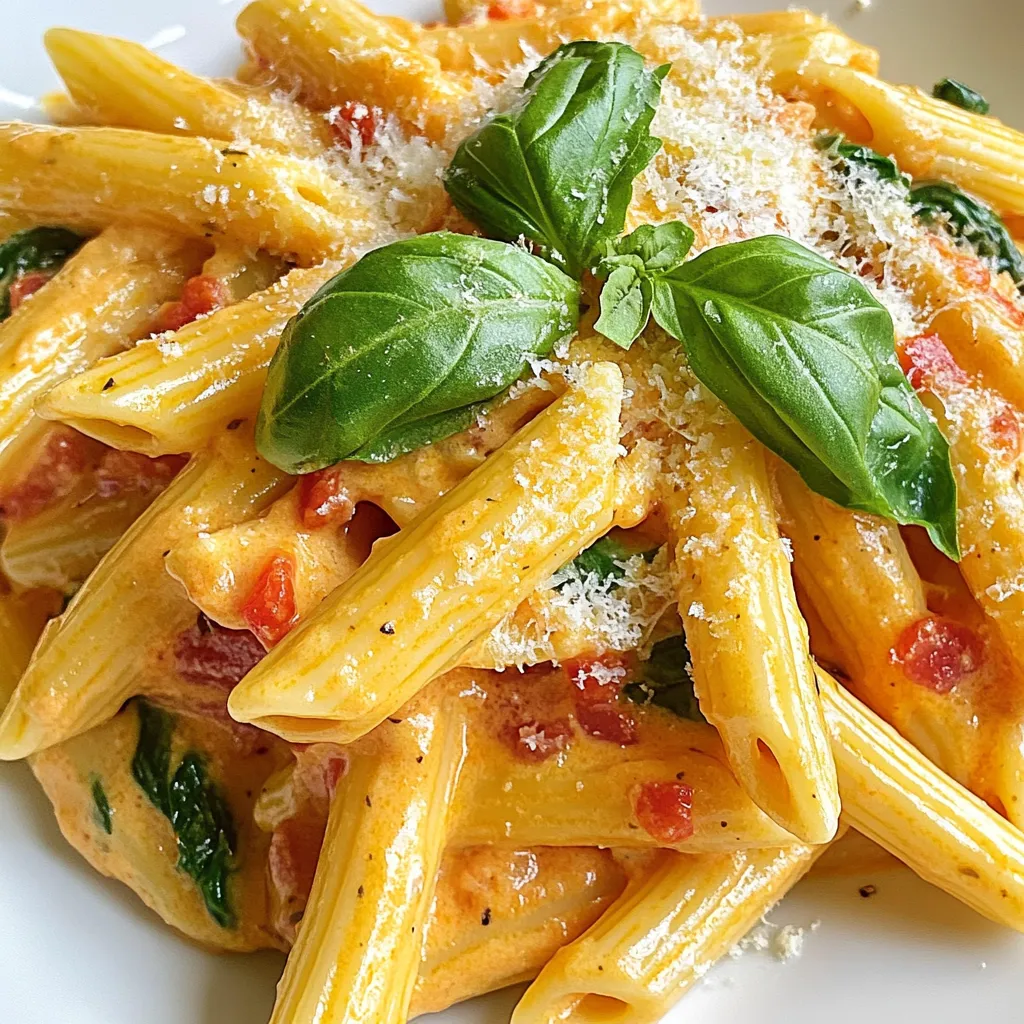
Are you craving a quick and tasty meal? Look no further than my Creamy Tomato Spinach Penne! This dish combines
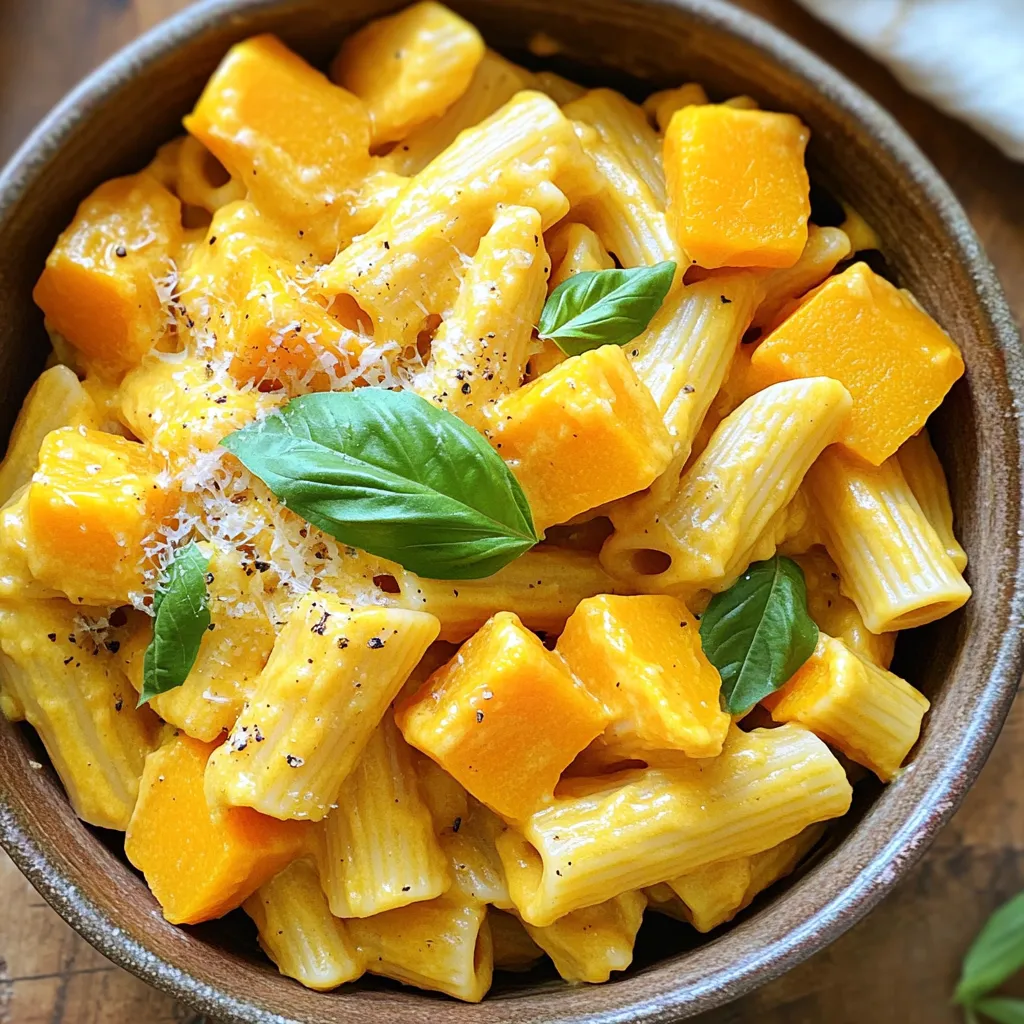
Ready to enjoy a warm bowl of One-Pot Creamy Butternut Squash Pasta Delight? This simple recipe is perfect for busy
