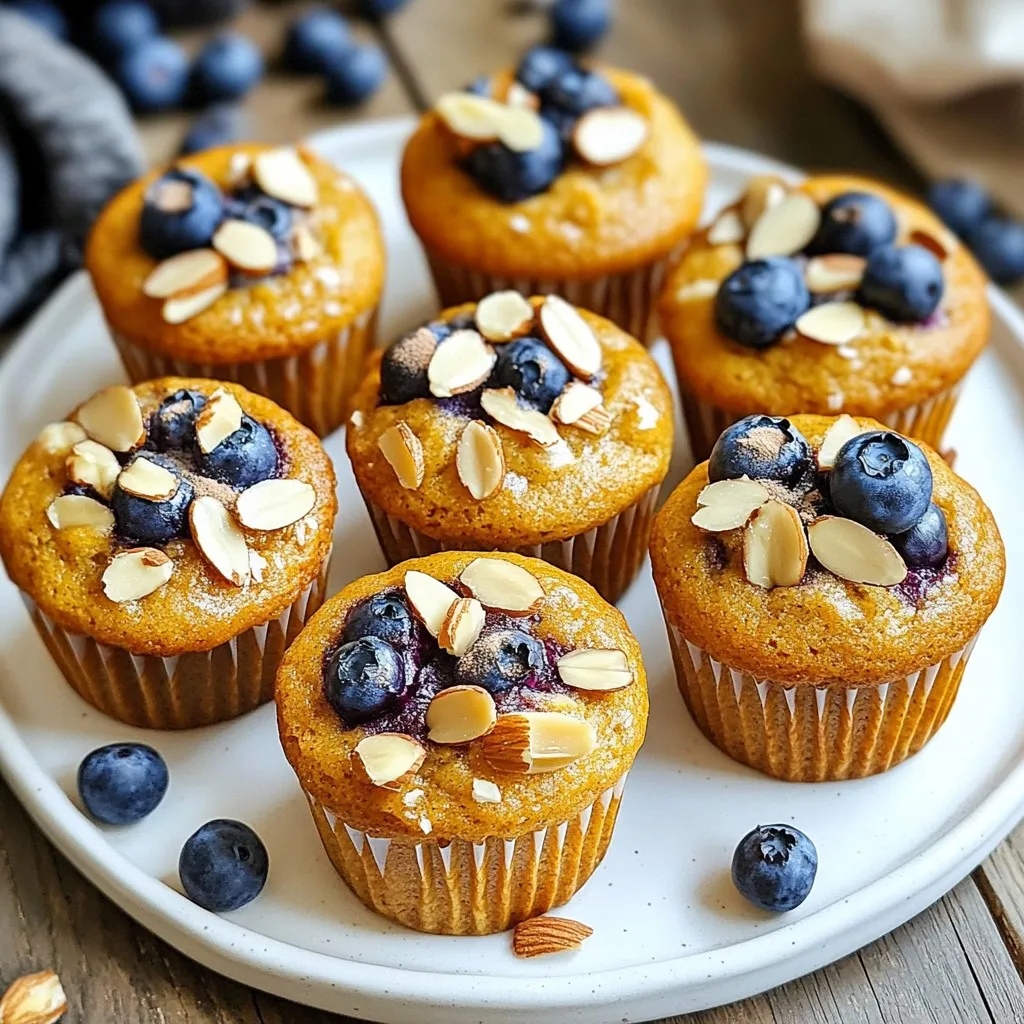
Blueberry Almond Energy Muffins Healthy Snack Option
Looking for a snack that’s both tasty and healthy? You’re in the right place! These Blueberry Almond Energy Muffins pack
Looking for a snack that’s both tasty and healthy? You’re in the right place! These Blueberry Almond Energy Muffins pack
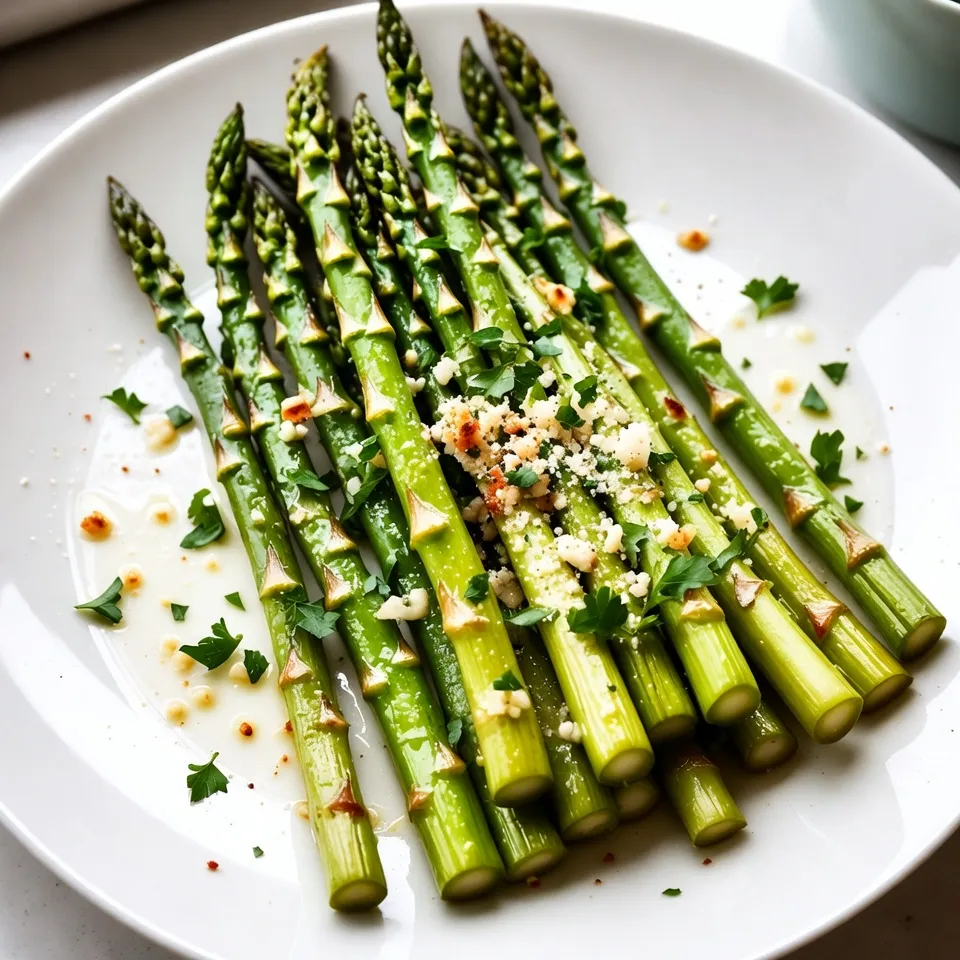
Looking for a simple yet tasty side dish? I’ve got you covered with Garlic Parmesan Roasted Asparagus! This dish combines
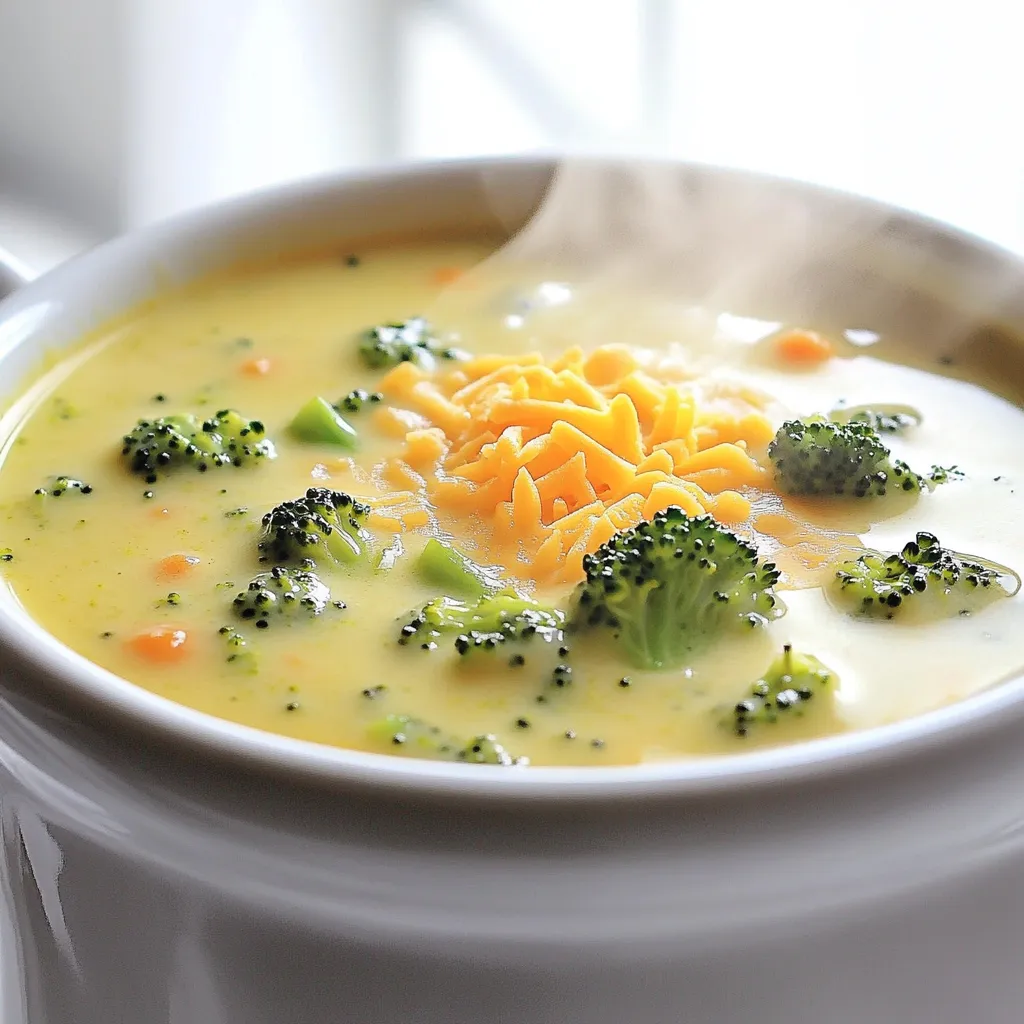
Warm your senses with my Creamy Broccoli Cheddar Soup! This simple recipe makes a delicious meal perfect for any night.
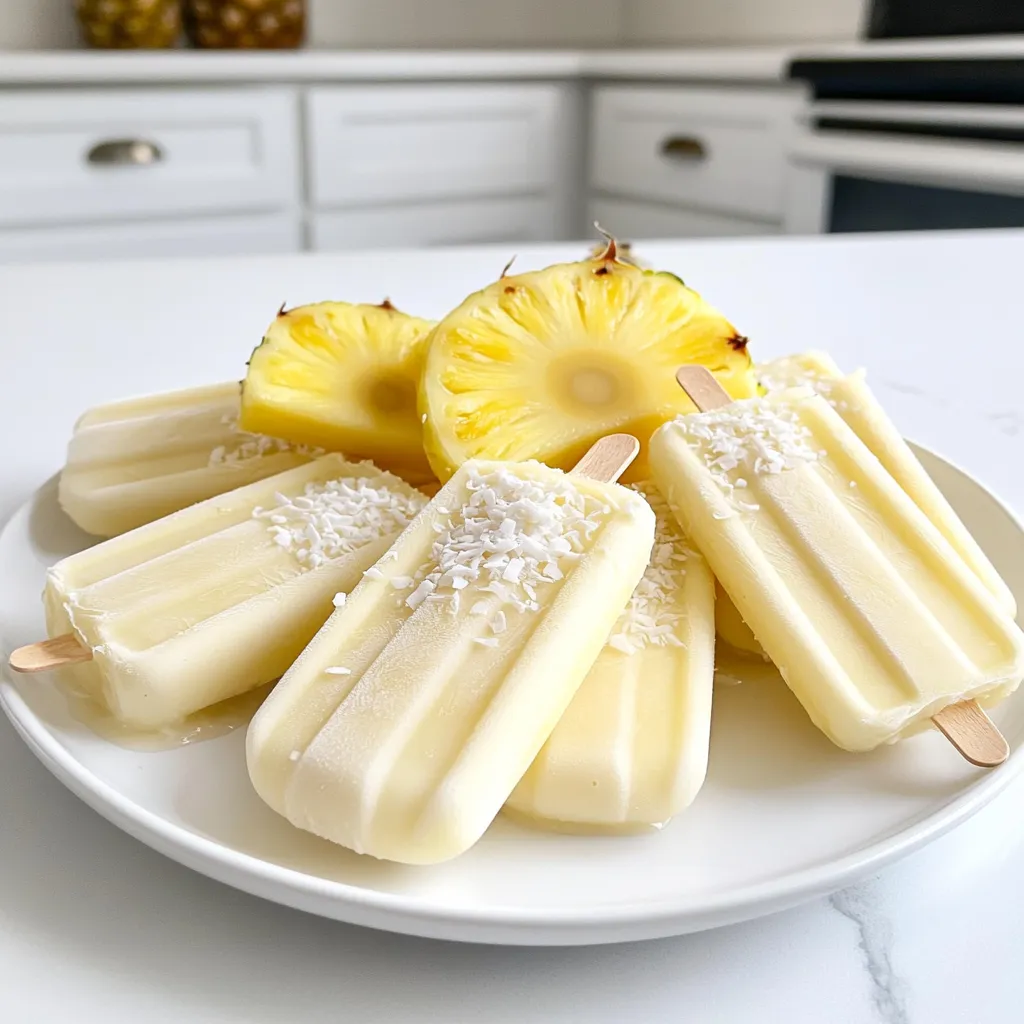
Looking for a cool treat to beat the summer heat? You’ve come to the right place! Coconut Pineapple Popsicles are
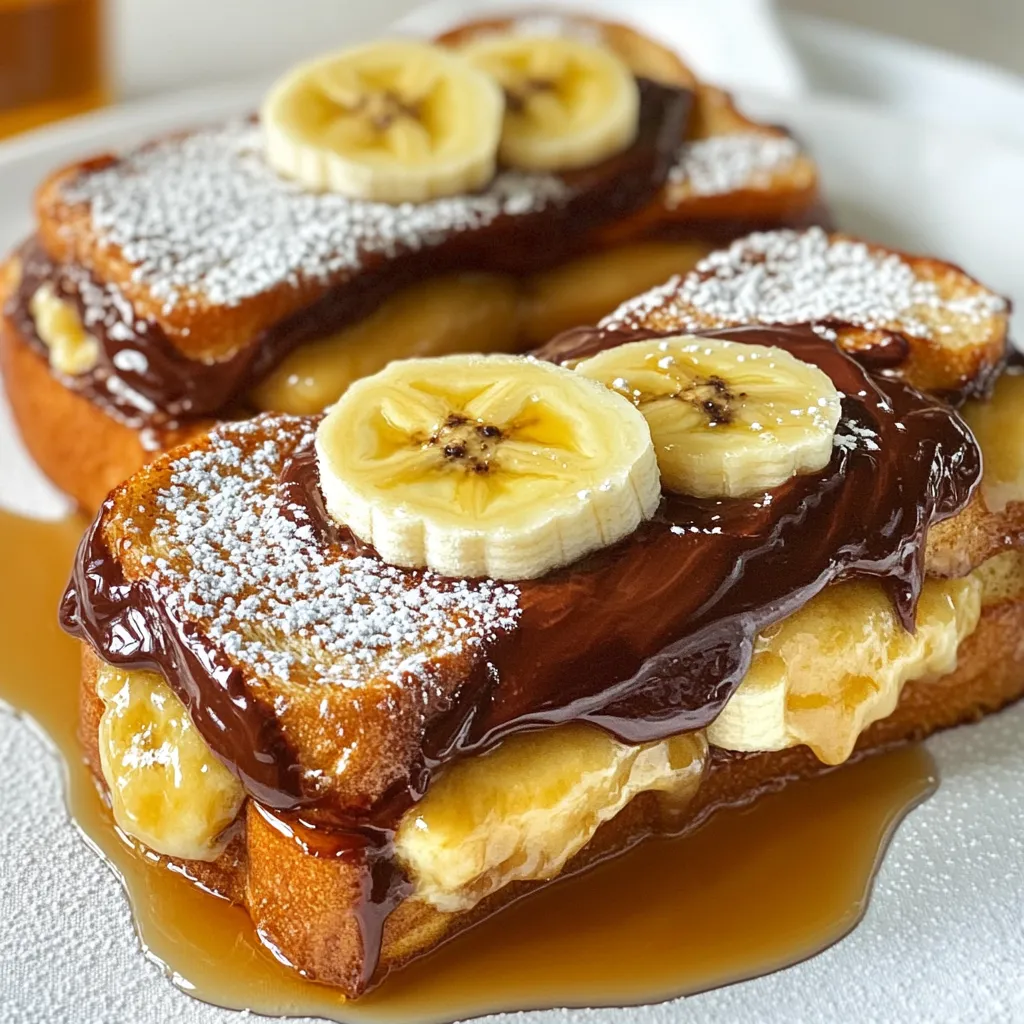
If you crave a delicious twist on breakfast, you need to try Banana Nutella Stuffed French Toast! This easy recipe
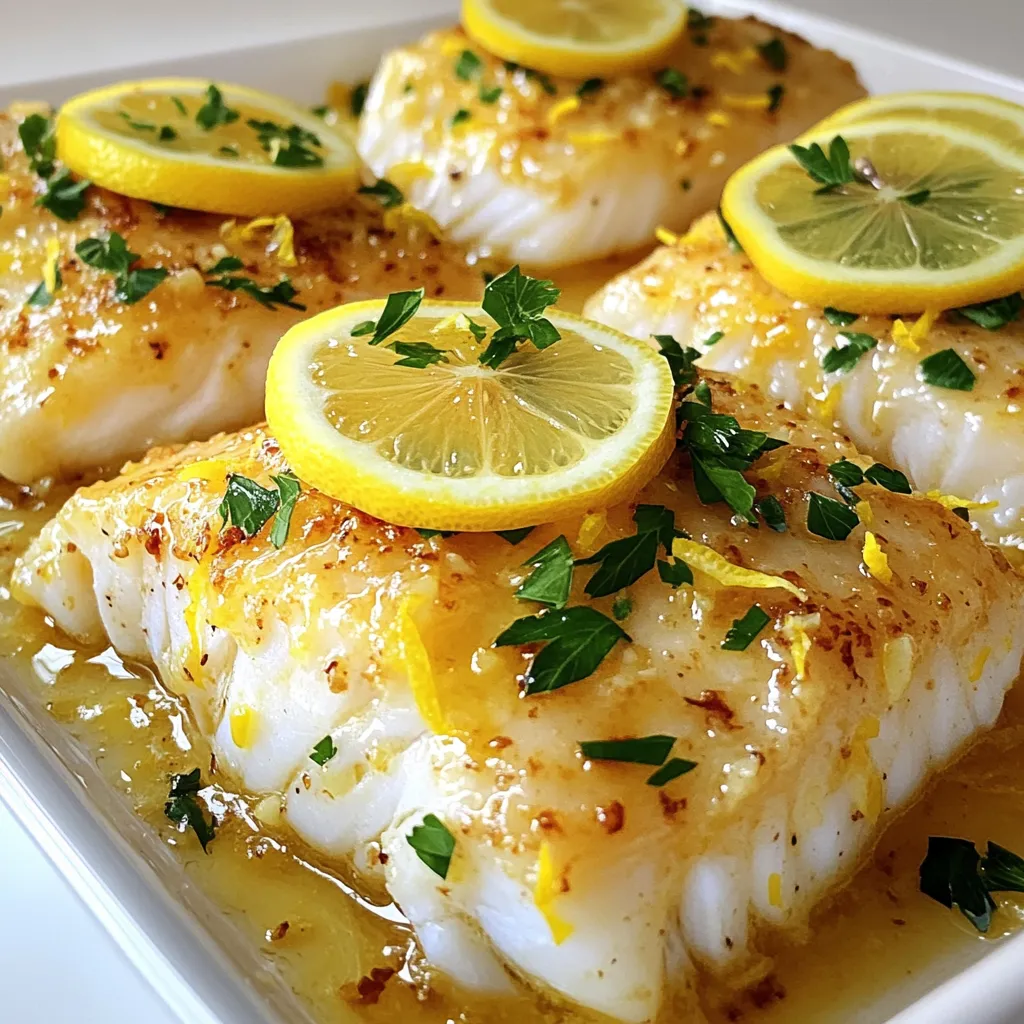
Are you craving a quick and tasty dinner? This Lemon Garlic Butter Cod recipe is your answer. With just a

Craving something fresh and tasty? Try these spicy roasted cauliflower tacos! They pack flavor and are perfect for any meal.
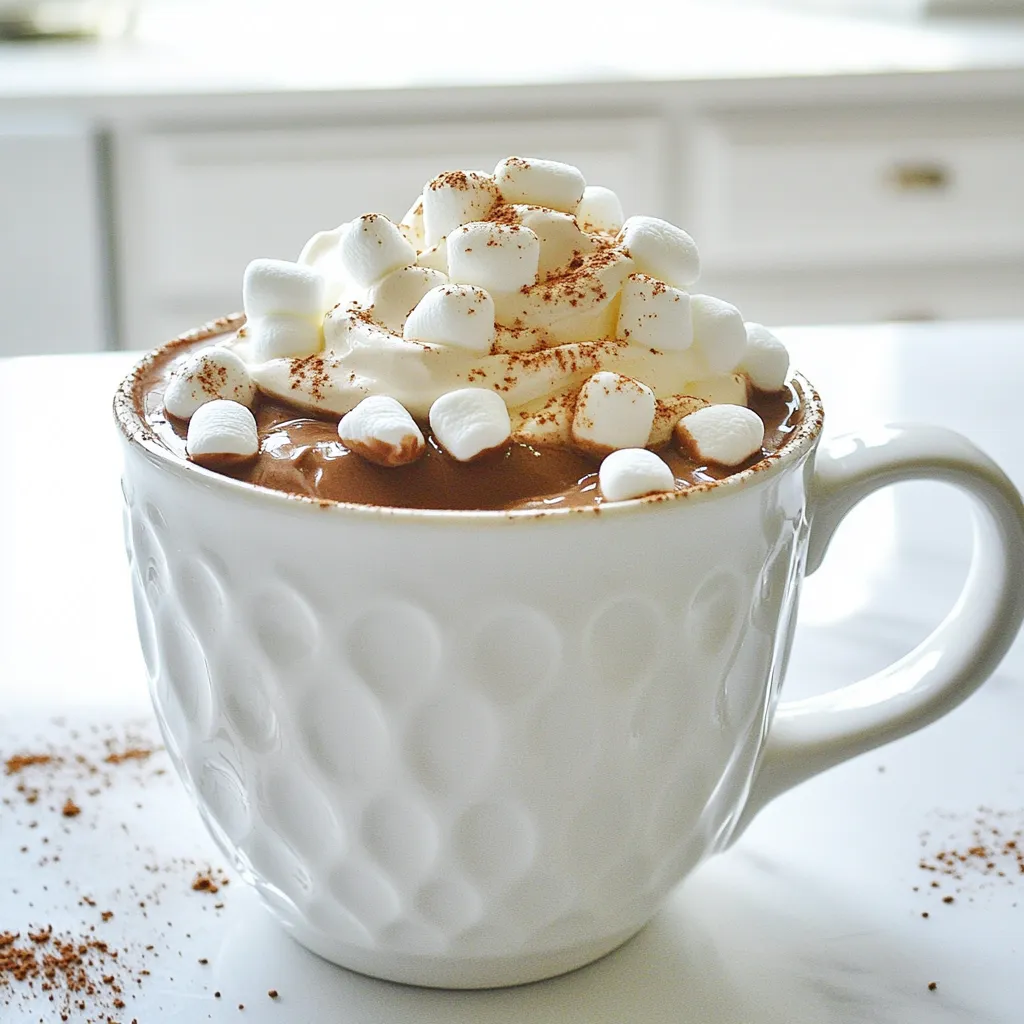
There’s nothing quite like a cup of hot chocolate on a chilly day. With my Slow Cooker Hot Chocolate recipe,
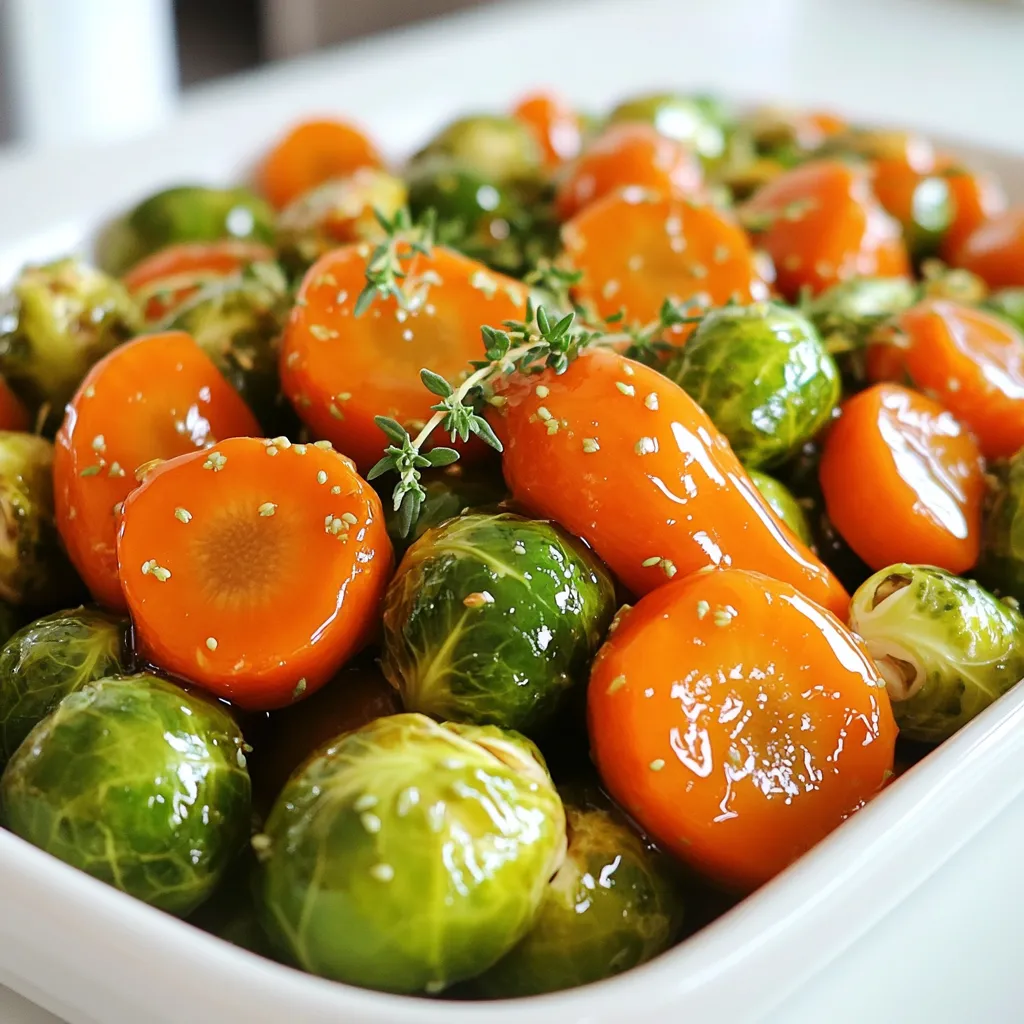
Looking for a side dish that dazzles and delights? Your search ends here! Maple Glazed Carrots and Brussels Sprouts combine

Craving a quick and tasty meal? You can whip up Minute Thai Peanut Ramen in just minutes! With creamy peanut
