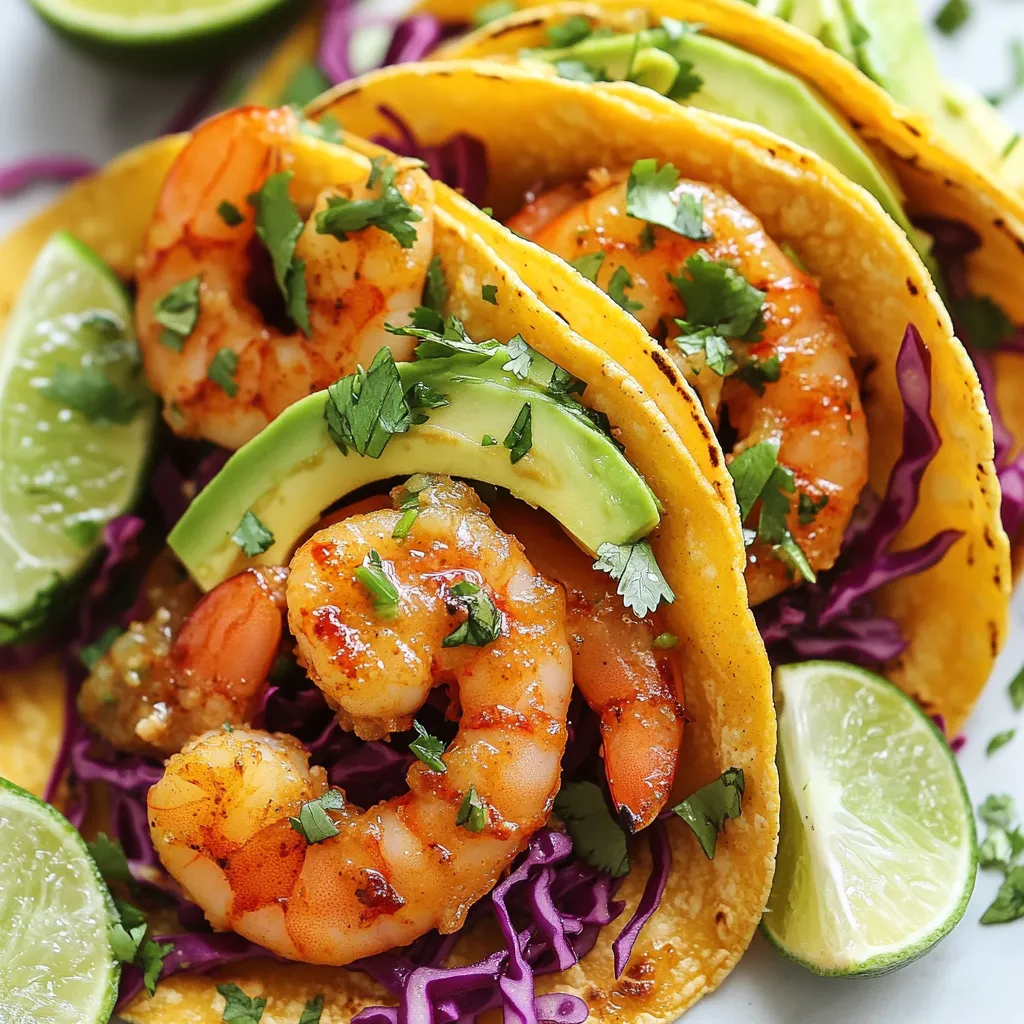
Spicy Garlic Shrimp Tacos Tasty and Simple Dish
Looking for a quick and tasty meal? These Spicy Garlic Shrimp Tacos are your answer! This simple dish packs a
Looking for a quick and tasty meal? These Spicy Garlic Shrimp Tacos are your answer! This simple dish packs a
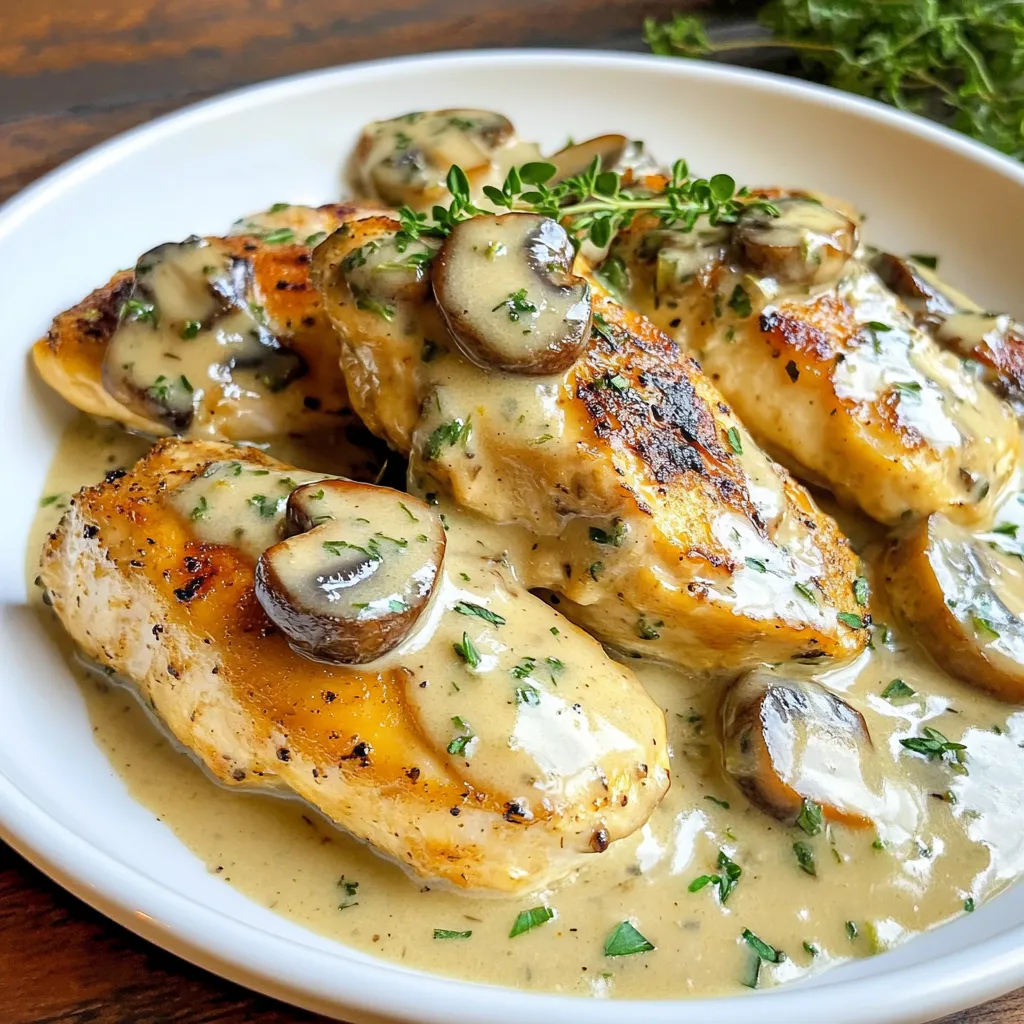
Are you ready to impress your family with a delicious dinner? My Creamy Mushroom Thyme Chicken is simple, tasty, and

Are you ready for a dish that combines rich flavors and simple ingredients? In this post, I’ll show you how
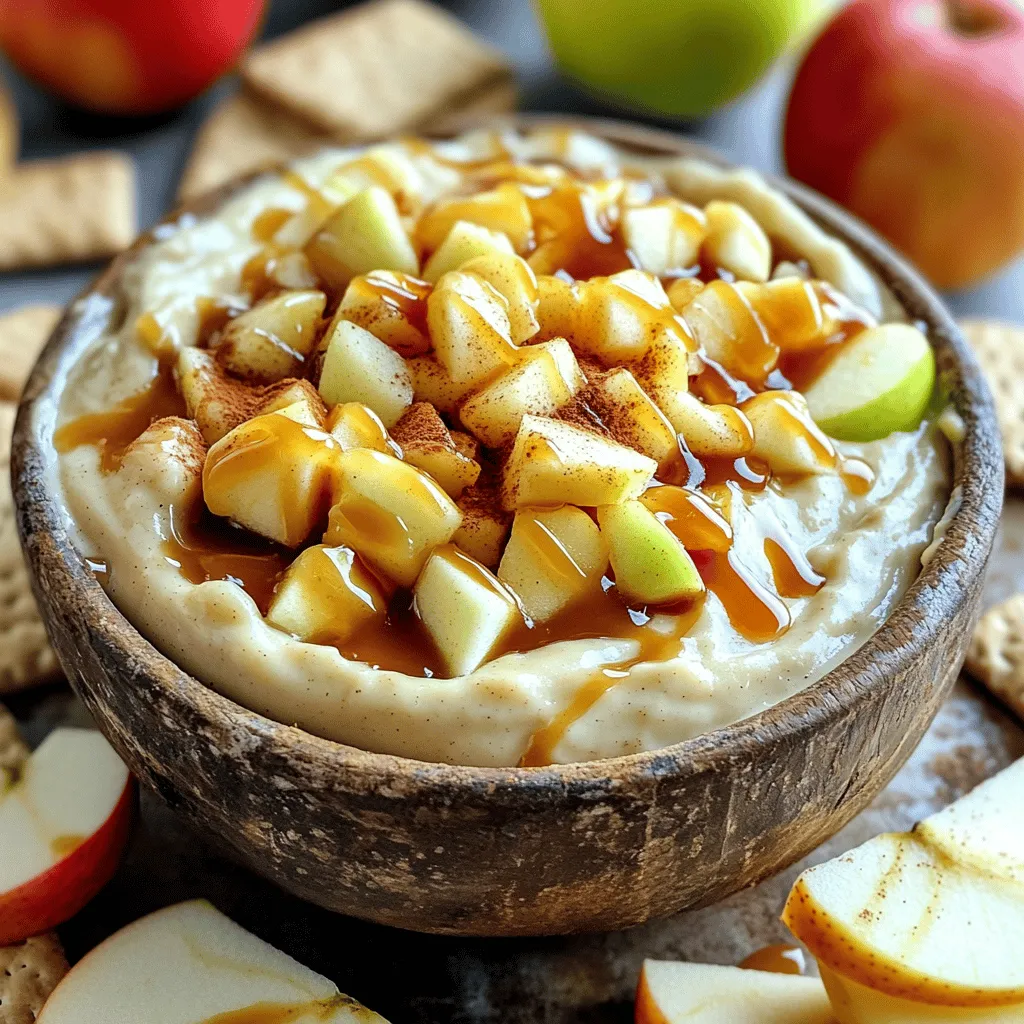
If you love sweet treats and easy recipes, you’re in for a real treat! My Caramel Apple Pie Dip is
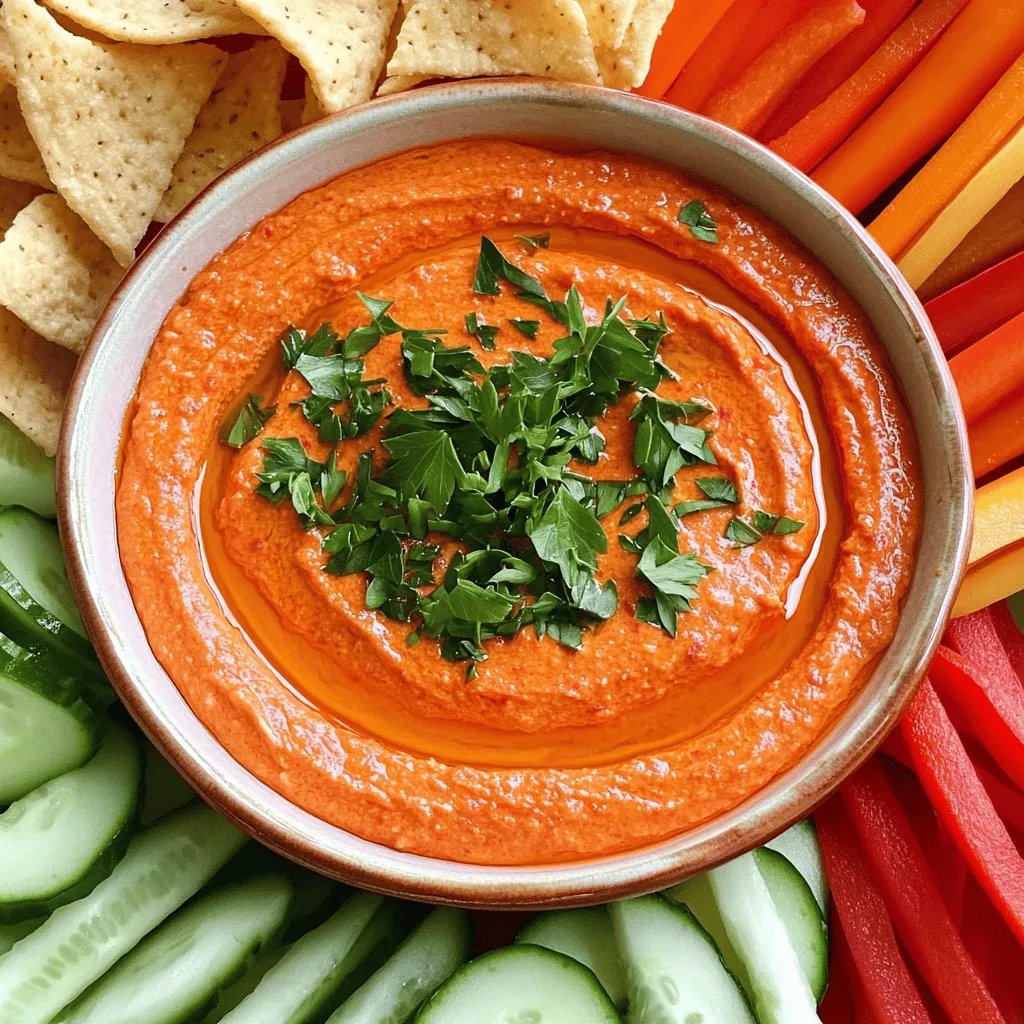
If you’re looking for a tasty treat, you’ve found it! My Roasted Red Pepper Goat Cheese Dip is easy to
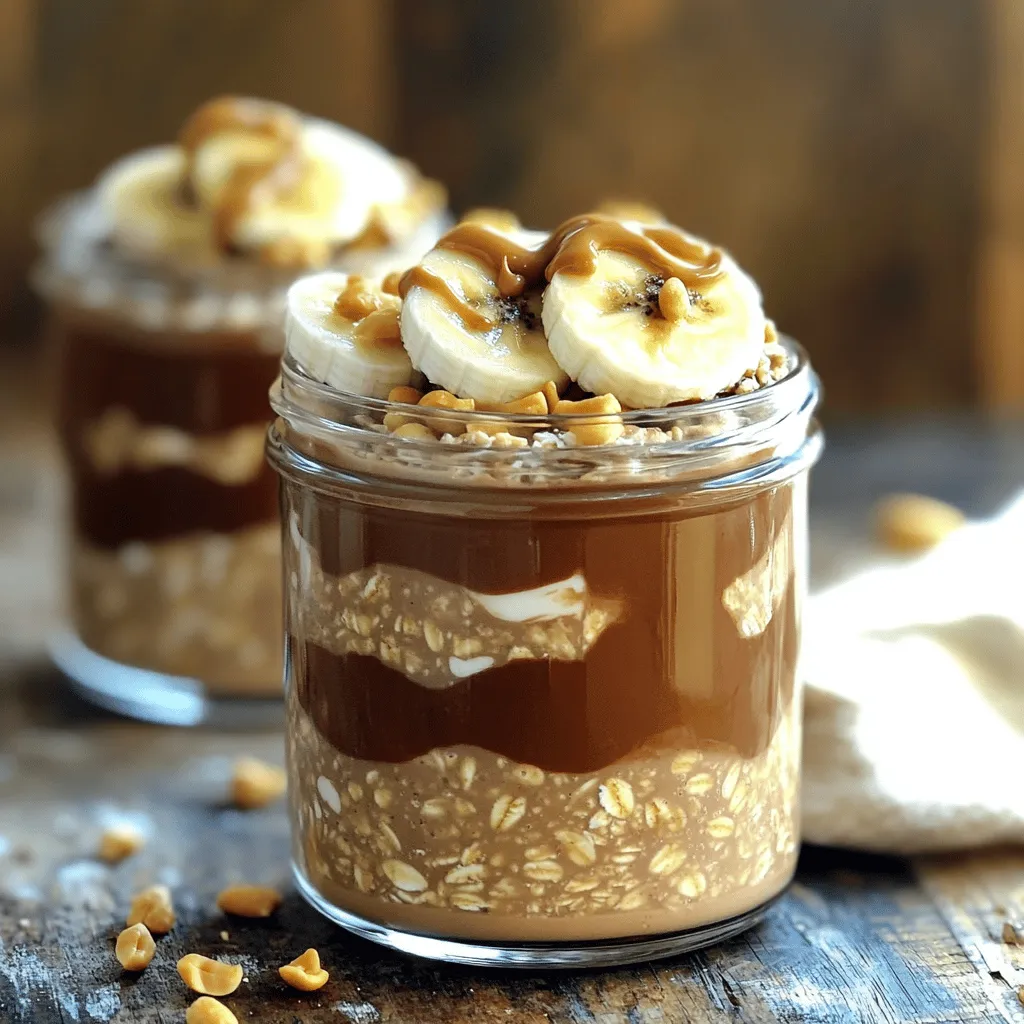
Are you ready to enjoy a delicious breakfast that requires minimal effort? Peanut Butter Chocolate Overnight Oats are your answer!

Are you looking for a quick, tasty snack that boosts your energy? Coconut Lime Energy Balls are your perfect answer!

If you need a quick dinner that’s both tasty and satisfying, this Creamy Tomato Tortellini Skillet is your answer! Made

Looking for a tasty treat that’s easy to make? I’ve got you covered with my Blueberry Lemon Yogurt Bread recipe!
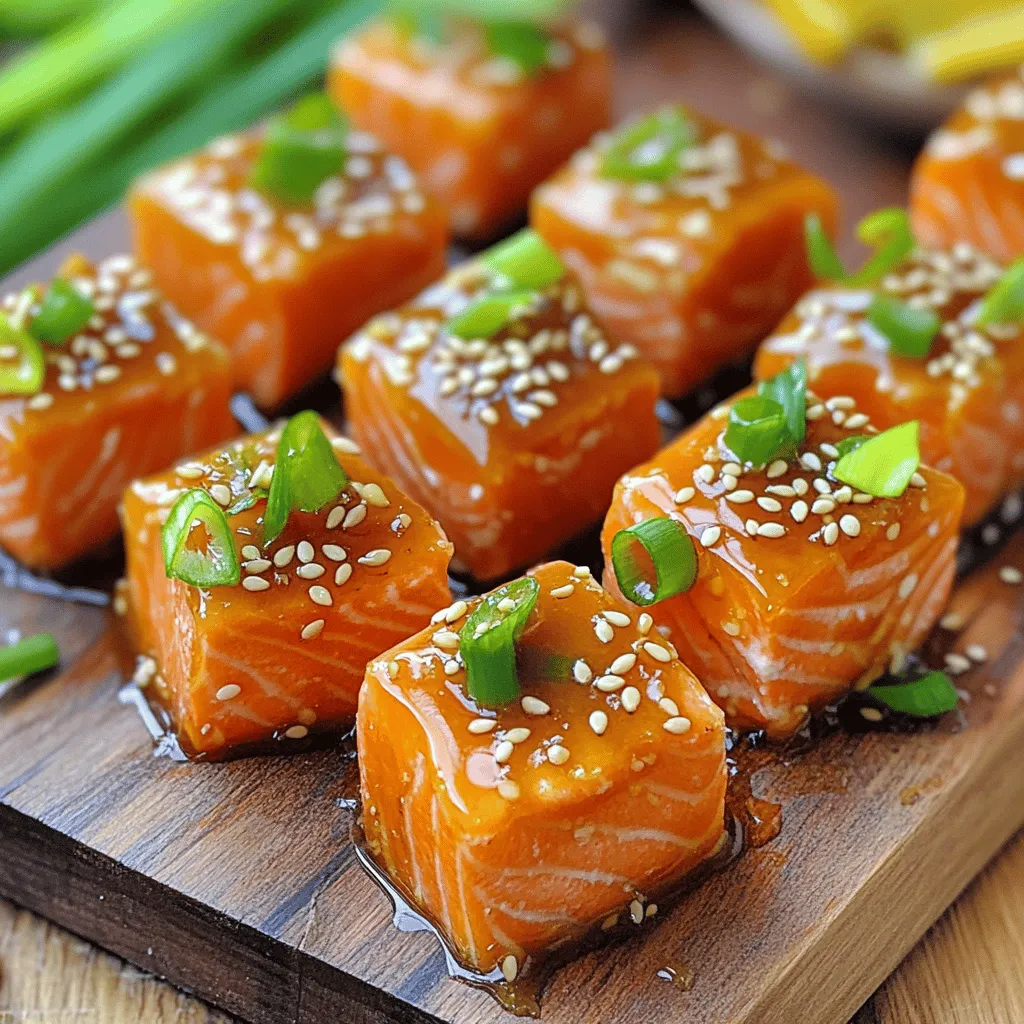
If you’re looking for a quick and tasty dish, try my Honey Garlic Salmon Bites in the air fryer. These
