
Mango Coconut Overnight Oats Tasty and Simple Recipe
Looking for a refreshing breakfast that’s simple and tasty? Try my Mango Coconut Overnight Oats! This easy recipe combines creamy
Looking for a refreshing breakfast that’s simple and tasty? Try my Mango Coconut Overnight Oats! This easy recipe combines creamy
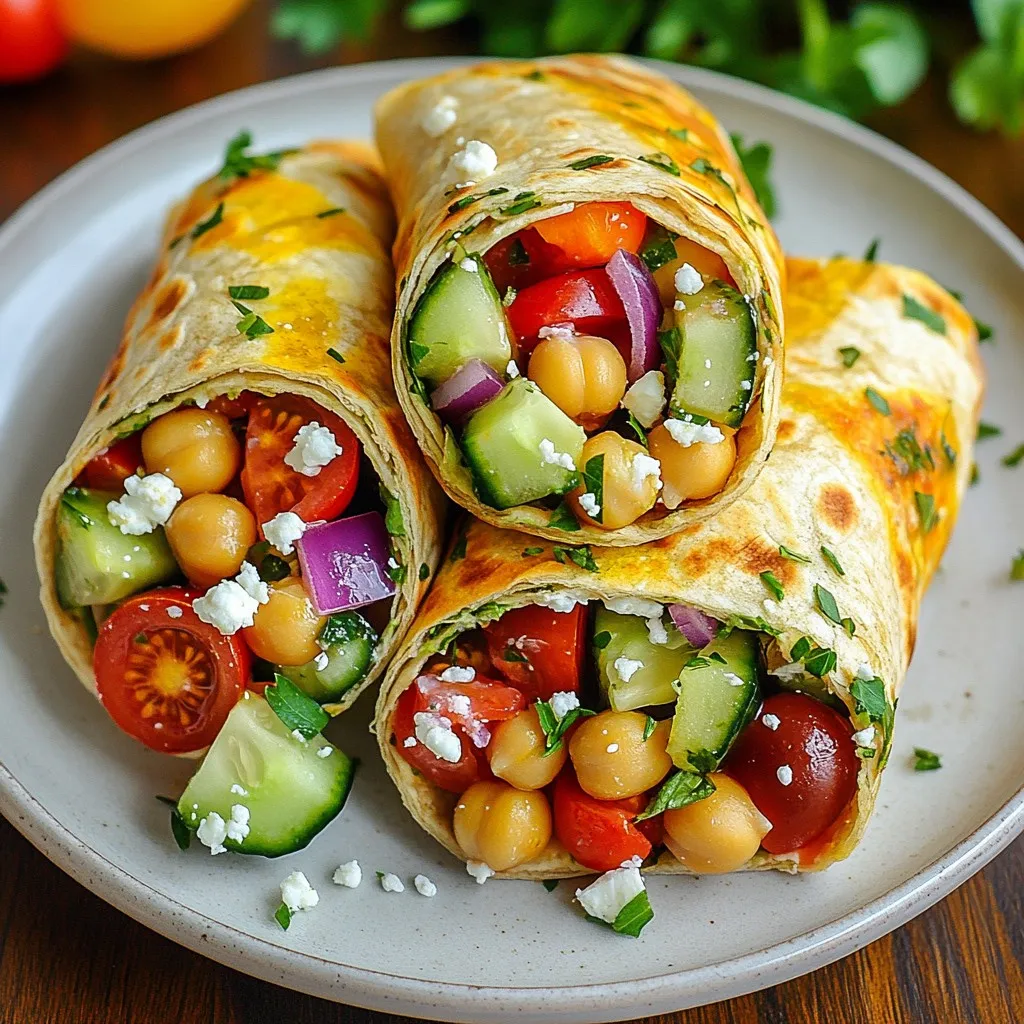
Looking for a meal that’s both delicious and easy? Mediterranean Chickpea Wraps are here to save the day! These wraps

Are you ready to brighten up your meals? This Mango Pineapple Salsa is fresh and flavor-packed, making it a perfect

Craving a sweet treat that’s soft, tasty, and easy to make? You’re in for a delight with these Raspberry Dark

Welcome to my kitchen, where we’re baking some sweet magic! Today, I’ll show you how to make Coconut Pineapple Cupcakes

Looking for a quick, tasty meal that’s bursting with flavor? The Sweet Hawaiian Chicken Skillet is your answer! This dish

If you’re craving a sweet way to celebrate fall, these Pumpkin Spice Latte Cupcakes are the answer! With rich flavors

Cinnamon Apple Crumble Muffins are a sweet hug in a muffin form. With warm spices and fresh apples, they promise
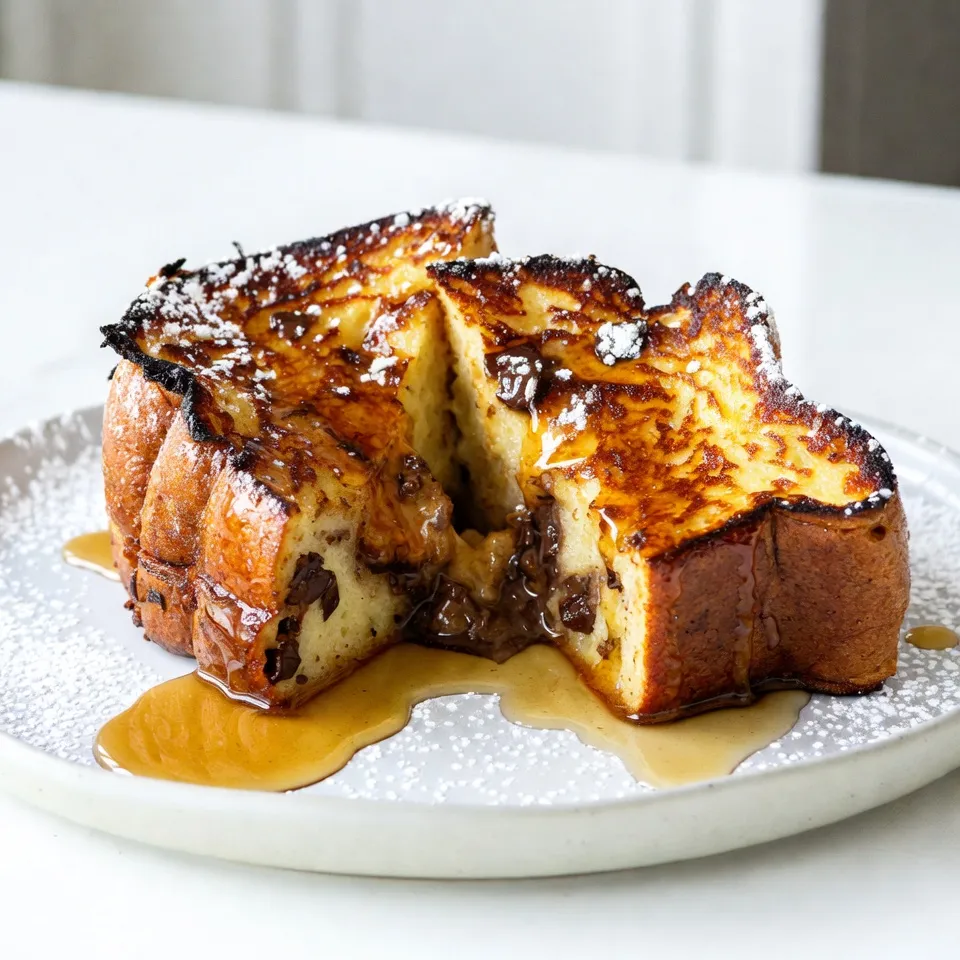
Get ready to treat yourself with the ultimate breakfast: Chocolate Chip Brioche French Toast! This recipe combines sweet, fluffy brioche
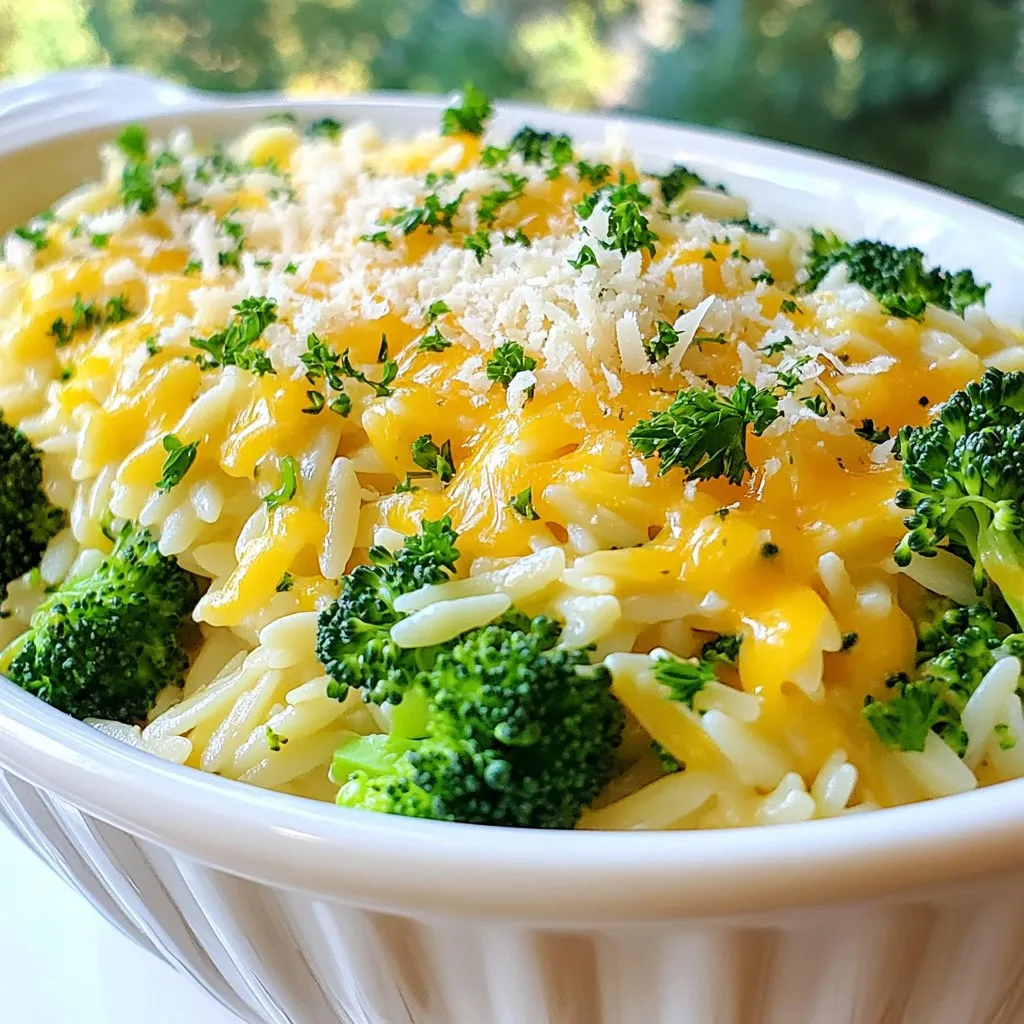
Craving a cozy and creamy dish? Let me introduce you to Creamy Broccoli Cheddar Orzo. This simple meal combines tender
