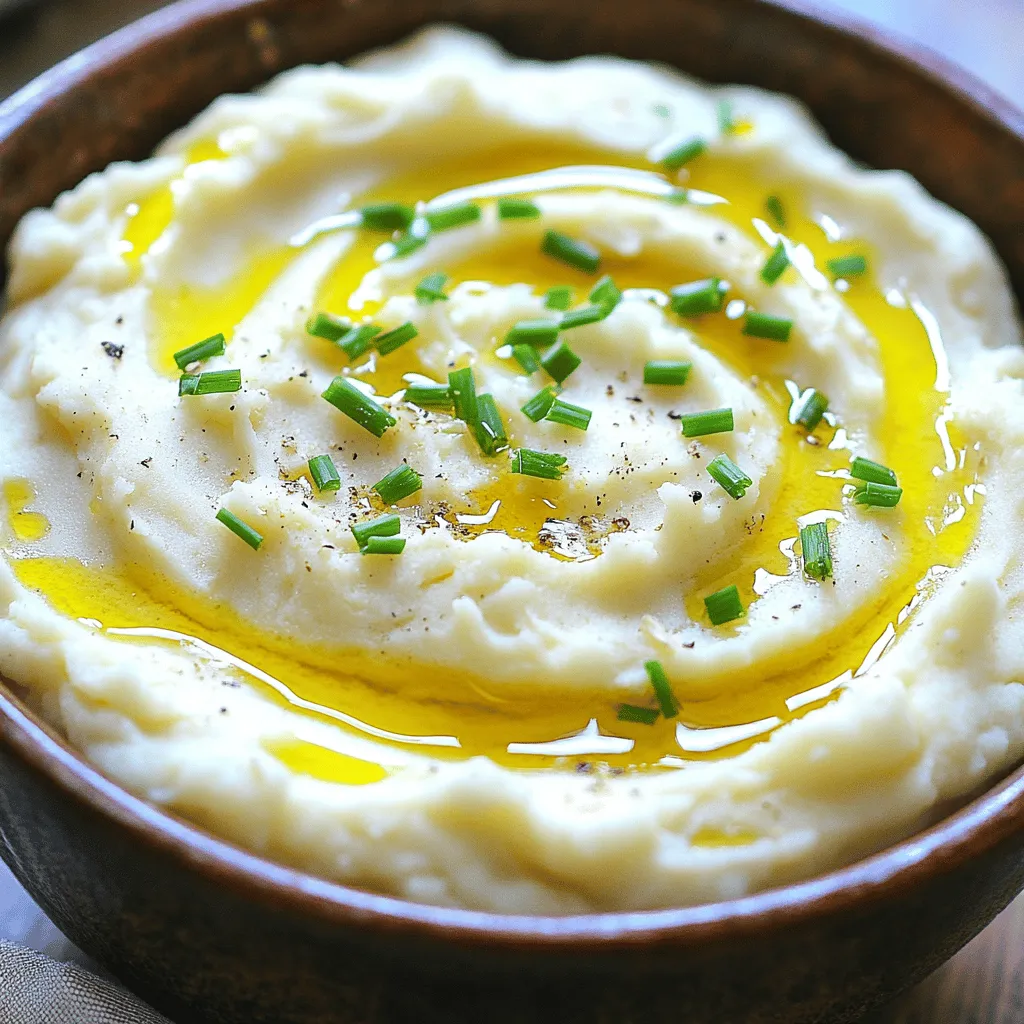
Creamy Roasted Garlic Mashed Cauliflower Delight
Are you ready to elevate your side dish game? My Creamy Roasted Garlic Mashed Cauliflower Delight is a game-changer. This
Are you ready to elevate your side dish game? My Creamy Roasted Garlic Mashed Cauliflower Delight is a game-changer. This
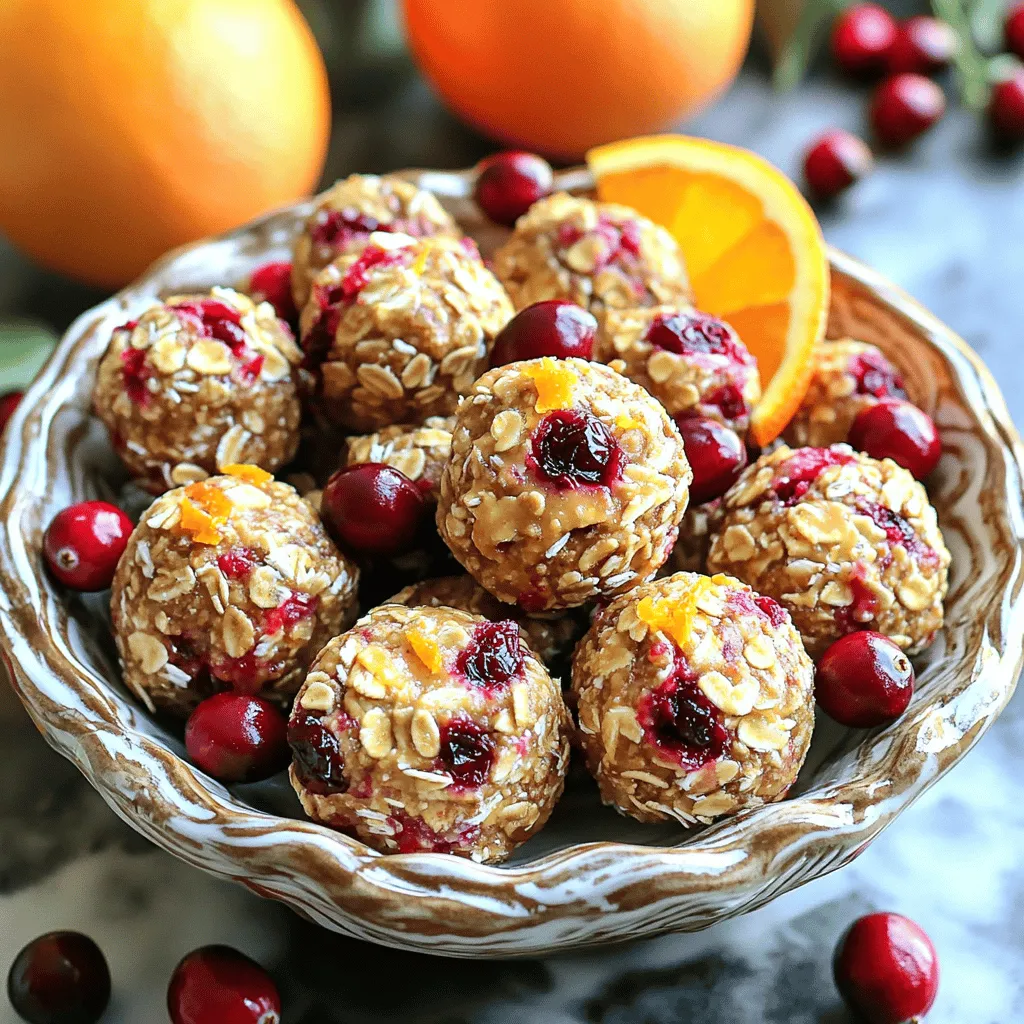
Looking for a quick and healthy snack? Let me introduce you to Cranberry Orange Energy Bites! Packed with oats, almond
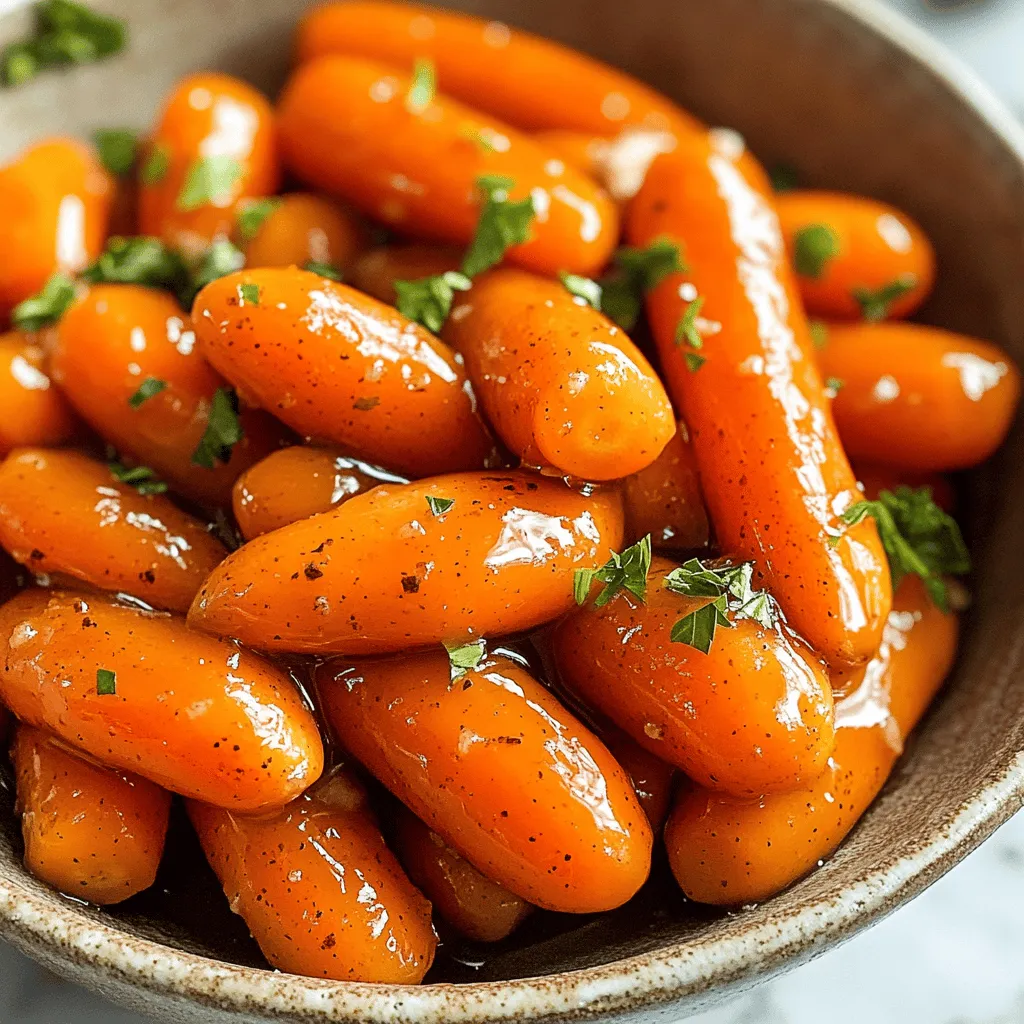
Looking for an easy and tasty side dish? I have just the recipe for you! Slow Cooker Maple Glazed Carrots

If you’re craving a sweet treat that’s both chewy and rich, look no further! Triple Chocolate Brownie Cookies blend the
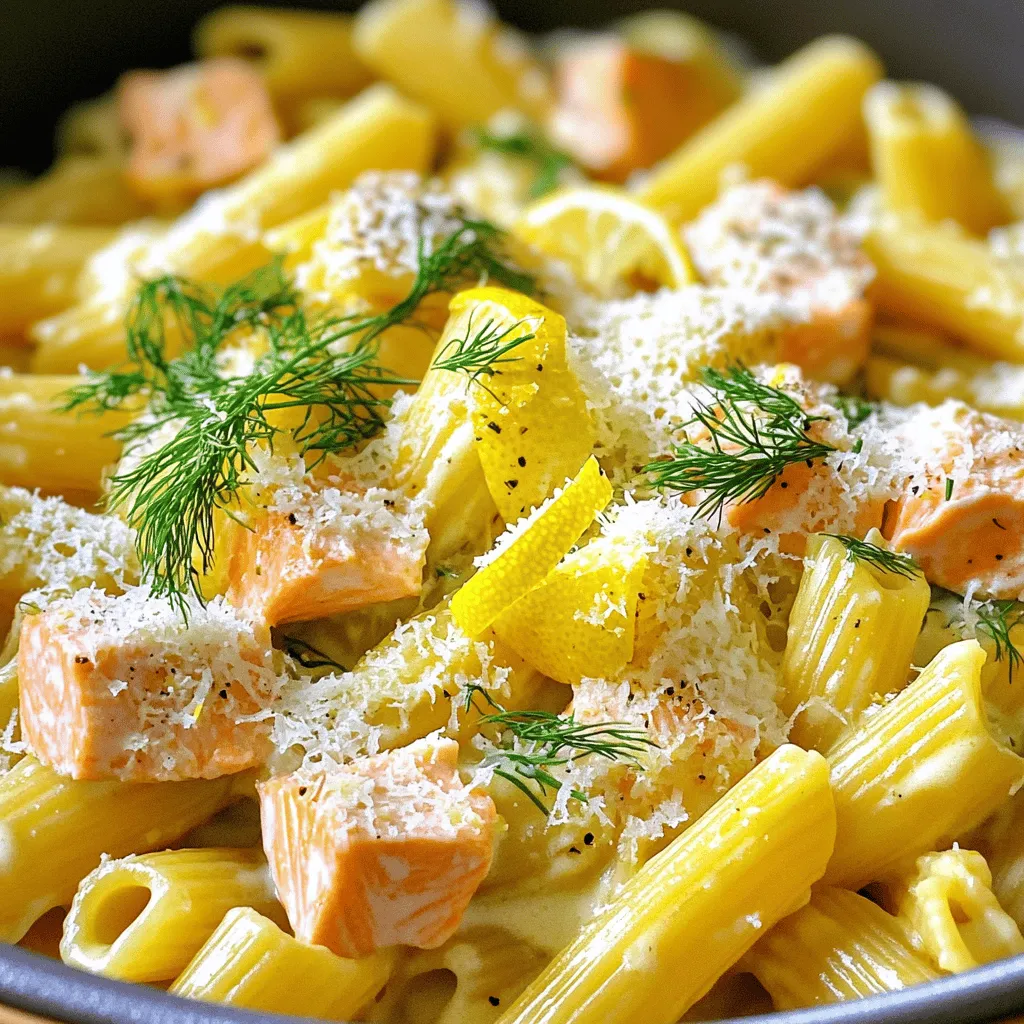
Are you craving a meal that’s easy, delicious, and quick? Look no further! This One-Pot Lemon Dill Salmon Pasta is
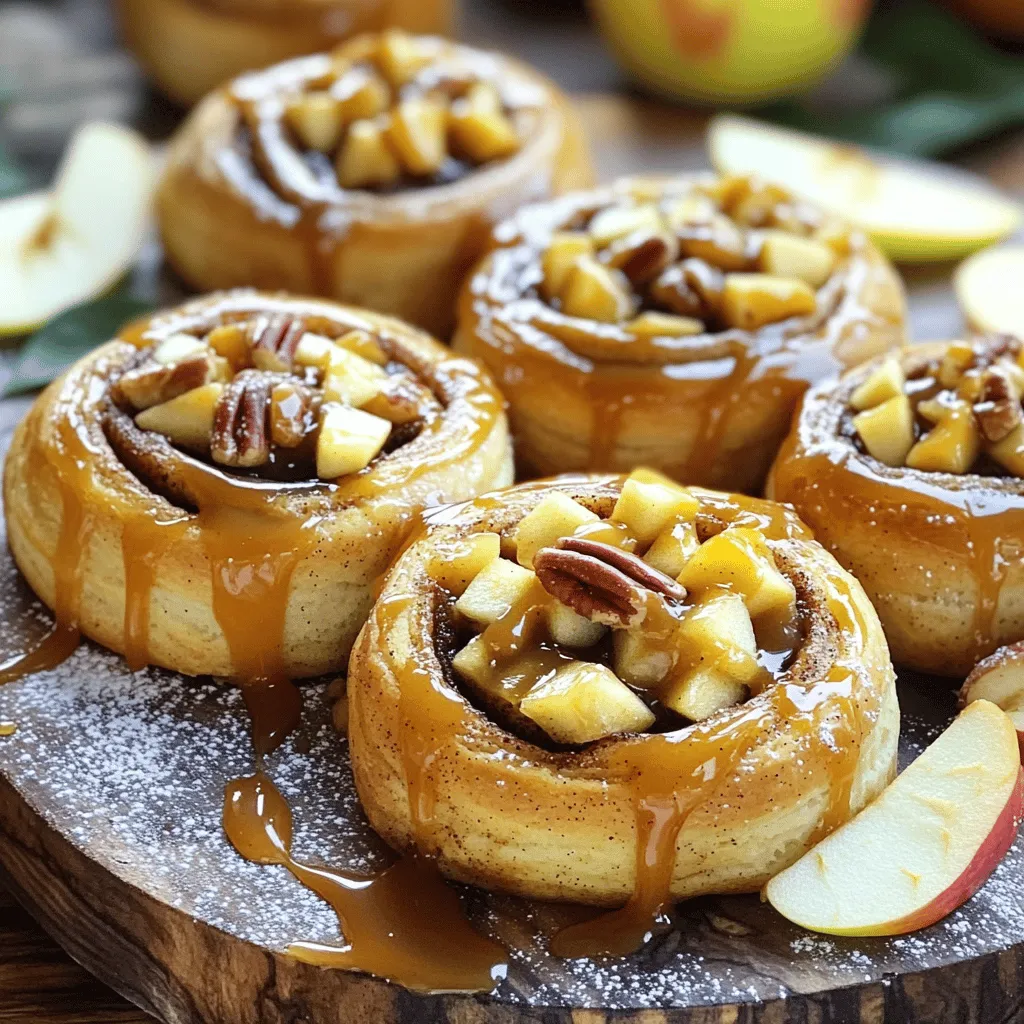
Ready to treat yourself to a warm, gooey delight? These caramel apple cinnamon rolls are not just desserts; they are
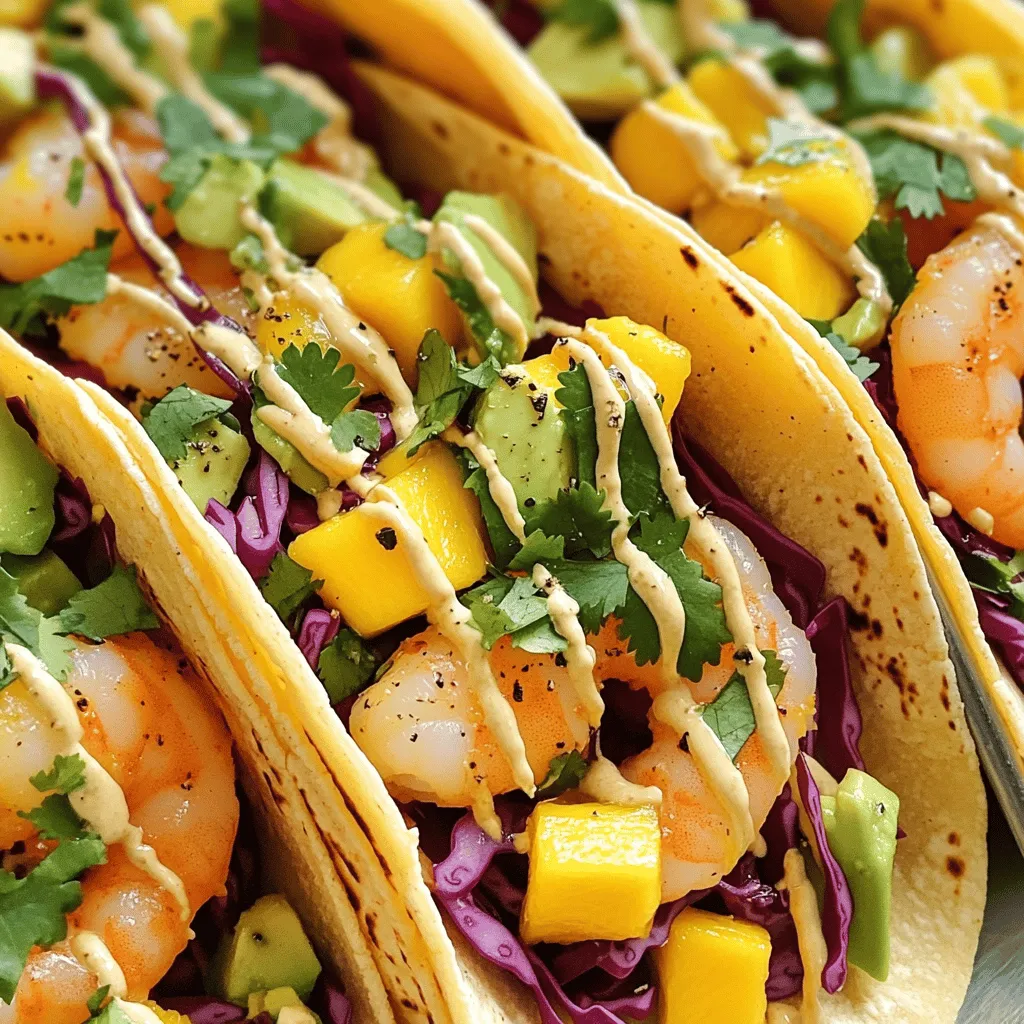
Are you ready to elevate taco night? Dive into my Spicy Mango Avocado Shrimp Tacos That Wow Your Tastebuds. These

Are you ready for a breakfast treat that’s easy and fun? My Air Fryer Cinnamon French Toast Sticks are here

Craving something sweet yet nutritious? The Chocolate Covered Strawberry Smoothie is your answer! This creamy treat combines fresh strawberries, rich
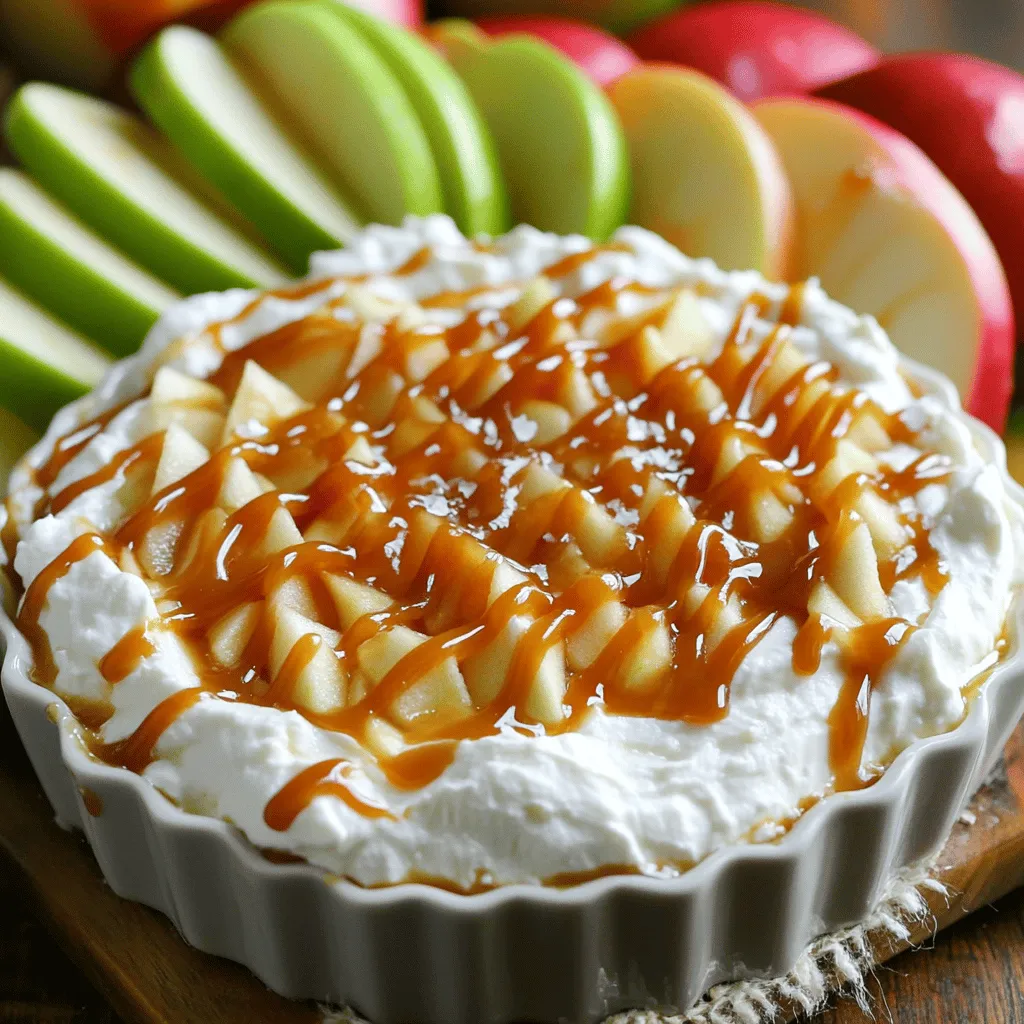
Looking for a quick and tasty treat that steals the show? This Salted Caramel Apple Dip is your answer! With
