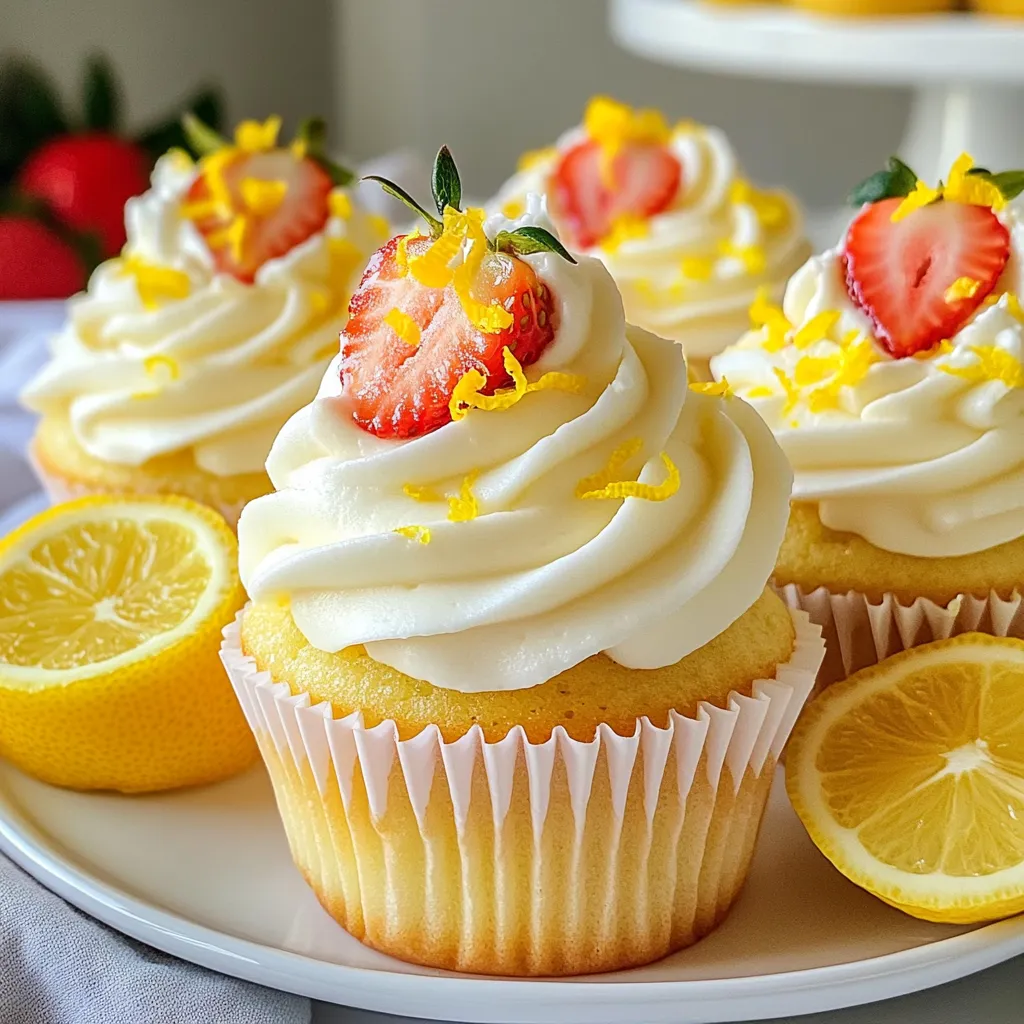
Strawberry Lemonade Cupcakes Sweet and Tart Delight
Are you ready to indulge in a sweet and tangy treat? Strawberry Lemonade Cupcakes bring summer’s brightest flavors to your
Are you ready to indulge in a sweet and tangy treat? Strawberry Lemonade Cupcakes bring summer’s brightest flavors to your
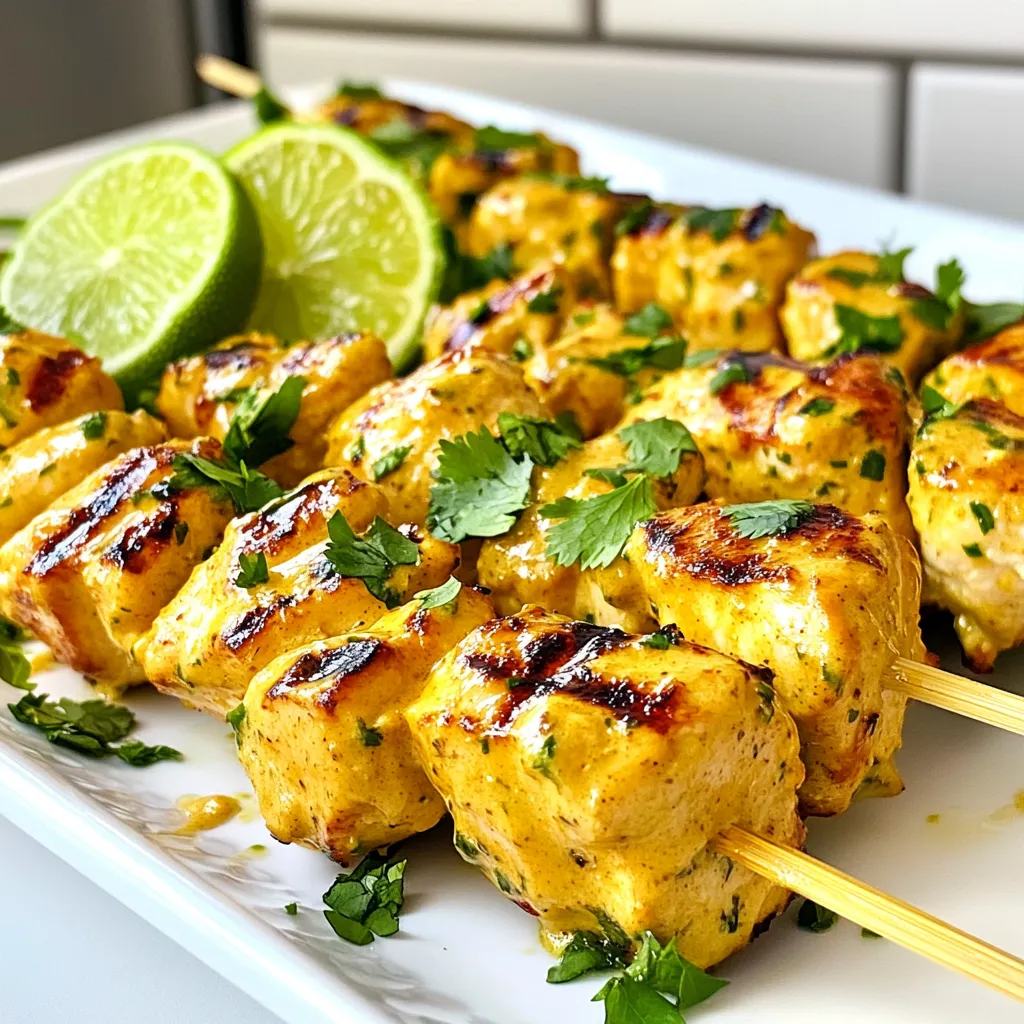
Get ready to treat your taste buds with my Peanut Lime Chicken Skewers! These juicy, flavorful bites combine tender chicken
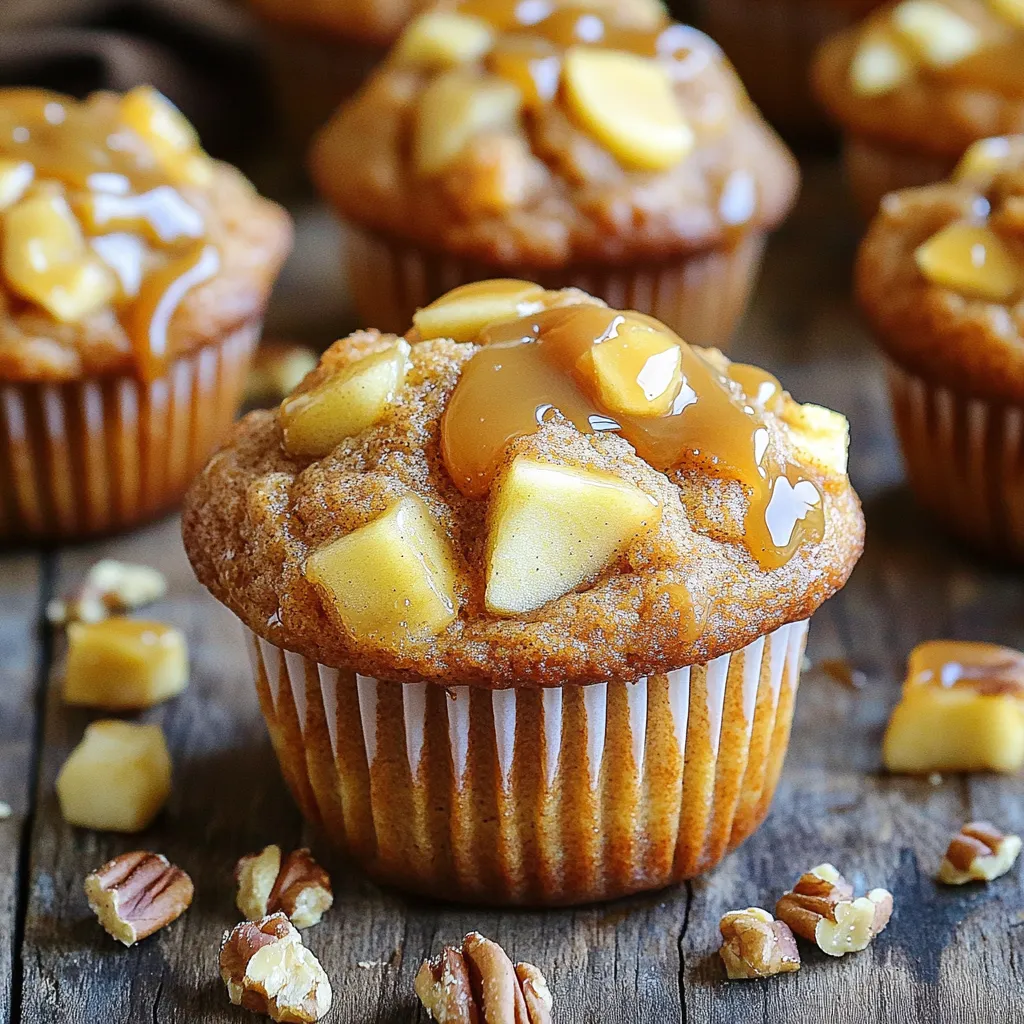
Caramel Apple Muffins are a tasty treat that can brighten your day! Bursting with sweet apple chunks and rich caramel
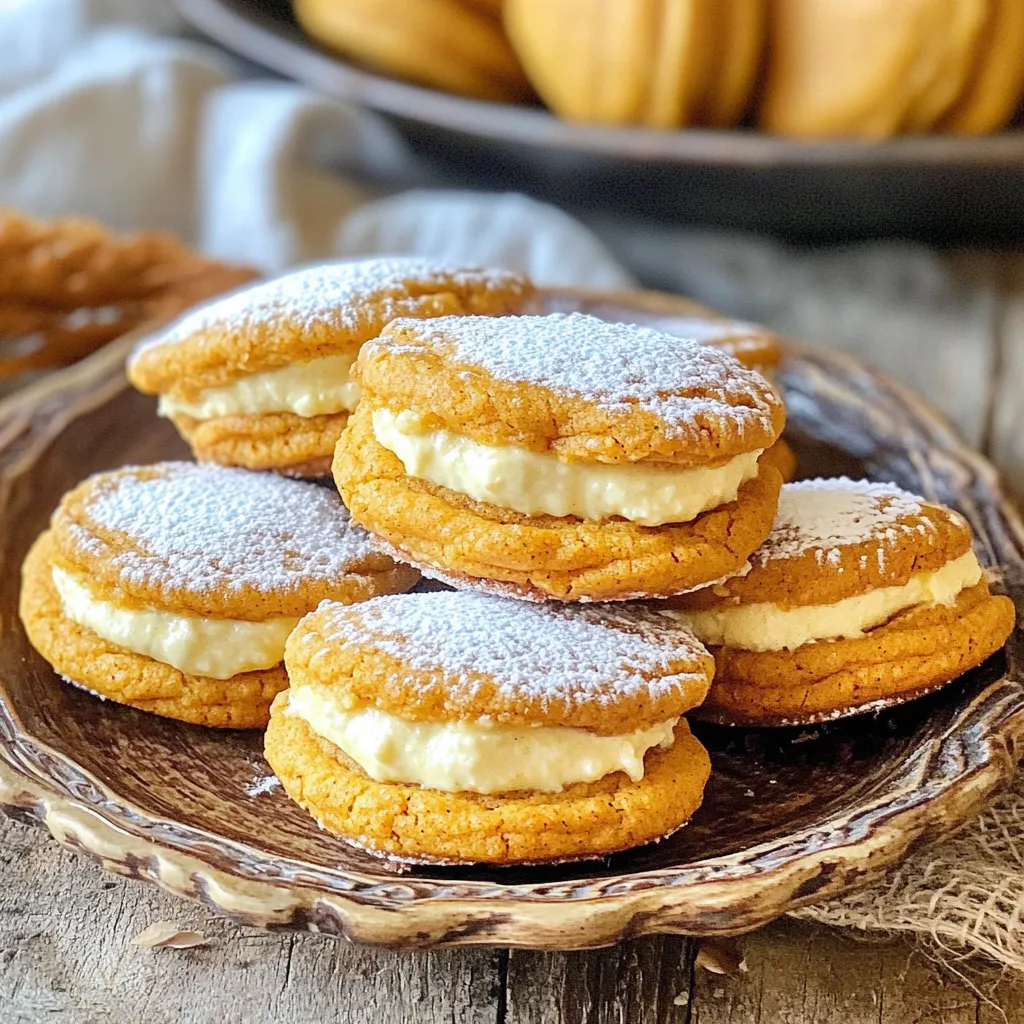
Get ready for a treat that blends the best of fall flavors! In this guide, I’ll show you how to

Looking for a quick and tasty meal? My Sheet-Pan Teriyaki Tofu and Veggies combines savory flavors and healthy ingredients in
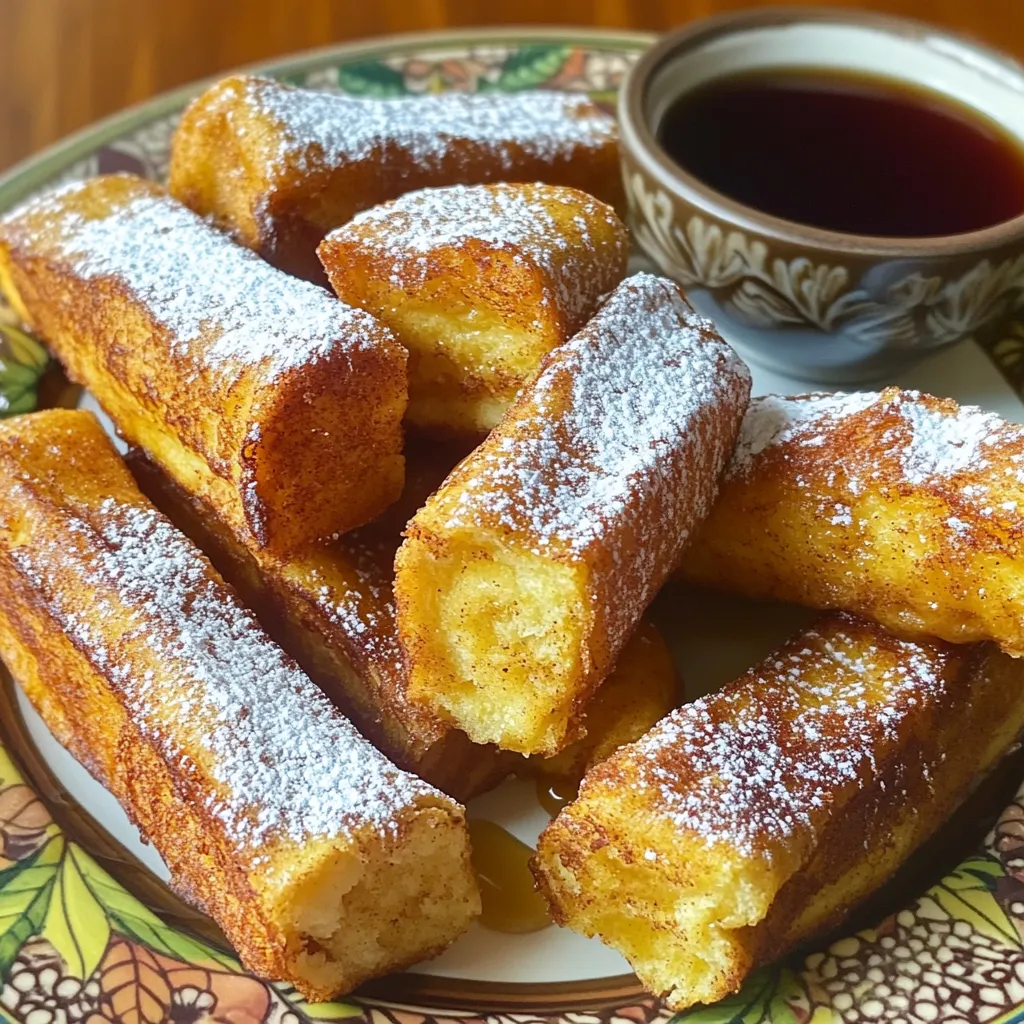
Craving a fun twist on breakfast? Try my Air Fryer Cinnamon Roll French Toast Sticks! This treat combines the warm
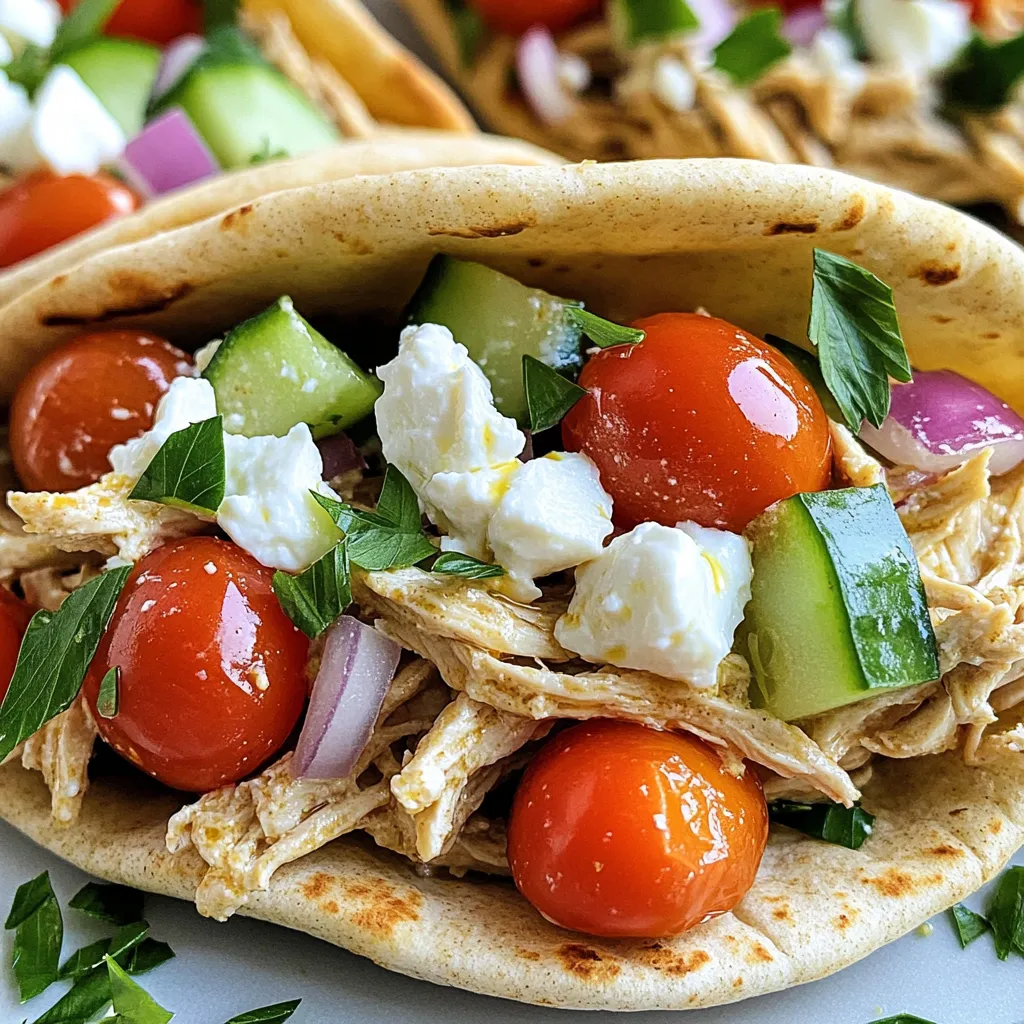
Craving a delicious and easy meal? Slow Cooker Creamy Greek Chicken Pitas are the answer! This dish is not just
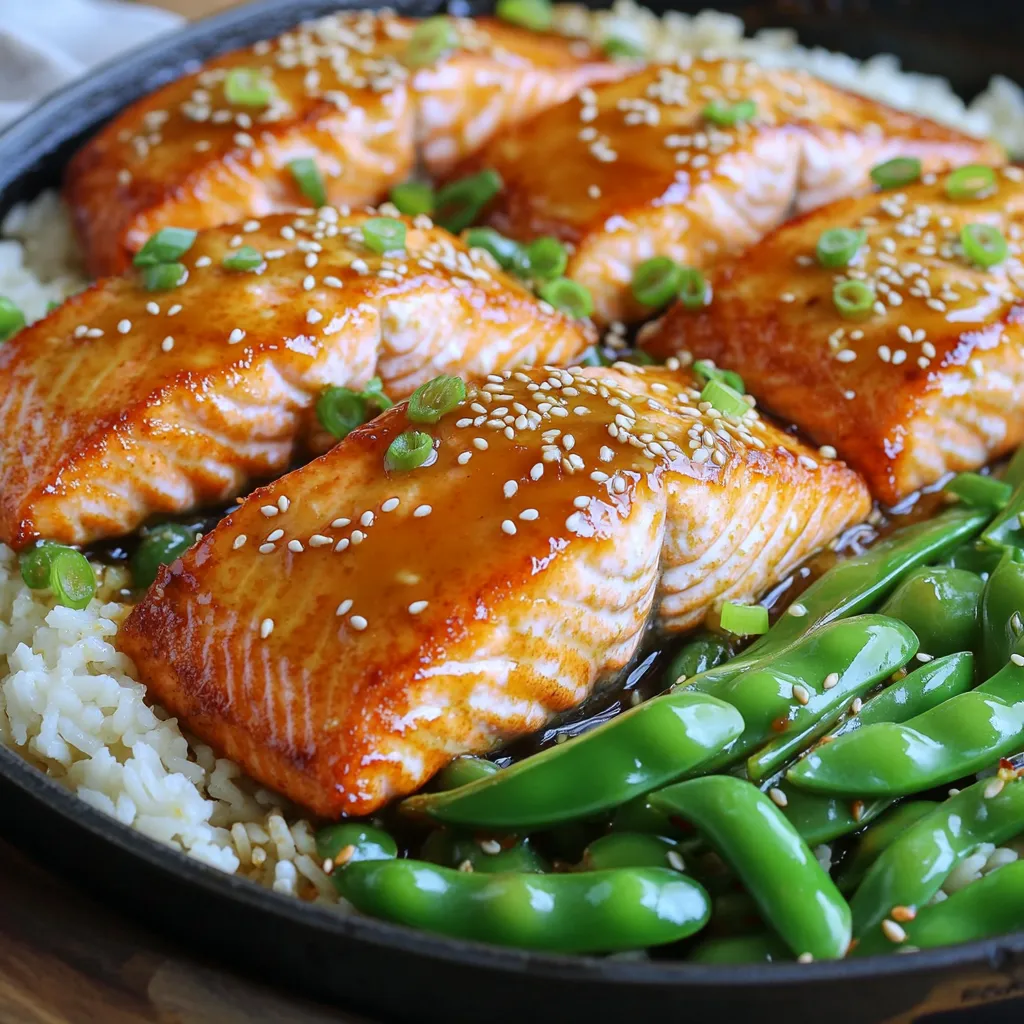
If you’re in a rush but crave something delicious, my Minute Sesame Ginger Salmon Skillet is for you. This quick
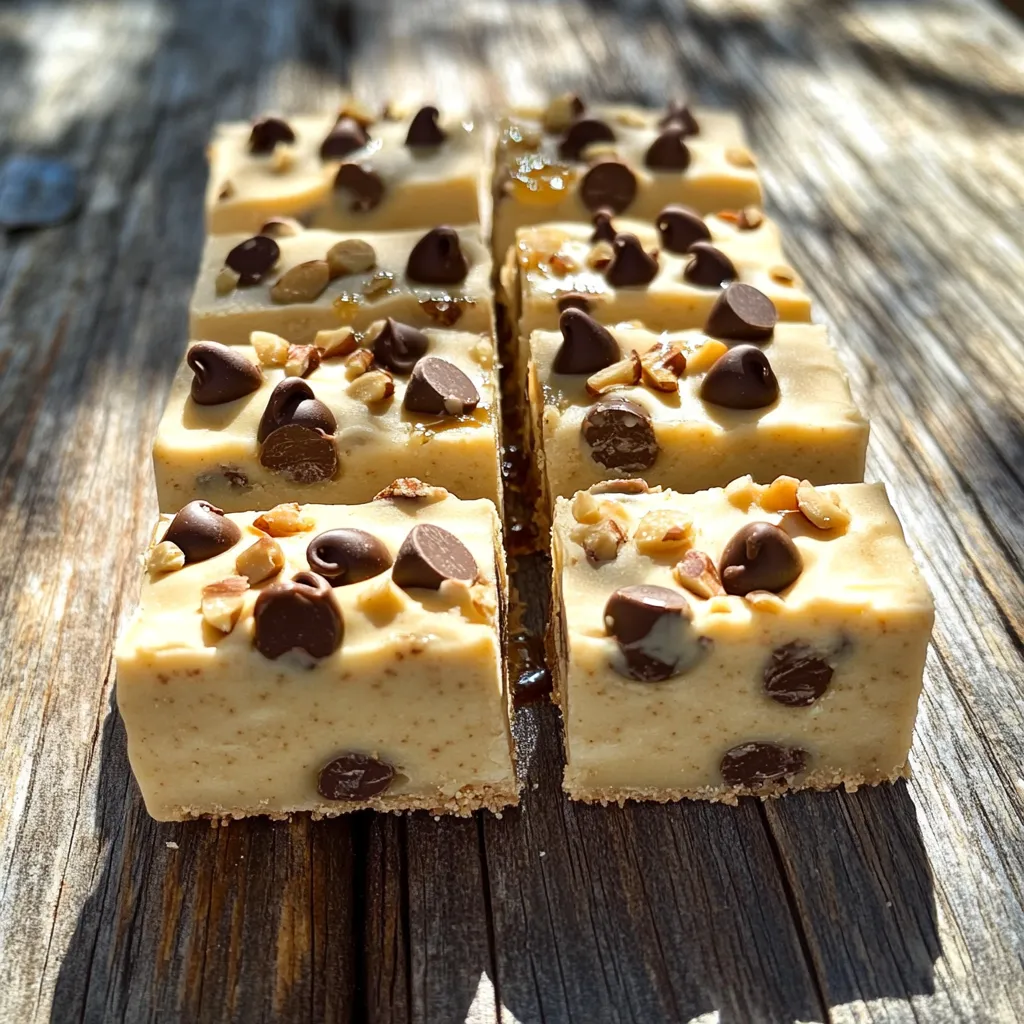
Are you craving a sweet treat that’s easy to make and requires no baking? Look no further! These No-Bake Chocolate
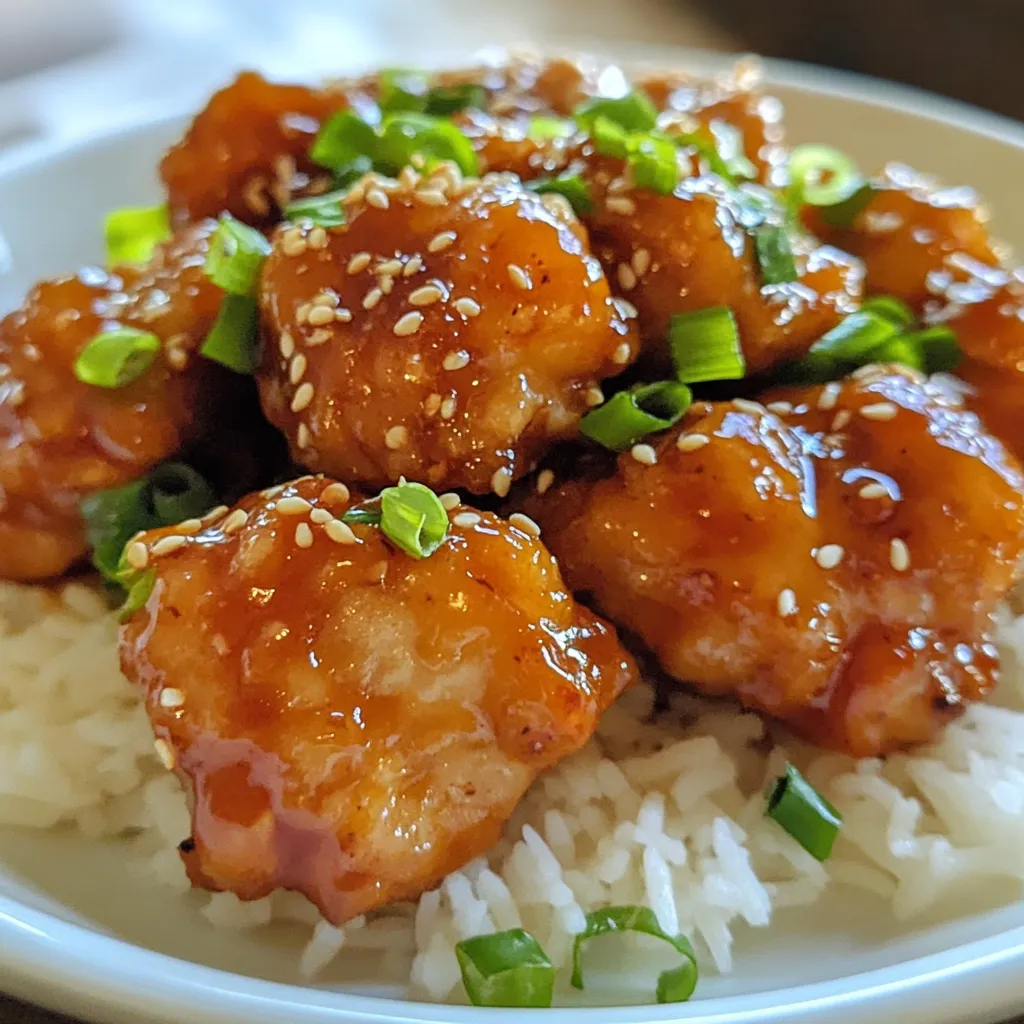
Get ready for a flavor explosion with my Spicy Honey Garlic Chicken Bites! These crispy morsels blend sweet honey, savory
