
No-Bake Chocolate Chip Granola Squares Simple Treat
Looking for a quick, tasty snack? Try my No-Bake Chocolate Chip Granola Squares! These simple treats are packed with wholesome
Looking for a quick, tasty snack? Try my No-Bake Chocolate Chip Granola Squares! These simple treats are packed with wholesome

Ready for a quick meal that bursts with flavor? My Minute Caprese Pesto Pasta is your go-to recipe for busy

Looking for a fresh, healthy dish that packs a flavor punch? This Roasted Sweet Potato Kale Salad is a vibrant
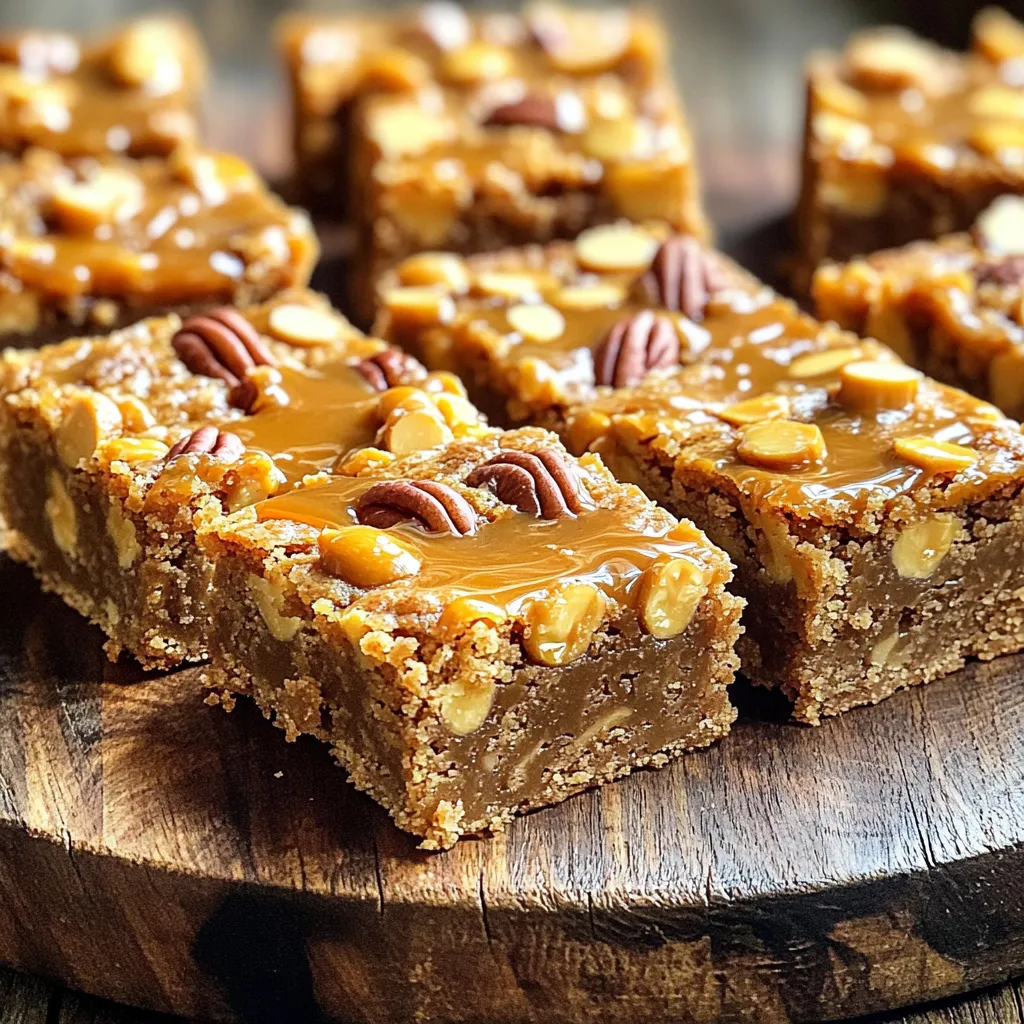
Welcome to the world of Butterscotch Blondie Bars! These treats are a sweet delight sure to please. With their soft,

Are you ready for a quick and tasty dinner? Honey Garlic Chicken Stir Fry is the answer! This simple meal

Are you ready to transform your dinner with a delicious Slow Cooker Veggie Lasagna? This hearty meal bursts with flavor

Looking for a tasty and simple dinner idea? Try BBQ Chicken Zucchini Boats! This fun dish takes just a few

Are you ready for a fresh and tasty meal? This Greek Chickpea Salad is bright, easy, and packed with flavor.

Craving a drink that warms your soul this fall? Meet the Mocha Pumpkin Spice Smoothie, a tasty blend of rich

Craving a sweet treat that’s easy to make? Try my Slow Cooker Caramel Apple Dump Cake! This warm, gooey dessert
