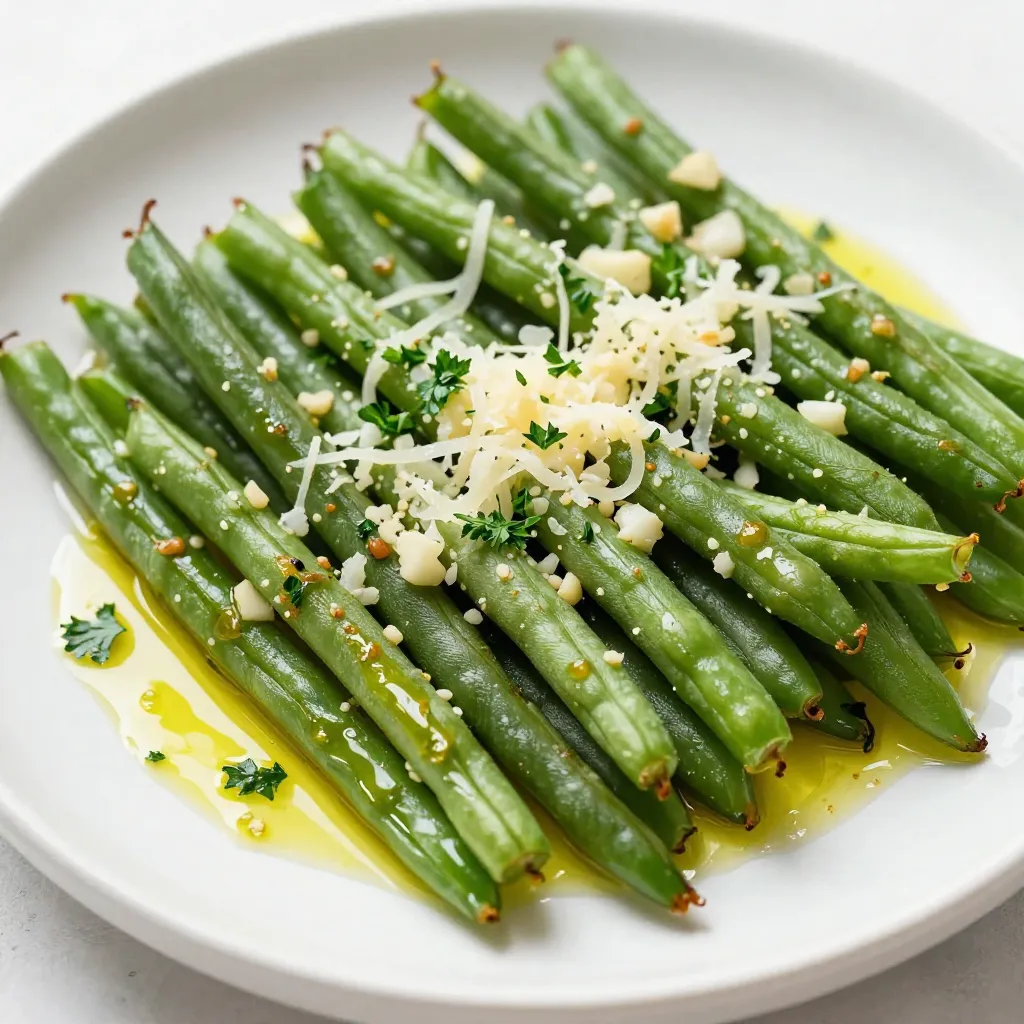
Garlic Parmesan Air Fryer Green Beans Tasty Treat
Looking for a quick and tasty side dish? You’ll love these Garlic Parmesan Air Fryer Green Beans! They’re easy to
Looking for a quick and tasty side dish? You’ll love these Garlic Parmesan Air Fryer Green Beans! They’re easy to
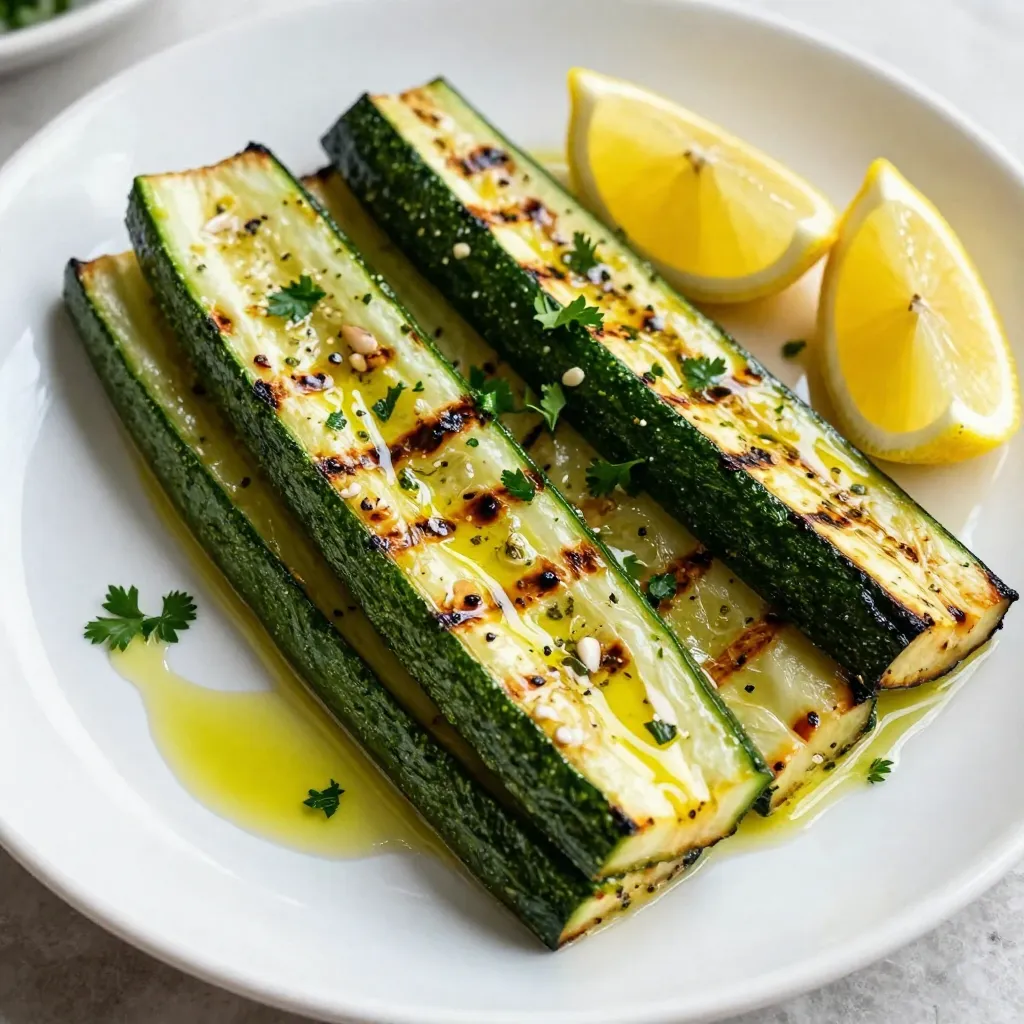
Grilling season is here, and nothing captures summer better than Lemon Herb Grilled Zucchini. This quick dish bursts with fresh
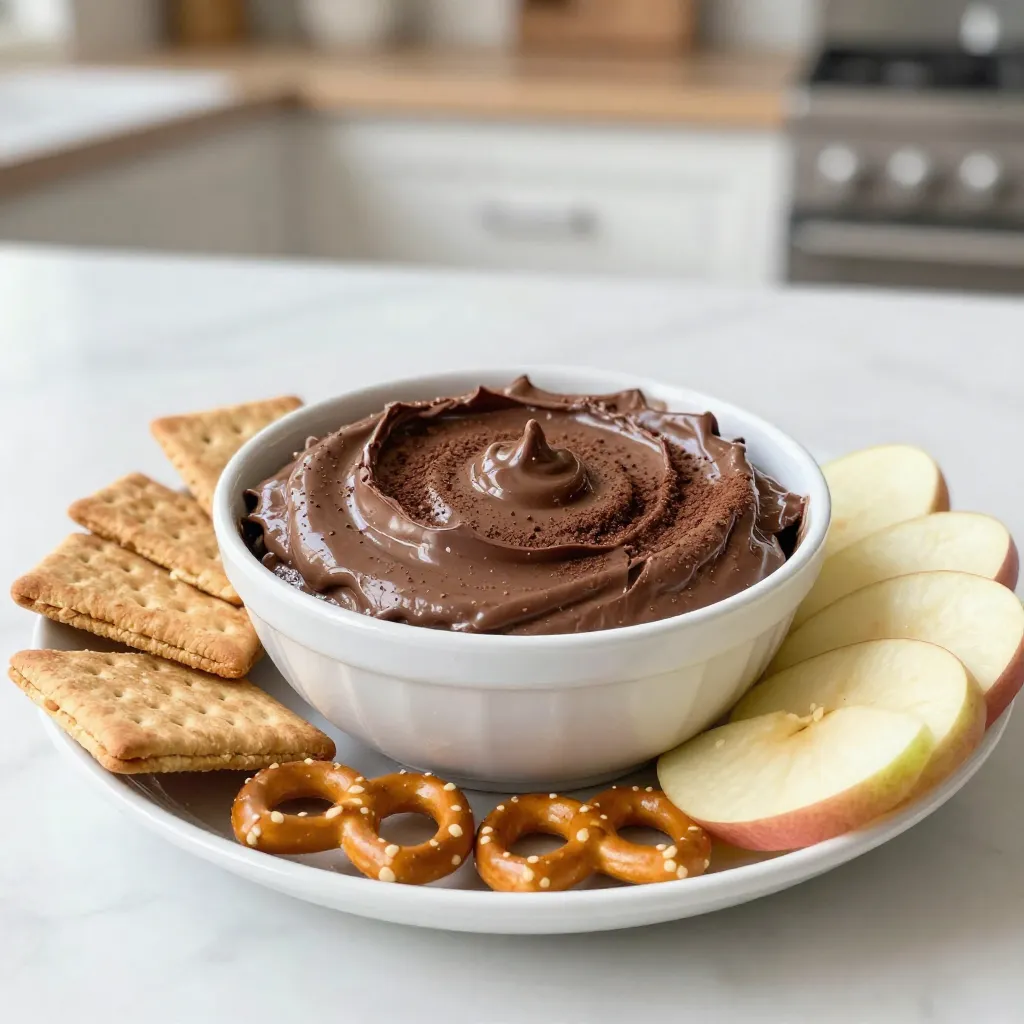
Get ready to satisfy your sweet tooth with my Chocolate Peanut Butter Cheesecake Dip! This dessert combines rich chocolate and

If you’re craving a tasty snack, these Air Fryer Garlic Parmesan Wings are the answer! This simple recipe combines juicy

Looking for a fresh and easy meal? My Strawberry Spinach Chicken Wraps are just what you need! These wraps burst

Looking for a fresh and simple starter that wows guests? Try my Lemon Herb Ricotta Crostini! This dish combines creamy
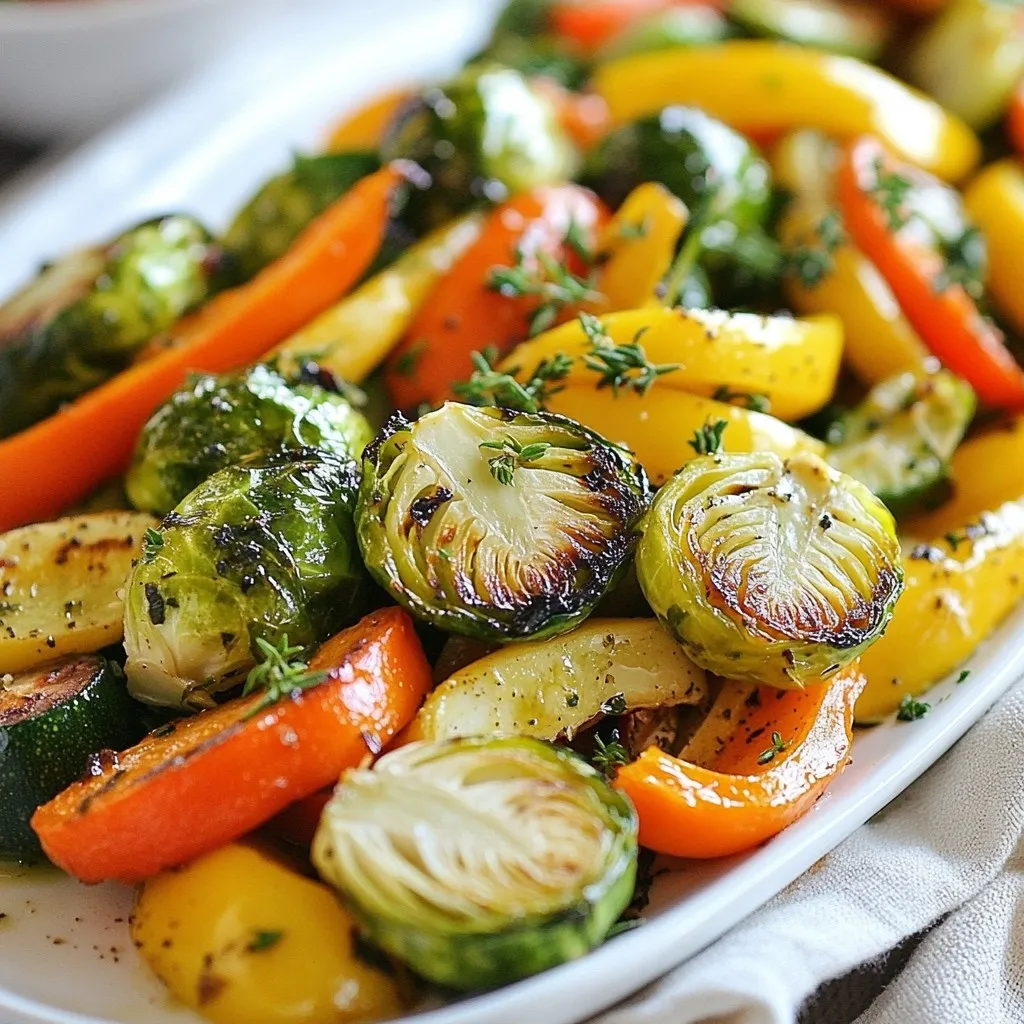
Ready to elevate your veggie game? My Garlic Herb Butter Roasted Vegetables will do just that! With a mix of

Are you ready to impress your friends and family with a tasty meal? My Greek Lemon Chicken Kebabs are not
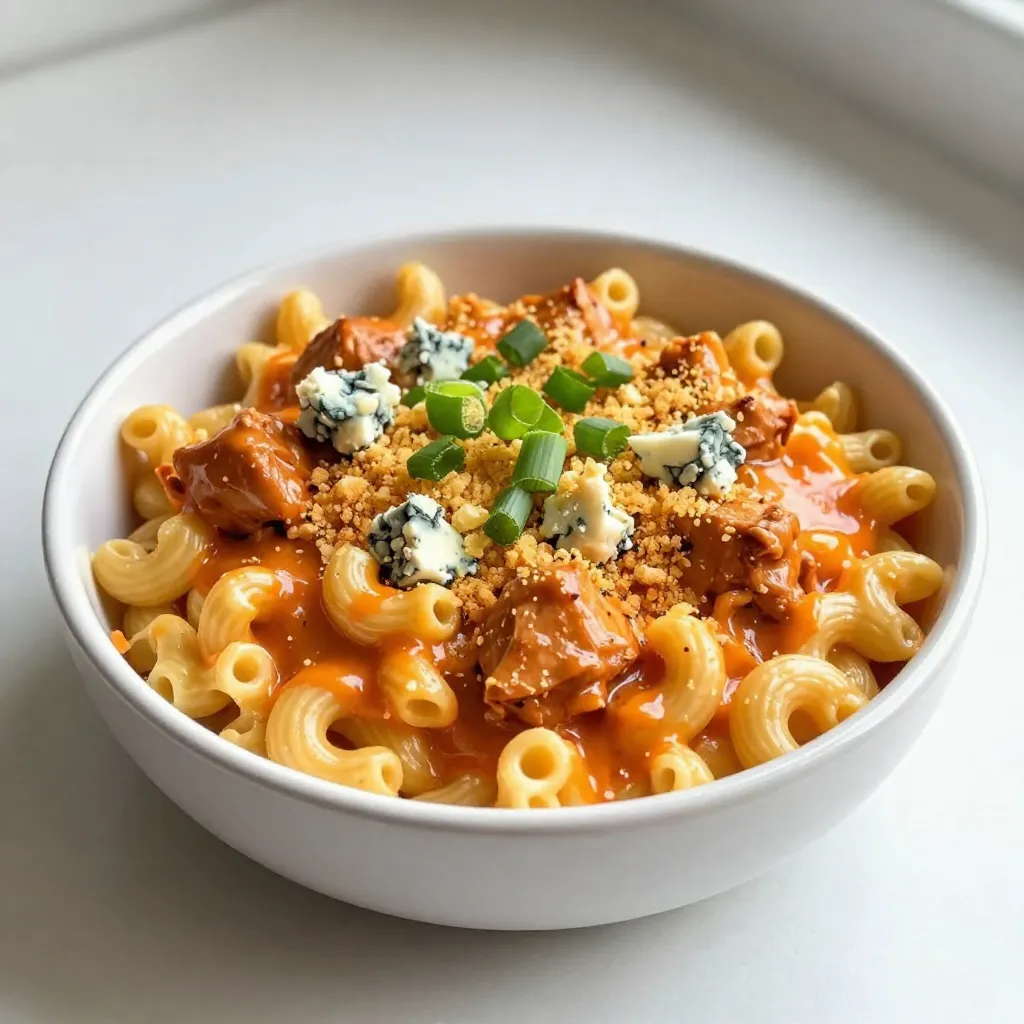
Looking for a cozy dinner that packs a punch? Buffalo Chicken Mac and Cheese merges creamy, cheesy goodness with fiery
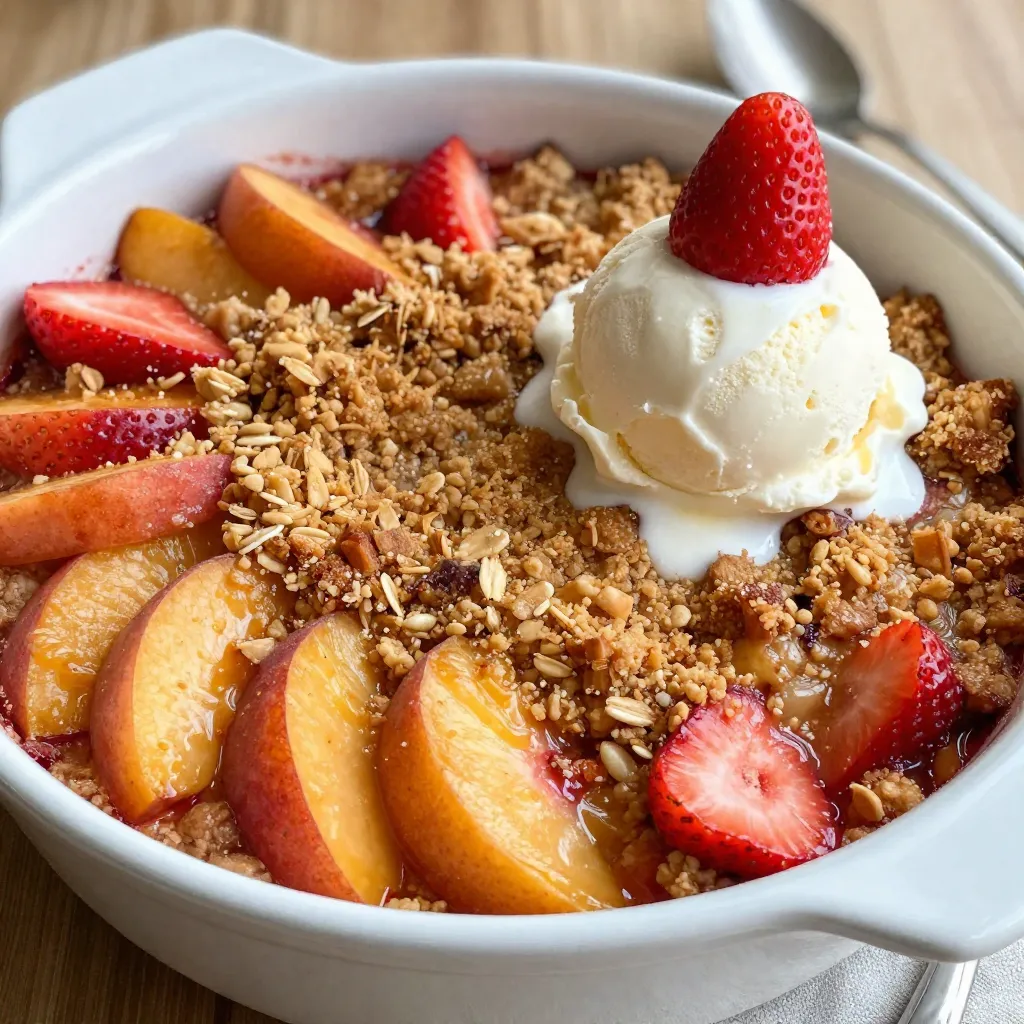
Looking for a simple yet delightful dessert? This Strawberry Peach Crisp recipe is your answer! With just a few fresh
