Are you ready for a tasty snack that’s easy and fun to make? Air Fryer Nacho Cheese Chickpeas are the perfect treat! They’re crispy, cheesy, and packed with flavor. With just a few simple ingredients, you can create a snack that is both healthy and satisfying. Follow my step-by-step guide, and you’ll enjoy this crispy delight in no time. Let’s dive in and bring the crunch to your next snack time!
Ingredients
Essential Ingredients
– 1 can chickpeas
– 1 tablespoon olive oil
– 1 teaspoon chili powder
– 1 teaspoon garlic powder
– 1 teaspoon onion powder
– 1 teaspoon smoked paprika
– 1/2 teaspoon salt
– 1/4 cup nutritional yeast
To make Air Fryer Nacho Cheese Chickpeas, you need a few basic items. The chickpeas are the star of this dish. They give a great crunch when cooked right. Olive oil helps the spices stick to the chickpeas and adds flavor. The spices bring a bold taste, while nutritional yeast makes it cheesy without dairy.
Optional Ingredients
– 1/4 teaspoon cayenne pepper (for extra kick)
– Additional garnishes (jalapeños, cilantro, avocado)
You can also add cayenne pepper for some heat. If you want to make it pretty, use garnishes like jalapeños, fresh cilantro, or avocado. These extras can take your snack to the next level. They add color, flavor, and fun! You can mix and match based on what you like or have on hand.
Step-by-Step Instructions
Preparing the Chickpeas
First, open the can of chickpeas. Drain them in a colander and rinse well under cold water. This helps remove any tin taste. Next, dry the chickpeas with paper towels. Make sure they are dry. This step is key to getting them crispy.
Making the Seasoning Mixture
In a mixing bowl, add one tablespoon of olive oil. Then, include the following spices: one teaspoon of chili powder, one teaspoon of garlic powder, one teaspoon of onion powder, one teaspoon of smoked paprika, and half a teaspoon of salt. If you like heat, add a quarter teaspoon of cayenne pepper. Finally, mix in a quarter cup of nutritional yeast for that cheesy flavor. Stir well until everything is combined into a paste.
Coating the Chickpeas
Now, take your dried chickpeas and add them to the bowl with the seasoning mixture. Stir gently but thoroughly. Make sure every chickpea gets coated in the spice mix. This gives each bite a burst of flavor.
Air Frying Process
Preheat your air fryer to 400°F (200°C). Once it’s hot, place the chickpeas in the basket. Make sure they lay in a single layer. If you have too many, cook in batches. Air fry them for 15 to 20 minutes. Halfway through, shake the basket. This helps them cook evenly. Check to see if they are crispy enough for your taste.
Serving Recommendations
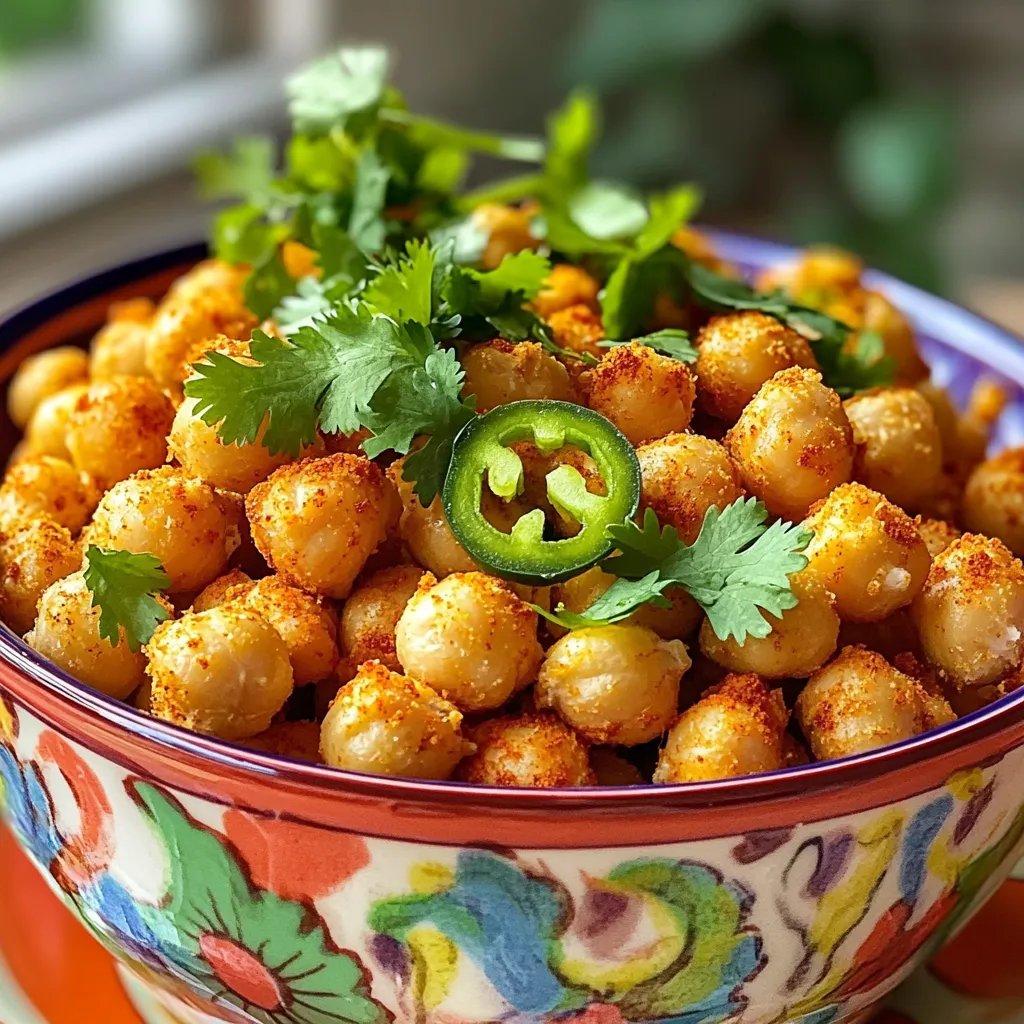
After air frying, take the chickpeas out and let them cool for a few minutes. This step helps them crisp up even more. If you want to get fancy, add a sprinkle of nutritional yeast or fresh cilantro on top. Serve them in a bright bowl with jalapeños or avocado slices for extra flavor. Enjoy these crunchy snacks however you like!
Tips & Tricks
Achieving Crispy Chickpeas
To get crispy chickpeas, start by drying them well. After rinsing the chickpeas, use paper towels to remove moisture. If they stay wet, they won’t get that nice crunch. Next, cooking at the right time and temperature is key. Set your air fryer to 400°F (200°C) and cook for 15-20 minutes. Shake the basket halfway through to ensure even cooking. Check them often until they reach your desired crispiness.
Flavor Enhancements
You can boost the flavor with different spices. Try adding cumin or paprika for a twist. If you want a spicy kick, increase the cayenne pepper. Don’t be afraid to experiment! You can also try different toppings. Fresh cilantro, sliced jalapeños, or avocado can add extra flair to your snack.
Air Fryer Maintenance
Cleaning your air fryer is simple. After it cools down, wipe the basket and tray with a damp cloth. If there are stubborn bits, soak them in warm, soapy water for a few minutes. Make sure to dry everything well before using it again. Regular cleaning keeps your air fryer in top shape and ready for your next tasty treat.

Variations
Flavor Variations
You can easily change the flavor of your nacho cheese chickpeas. Instead of the standard spices, try different blends. For a ranch flavor, use ranch seasoning instead of chili powder. If you love BBQ, swap the garlic powder for BBQ seasoning. You can even add cumin for a warm, earthy taste. The options are endless! Each blend will give you a new twist on this crispy snack.
Ingredient Substitutions
If you want to switch things up, there are great alternatives for chickpeas and spices. You can use black beans or lentils instead of chickpeas. These options also add protein and flavor. For the seasoning, if you don’t have nutritional yeast, try using grated cheese. You can also mix in taco seasoning for a fun spin. Adjust the spices to your taste and enjoy!
Dietary Considerations
Making this recipe gluten-free is simple. All the ingredients are naturally gluten-free. If you want to make it nut-free, there’s no need for any nut products here. Just ensure your seasoning blends are also nut-free. This way, everyone can enjoy this tasty snack without worry.
Storage Info
Storing Leftovers
To keep your nacho cheese chickpeas fresh, store them in an airtight container. This helps prevent moisture and keeps them crispy. Place the container in a cool, dry place, away from sunlight. They taste best within 2 days, but they can last up to 5 days in the fridge.
Reheating Tips
To re-crisp your chickpeas, use the air fryer. Preheat it to 400°F. Spread the chickpeas in the basket in a single layer. Air fry for about 5 minutes, checking often. This will revive the crunch and flavor.
Freezing Instructions
You can freeze nacho cheese chickpeas! Place them in a freezer-safe bag or container. Remove excess air to prevent freezer burn. They can stay frozen for up to 3 months. When ready to eat, thaw and reheat in the air fryer for the best texture.
FAQs
How long do air fryer nacho cheese chickpeas last?
Air fryer nacho cheese chickpeas can last for about 3 to 5 days. Store them in an airtight container at room temperature. This keeps them crunchy and tasty. If they lose some crispiness, put them back in the air fryer for a few minutes to re-crisp.
Can I use dried chickpeas instead of canned?
Yes, you can use dried chickpeas instead of canned. To do this, soak the dried chickpeas overnight. Then, cook them until soft before using. This takes more time but offers a fresher taste. Make sure to dry them well before seasoning and air frying.
Are air fryer nacho cheese chickpeas healthy?
Yes, air fryer nacho cheese chickpeas are healthy. Chickpeas are high in protein and fiber. They help keep you full and satisfied. Plus, they are low in fat, especially when air-fried. The spices add flavor without extra calories. Enjoy this snack without guilt!
You learned how to make tasty air fryer nacho cheese chickpeas. Choose essential ingredients like chickpeas, olive oil, and spices. Optional items like cayenne or garnishes can boost flavor. Follow clear steps for prep, seasoning, and air frying. The tips help you get crispy results every time. You can explore flavor variations and learn smart storage methods. Enjoy experimenting with this simple, healthy snack. Make it yours, and keep it fun!