Who can resist a warm, gooey chocolate lava cake? With an air fryer, you can whip up these delicious treats in no time. In this post, I’ll guide you through an easy recipe that guarantees a perfect molten center. Whether you want a traditional dessert or a fun twist, I’ve got options to suit your taste. Let’s dive in and create something irresistible!
Ingredients
List of Ingredients for Air Fryer Chocolate Lava Cakes
To make these delicious lava cakes, gather the following ingredients:
– 1/2 cup dark chocolate chips (70% cocoa preferred)
– 1/4 cup unsalted butter
– 1/2 cup powdered sugar
– 2 large eggs
– 2 large egg yolks
– 1 teaspoon vanilla extract
– 1/4 cup all-purpose flour
– A pinch of salt
Optional Serving Suggestions
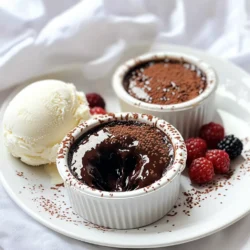
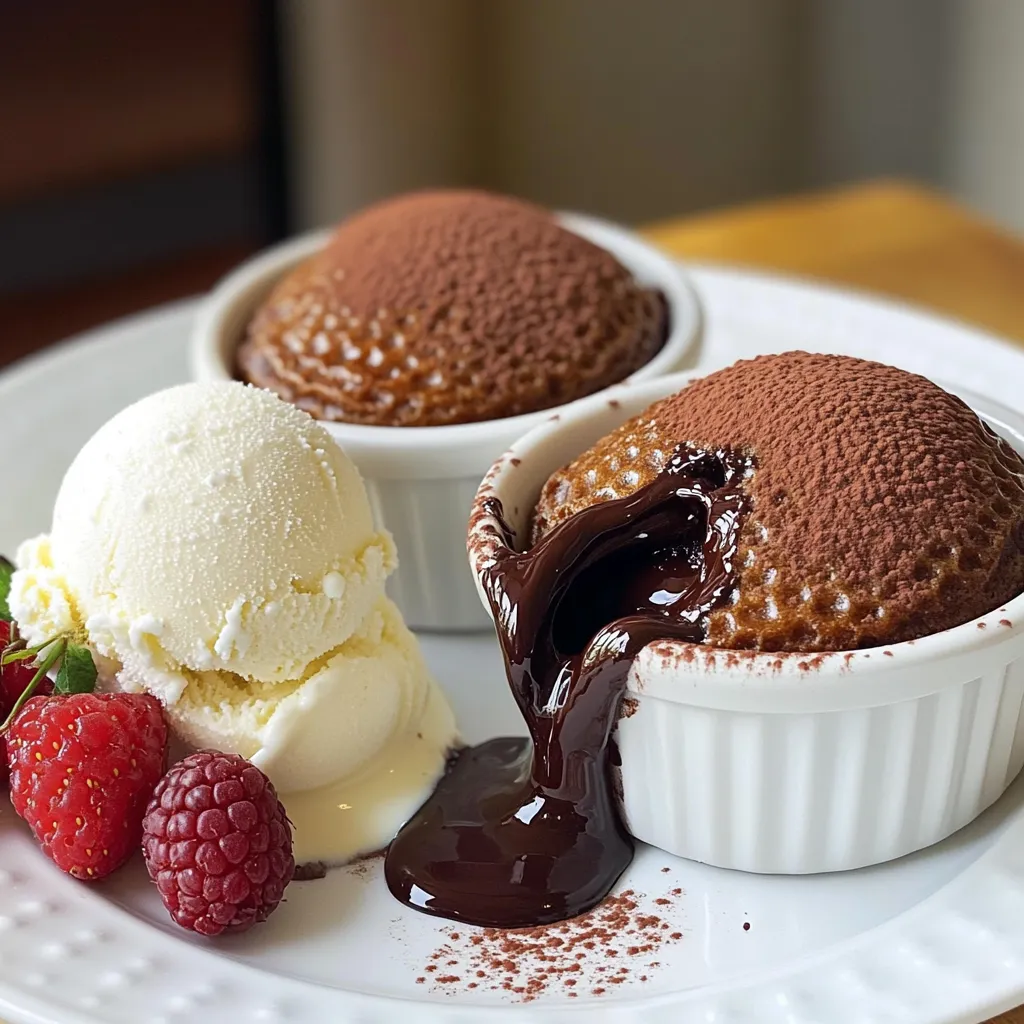
These cakes shine when served warm. You can add a scoop of ice cream or a dollop of whipped cream. Fresh berries or a sprinkle of cocoa powder can elevate the look, too.
Tips on Choosing Quality Ingredients
Select dark chocolate with at least 70% cocoa for rich flavor. Use fresh eggs to ensure a fluffy texture. Unsalted butter is best for controlling salt levels. Choose organic ingredients when possible for added quality.
Step-by-Step Instructions
Preheating the Air Fryer
First, you need to preheat your air fryer. Set it to 350°F (175°C). This step is key for even cooking. A hot air fryer helps the cakes rise perfectly. It only takes a few minutes, so be patient.
Melting the Chocolate and Butter
Next, grab a microwave-safe bowl. Add 1/2 cup of dark chocolate chips and 1/4 cup of unsalted butter. Microwave this mix in 30-second bursts. Stir after each burst until it is smooth. You want a nice, glossy mixture. This is the heart of your lava cake.
Mixing the Batter
Once your chocolate is melted, add 1/2 cup of powdered sugar. Stir it in well. Then, crack in 2 large eggs and 2 egg yolks. Don’t forget the 1 teaspoon of vanilla extract! Whisk everything together until it looks smooth. Now, gently fold in 1/4 cup of all-purpose flour and a pinch of salt. Be careful not to overmix. You want a light batter.
Now you’re ready to pour the batter into ramekins!
Tips & Tricks
Achieving the Perfect Molten Center
To get that gooey center, cook the cakes for 8 to 10 minutes. Check the edges; they should be firm. The center must look soft and slightly jiggly. This is where the magic happens! If you cook too long, the center will not flow.
Common Mistakes to Avoid
One mistake is overmixing the batter. This can lead to dense cakes instead of light ones. Another common error is not greasing the ramekins well. If the batter sticks, your cake won’t come out right. Also, check your air fryer temperature. If it is too hot, your cakes will burn.
How to Customize Your Lava Cake
You can add flavors to make your cakes special. Try adding a teaspoon of espresso for a coffee twist. Orange zest gives a fresh taste. You can also swap dark chocolate for milk chocolate for a sweeter flavor. Want something extra? Add a piece of caramel or peanut butter in the center before cooking. This gives you even more yummy surprises!
Variations
Different Types of Chocolate Lava Cakes
You can create many types of chocolate lava cakes. While the classic version is rich and chocolatey, try adding different chocolate types. Use milk chocolate for a sweeter taste or white chocolate for a creamy twist. You can also experiment with different shapes, like cupcakes or mini cakes. Just remember to adjust your cooking time.
Vegan or Gluten-Free Options
If you want a vegan lava cake, swap the eggs for flax eggs. Mix one tablespoon of flaxseed meal with two and a half tablespoons of water. Let it sit until it thickens. For gluten-free options, replace all-purpose flour with almond flour or a gluten-free mix. Both options work well in the air fryer, giving you a delicious treat.
Flavor Enhancements
Adding flavor can make your lava cake even better. A teaspoon of espresso powder deepens the chocolate taste. You can mix in orange zest for a fresh, citrus burst. Other options include a dash of cinnamon or even a splash of mint extract. Get creative and try what you love!
Storage Info
How to Store Leftover Lava Cakes
To keep your leftover lava cakes fresh, first let them cool. Once cool, cover each ramekin with plastic wrap. This helps to seal in moisture. You can also place them in an airtight container. Stored this way, they will stay good for 1-2 days in the fridge.
Reheating Instructions
When you’re ready to enjoy your leftover cakes, take them out of the fridge. Remove the plastic wrap or lid. Place the ramekin in the air fryer again at 350°F (175°C) for about 4-5 minutes. This warms them through without drying them out. You want that gooey center back!
Freezing for Later Use
If you want to save lava cakes for longer, freezing works great. Wrap each cooled cake tightly in plastic wrap. Then place them in a freezer-safe bag or container. They can last up to 3 months in the freezer. When you’re ready to eat, thaw in the fridge overnight and reheat as mentioned.
FAQs
Can I make these lava cakes without ramekins?
Yes, you can. Use muffin tins instead. Just make sure to grease them well. The cakes may come out a bit different but will still be delicious. You can also use silicone molds for easy removal.
How do I know when my lava cake is done cooking?
Check the edges first. They should look firm. The center should still look soft and jiggly. If the center is set, your cake is overcooked. Aim for 8 to 10 minutes in the air fryer for the best results.
What should I serve with Air Fryer Chocolate Lava Cakes?
Serve these cakes warm for a great treat. Ice cream or whipped cream works well on top. Add fresh berries or a sprinkle of cocoa powder for a nice touch. You can also try a drizzle of chocolate sauce for extra flavor.
In this post, we explored how to make delicious Air Fryer Chocolate Lava Cakes. We covered the key ingredients, step-by-step instructions, and tips to get the perfect molten center. You learned about variations, storage, and common questions.
Making these cakes is easy and fun. With a few simple changes, you can impress anyone. Enjoy your tasty treat, and don’t be afraid to get creative with flavors!