-min.png)
-min.png)
-min.png)
-min.png)
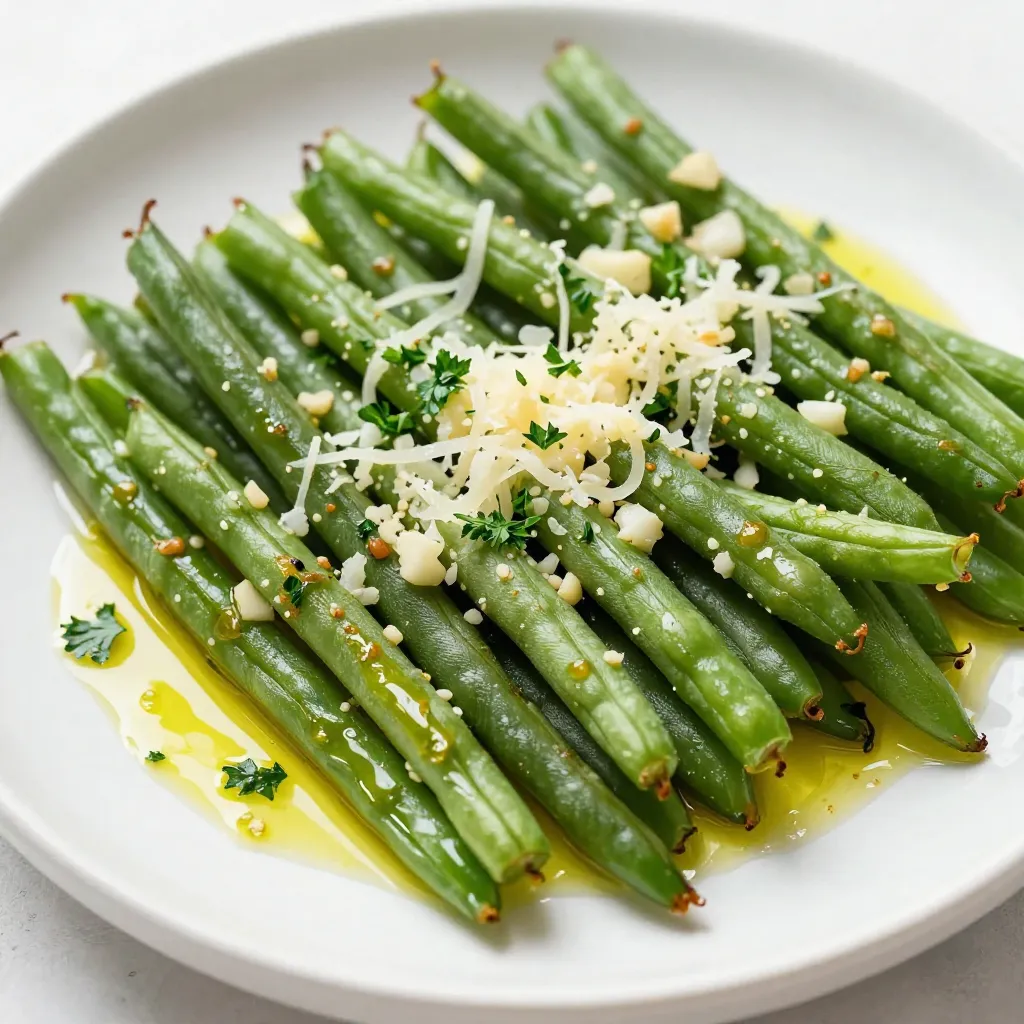
Garlic Parmesan Air Fryer Green Beans Tasty Treat
Crispy and flavorful green beans seasoned with garlic and Parmesan cheese, cooked to perfection in a...
Today's Special
Crispy and flavorful green beans seasoned with garlic and Parmesan cheese, cooked to perfection in an air fryer.
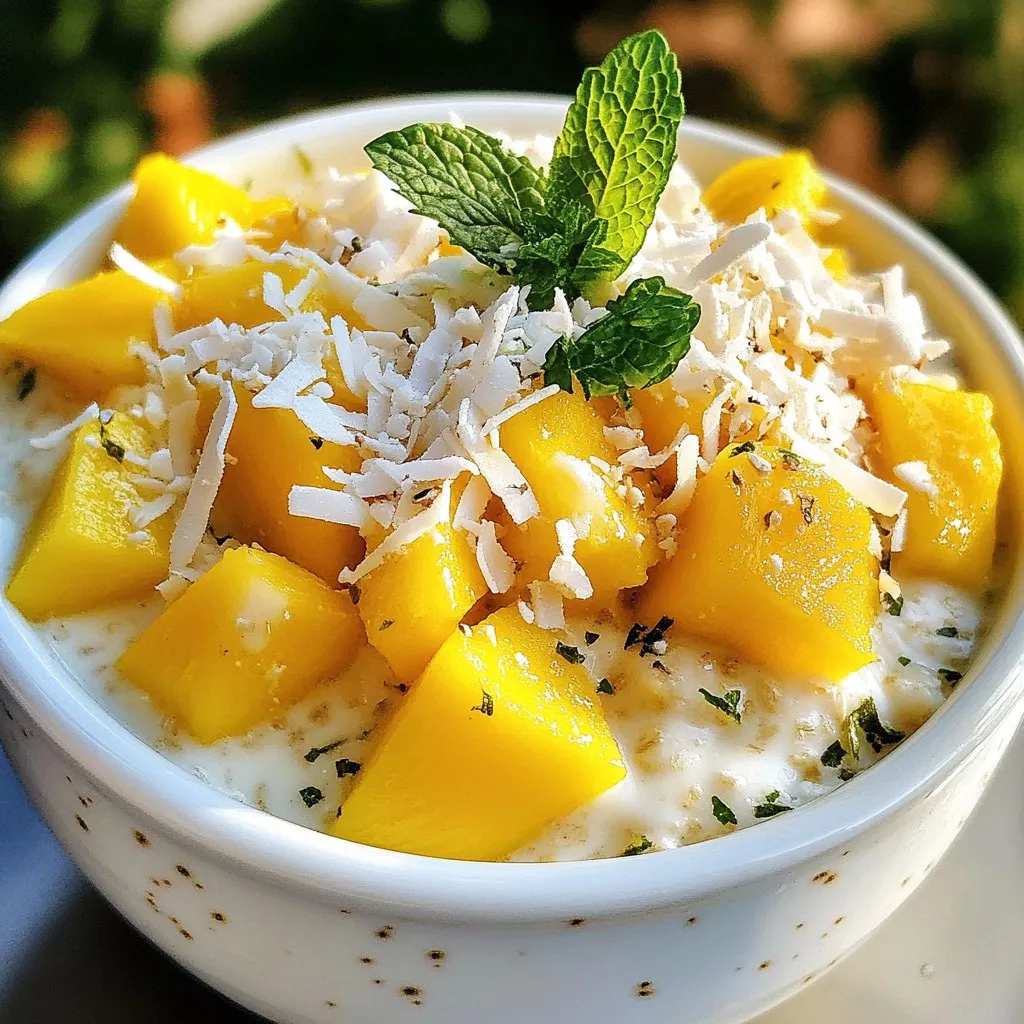
Indulge in our collection of irresistible dessert recipes! From decadent chocolate treats to light and fruity delights, discover sweet creations that will satisfy every craving and make every occasion special!
More Desserts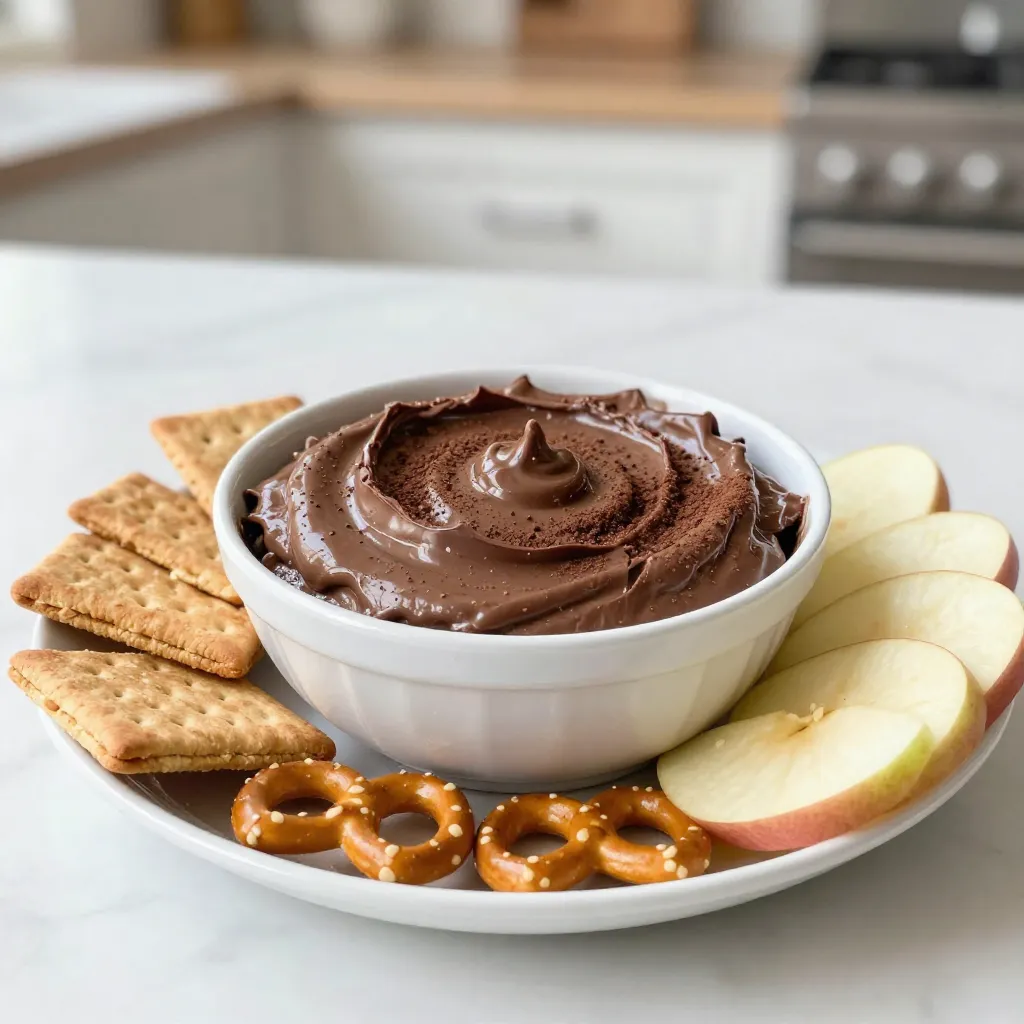


What are you craving?
Explore our delicious collection of recipes organized by category
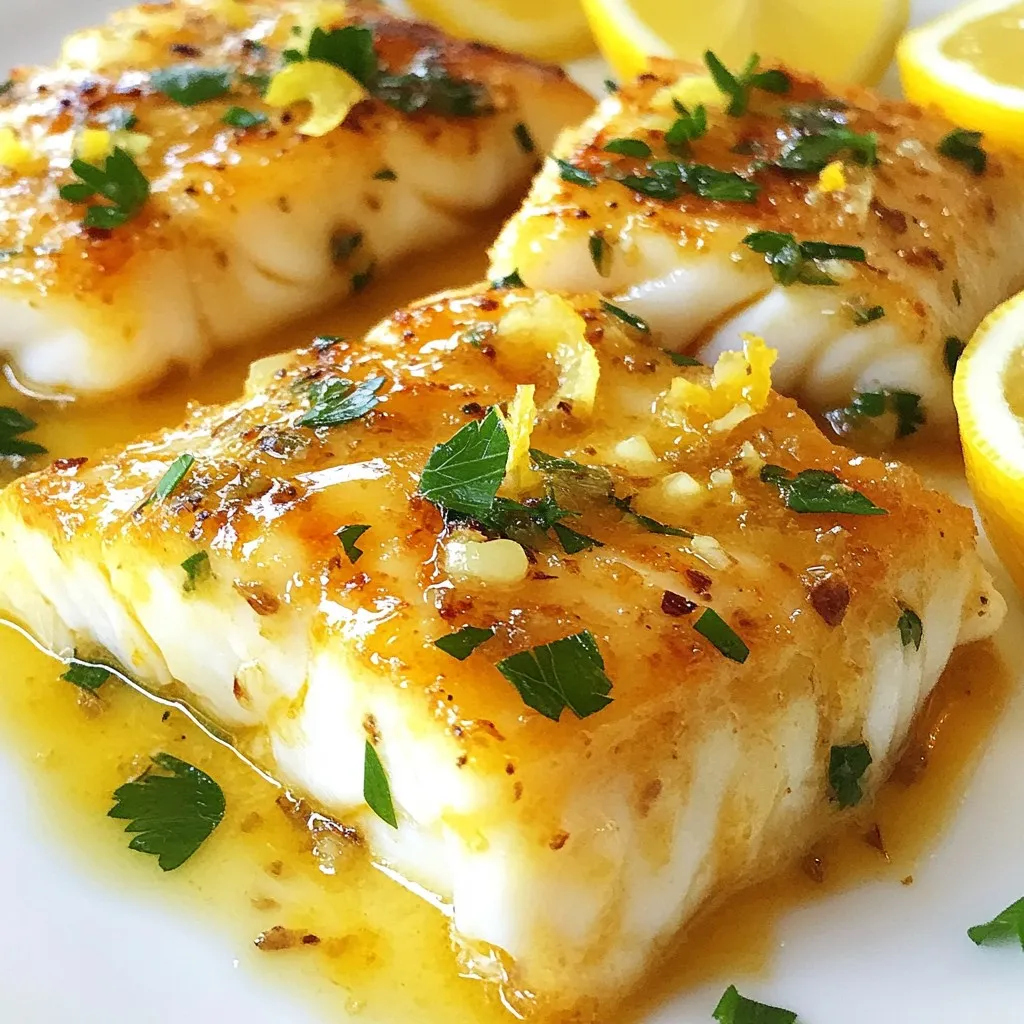
Discover delicious dinner recipes that bring joy to your table! From quick weeknight meals to impressive family feasts, explore our collection of savory dishes that make every dinner time memorable!
More Dinners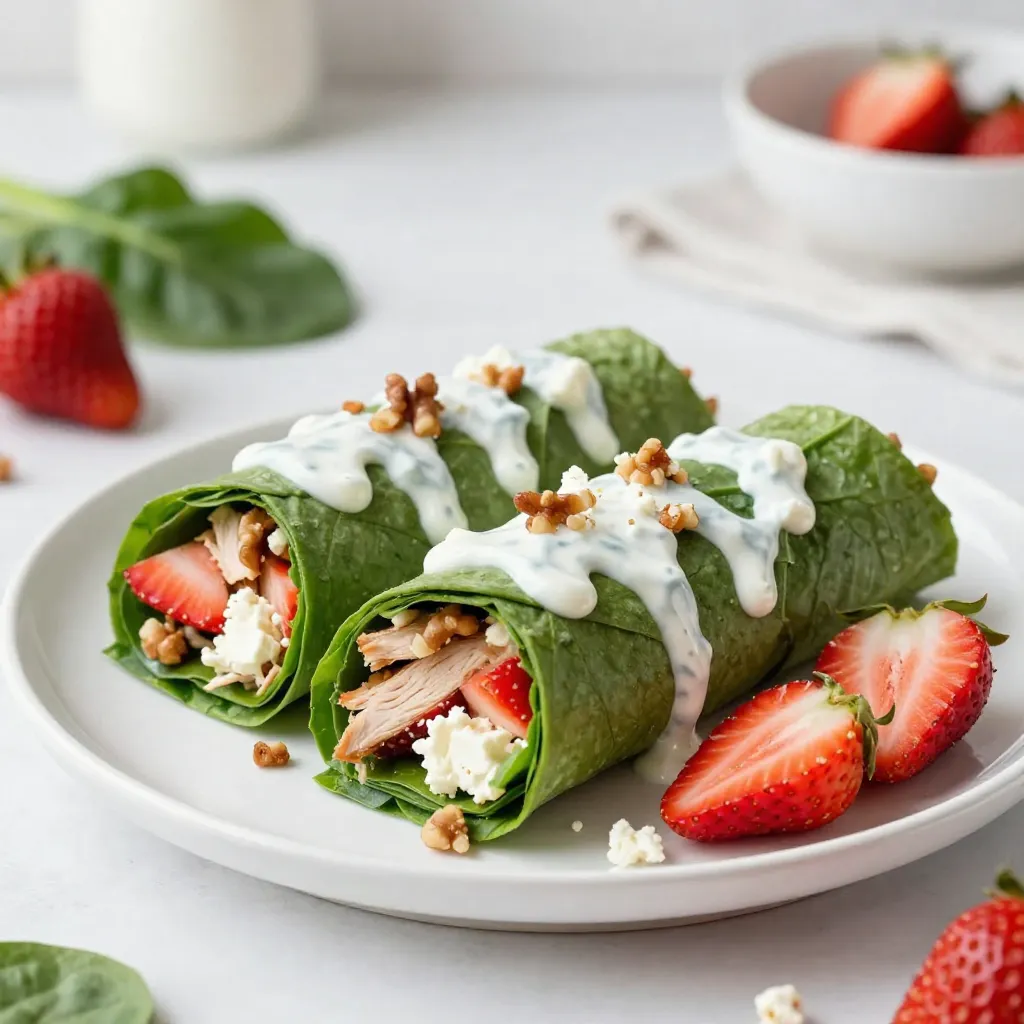


Nice to meet you!
I love sharing perfected dishes from my kitchen. I’m sure they’ll earn a spot in your heart. Let’s savor this journey together!.
Learn More About MeLooking for something?
Fresh from the kitchen
Check out our newest additions - tried, tested, and absolutely delicious!
Crispy and flavorful green beans seasoned with garlic and Parmesan cheese, cooked to perfection in a...
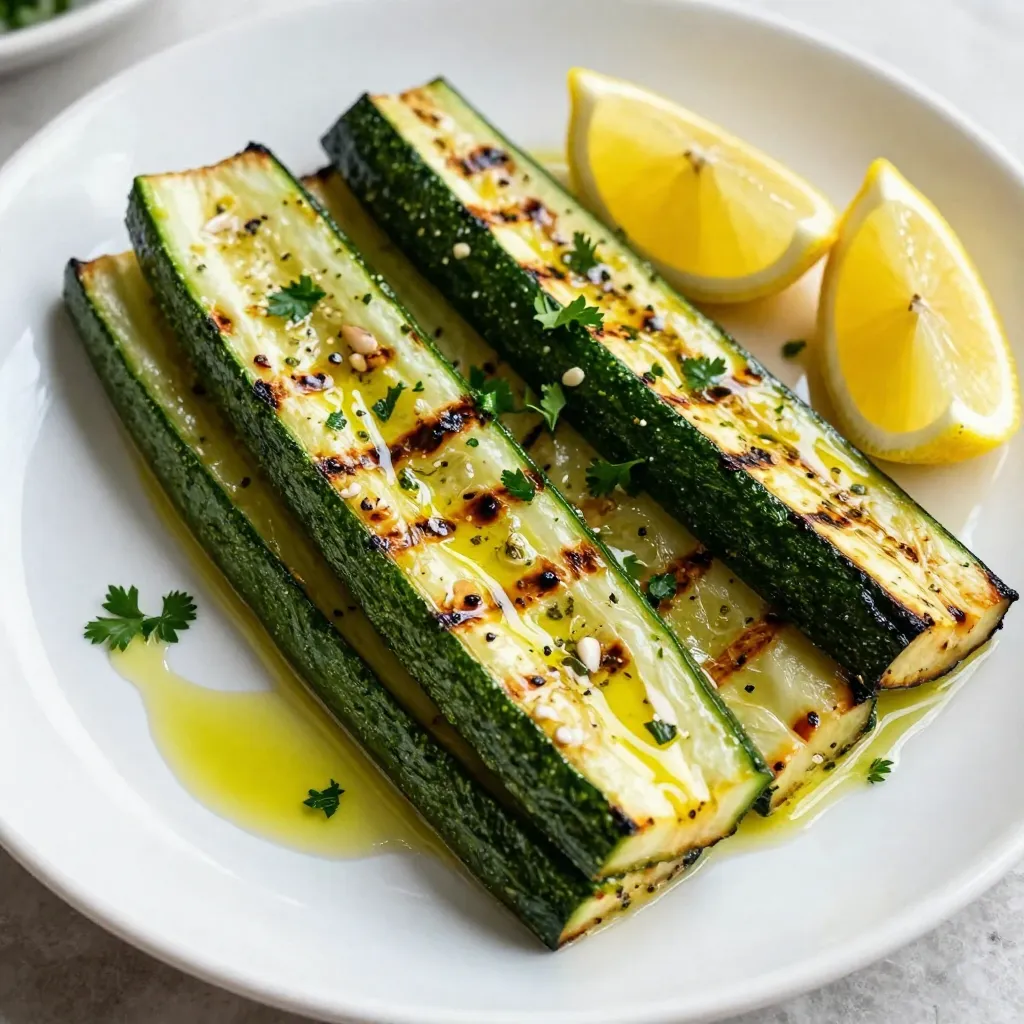
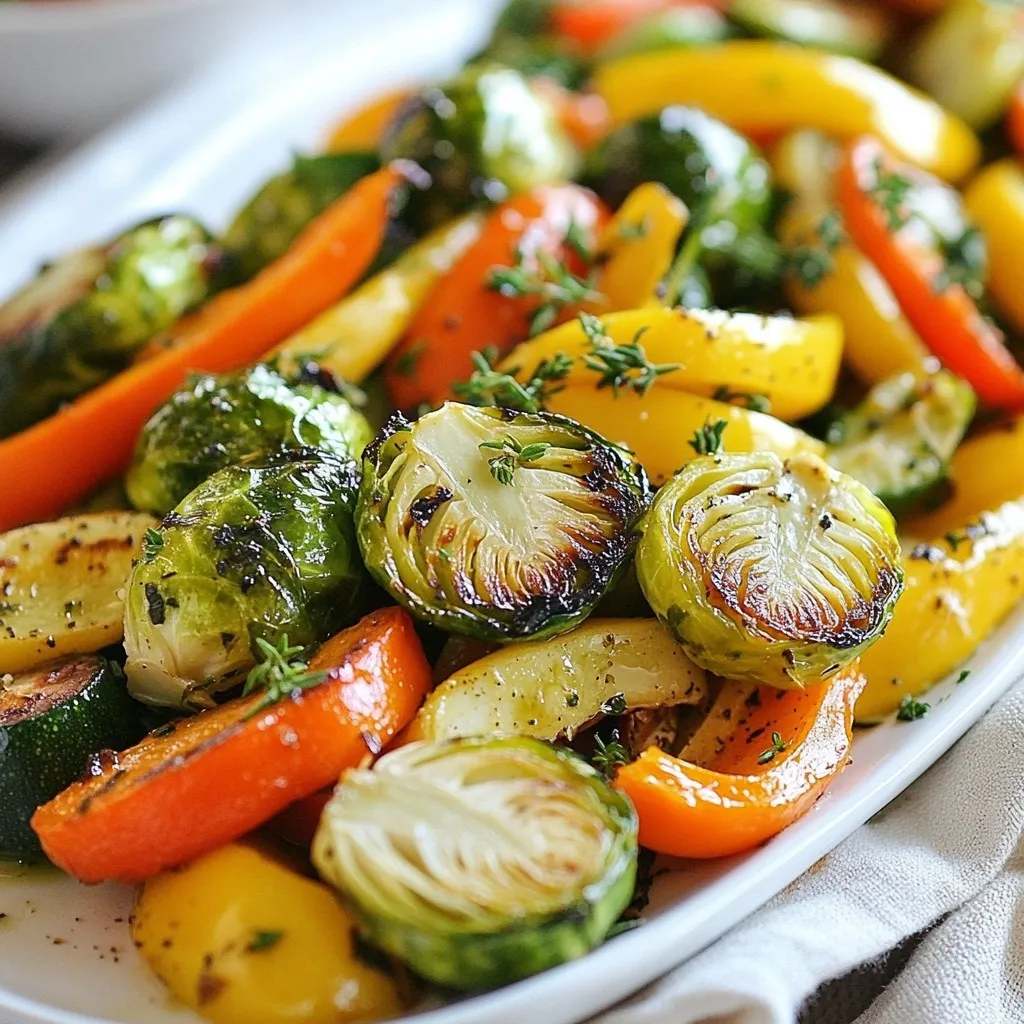
A refreshing and flavorful grilled zucchini dish with lemon and herbs.
A creamy and delicious dip combining chocolate and peanut butter, perfect for dipping graham cracker...

Crispy and flavorful chicken wings coated in garlic and Parmesan, cooked to perfection in an air fry...
A refreshing and healthy wrap filled with spinach, strawberries, chicken, and a tangy yogurt dressin...
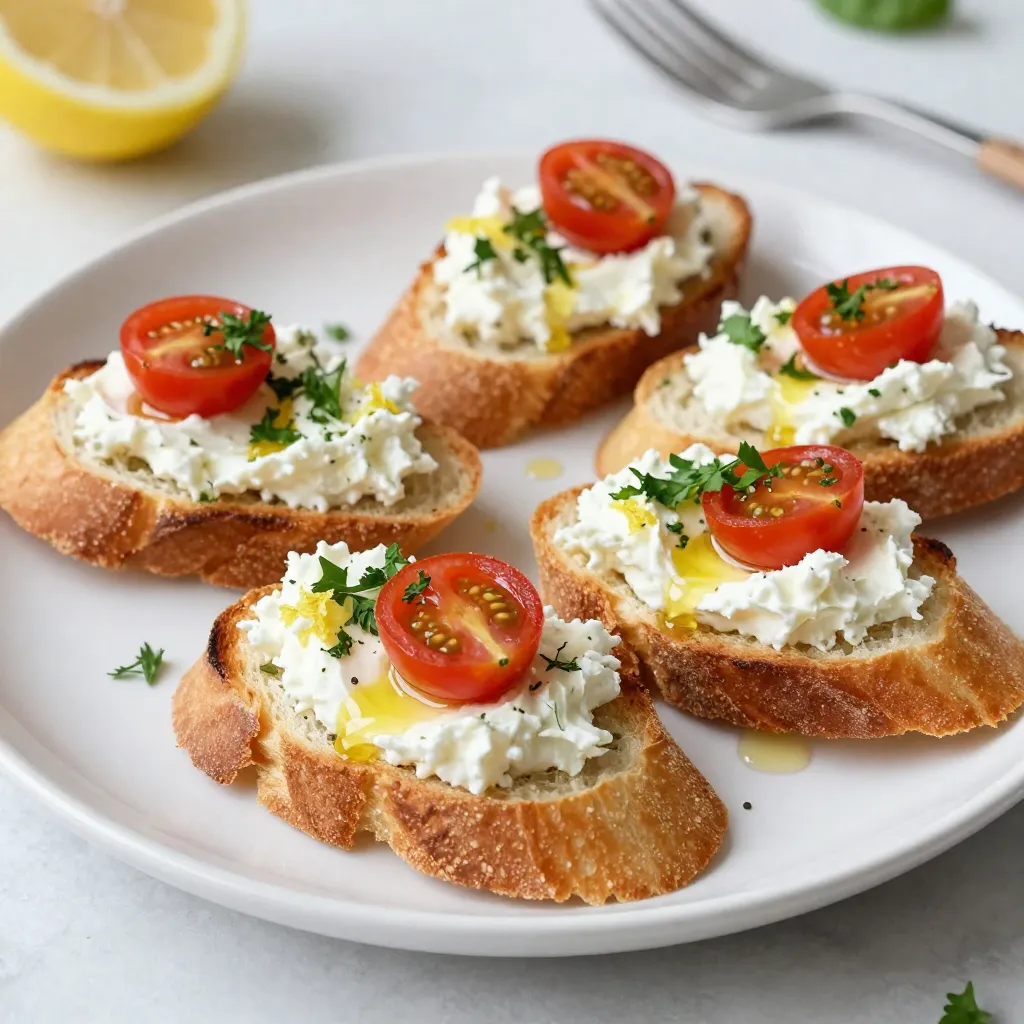
A delightful appetizer featuring toasted baguette slices topped with a creamy lemon herb ricotta mix...