WANT TO SAVE THIS RECIPE?
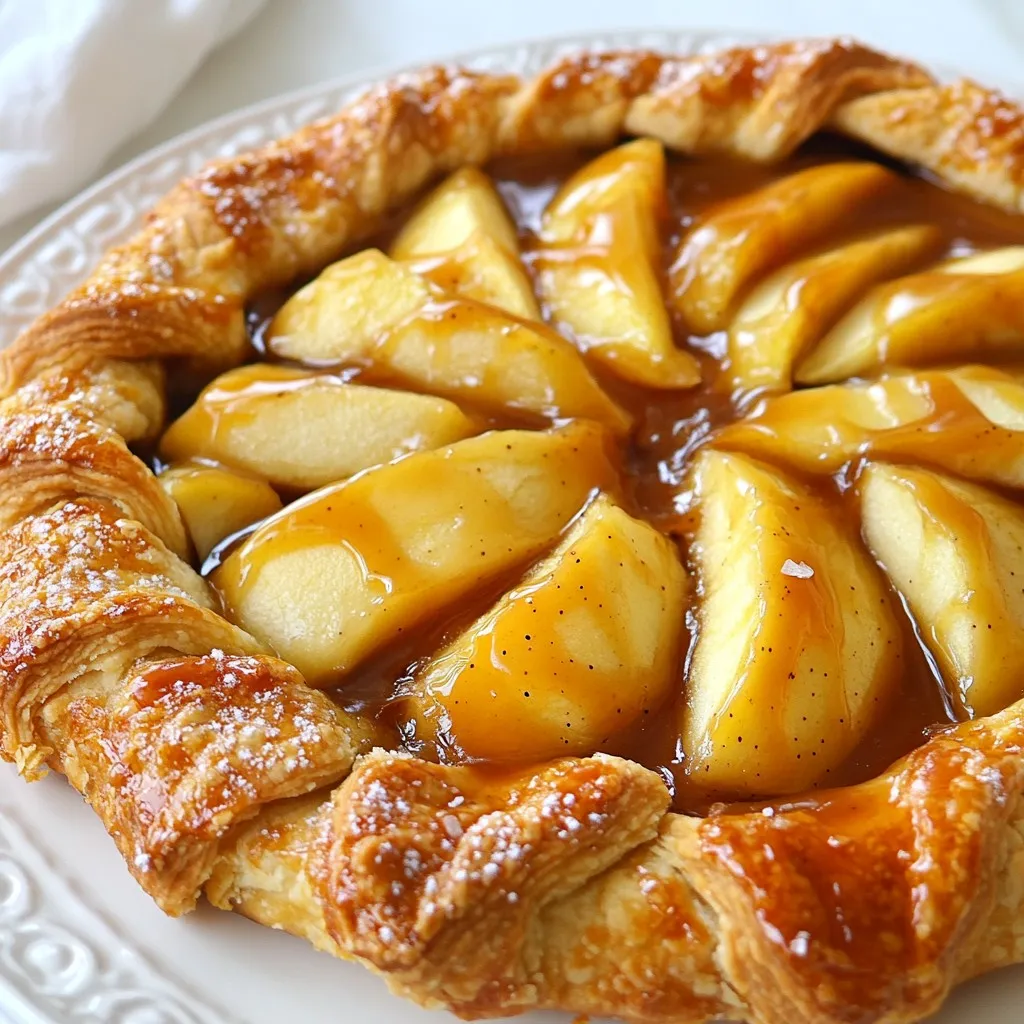
Are you ready to whip up a sweet treat that impresses? A Caramel Apple Galette combines crisp, juicy apples and rich caramel in a flaky crust. This delightful dessert is not just tasty; it’s simple to make, too! Join me as I walk you through the essential steps to create this mouthwatering treat. Your friends and family will love it, and so will you! Let’s dive into the goodness!
Why I Love This Recipe
- Delicious Flavor Combination: The tartness of the apples paired with the sweetness of caramel creates a mouthwatering contrast that is simply irresistible.
- Rustic Charm: The galette’s free-form design gives it a rustic, homemade feel that is perfect for casual gatherings or holiday celebrations.
- Easy to Prepare: This recipe is straightforward, making it accessible for bakers of all skill levels, while still impressing guests with its beautiful presentation.
- Versatile Dessert: Serve it warm with ice cream or drizzle with extra caramel for a decadent treat, suitable for any occasion.
Ingredients
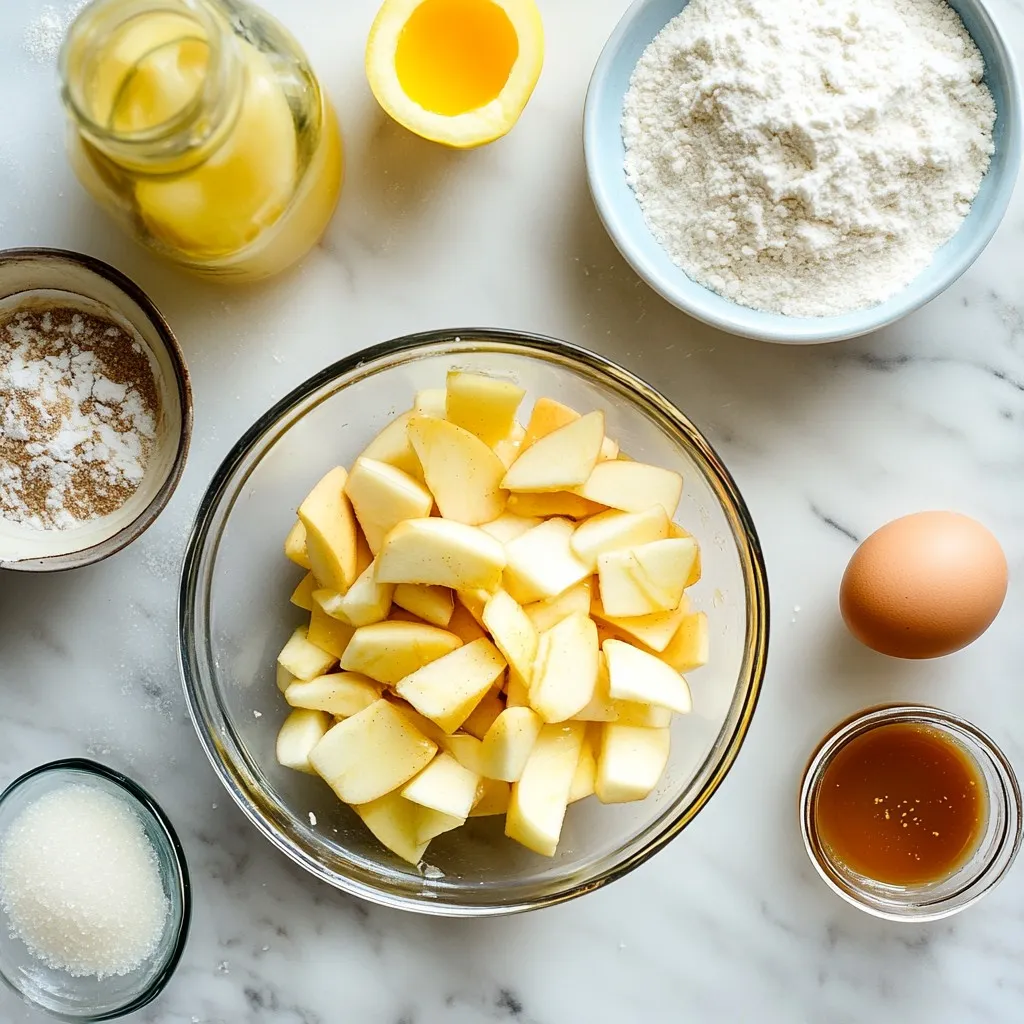
Main Ingredients for the Caramel Apple Galette
– 1 ½ cups all-purpose flour
– ½ cup unsalted butter, chilled and diced
– 3 medium apples (Granny Smith or Honeycrisp), peeled and sliced
– ¼ cup caramel sauce (store-bought or homemade)
Additional Ingredients
– 1 tablespoon sugar
– ¼ cup brown sugar
– 1 tablespoon lemon juice
– 1 teaspoon cinnamon
– ½ teaspoon sea salt
Egg Wash and Optional Serving Suggestions
– 1 beaten egg
– Vanilla ice cream for serving

Step-by-Step Instructions
Preparing the Dough
– Mixing dry ingredients: Start by taking a mixing bowl. Add 1 ½ cups of all-purpose flour, ½ teaspoon of salt, and 1 tablespoon of sugar. Stir them together with a whisk. This mix creates the base of your dough.
– Incorporating butter: Next, take ½ cup of chilled, diced unsalted butter. Add it to the dry mix. Use a pastry cutter or your fingers to mix until it looks like coarse crumbs. This step adds flavor and flakiness.
– Forming the dough: Slowly add 4 to 5 tablespoons of ice water, one tablespoon at a time. Mix gently until the dough holds together. Shape the dough into a disk, wrap it in plastic wrap, and chill in the fridge for at least 30 minutes.
Preparing the Apple Filling
– Slicing and seasoning apples: While your dough chills, take 3 medium apples. I prefer Granny Smith or Honeycrisp for their tartness. Peel them and slice them thinly. In a bowl, toss the slices with 1 tablespoon of lemon juice, 1 teaspoon of cinnamon, and ¼ cup of brown sugar.
– Letting the mixture rest: Allow the apple mixture to sit for about 15 minutes. This time helps the flavors blend together. It also allows the apples to release some juice, which adds flavor.
Assembling the Galette
– Rolling out the dough: After chilling, sprinkle flour on your surface. Roll out the dough into a rough circle, about 12 inches in diameter. Make sure it’s not too thick. Transfer the dough to a lined baking sheet.
– Arranging apple slices: Place the apple slices in the center of the dough, leaving about a 2-inch border. Drizzle ¼ cup of caramel sauce over the apples for that sweet touch.
– Folding and finishing touches: Fold the edges of the dough over the apples. Pleat the dough as needed to create a rustic look. This step helps keep the apples snug and makes it pretty.
Baking the Galette
– Preheating the oven: Preheat your oven to 400°F (200°C). This step ensures the galette cooks evenly. Line a baking sheet with parchment paper to avoid sticking.
– Baking instructions: Bake the galette for 30 to 35 minutes. Look for tender apples and a golden-brown crust. The smell of cinnamon and caramel will fill your kitchen, making it hard to wait!
– Cooling before serving: Once baked, let the galette cool slightly. This step helps set the filling. Serve it warm, and feel free to drizzle more caramel sauce on top for extra sweetness.
Tips & Tricks
Ensuring a Flaky Crust
Chilled ingredients are key for a flaky crust. Use cold butter and ice water. This keeps the fat from melting before baking, which helps create layers. Mix the dough lightly. Overworking it can make the crust tough. Use a pastry cutter or your fingers to blend. You want it to look like coarse crumbs before adding water. Be gentle and stop mixing when it just comes together. Then, shape it into a disk and chill.
Perfecting the Apple Filling
Choosing the right apples makes a big difference. I like using Granny Smith or Honeycrisp. These apples have the right mix of sweetness and tartness. This balance keeps the filling bright and fresh. To enhance flavor, toss the apples with lemon juice and cinnamon. The lemon juice adds a nice zing. Let the mixture sit for about 15 minutes to let the flavors blend.
Serving Suggestions
Serving your galette warm is a must. It pairs beautifully with vanilla ice cream. The cold ice cream contrasts with the warm galette. You can also drizzle extra caramel sauce on top. This boosts the sweet flavor and adds a lovely shine. A sprinkle of sea salt on the caramel can enhance the taste even more. Enjoy every bite!
Pro Tips
- Chill Your Ingredients: Make sure your butter is very cold, and consider chilling the flour as well. This helps create a flakier crust.
- Apple Selection: Use a mix of sweet and tart apples for a more complex flavor profile. Granny Smith and Honeycrisp are perfect together!
- Prevent Soggy Crust: To avoid a soggy bottom, consider sprinkling a thin layer of cornstarch or flour on the dough before adding the apples.
- Rest the Dough: Allowing the dough to rest in the refrigerator not only makes it easier to roll out but also improves the texture of the finished crust.
Variations
Flavor Combinations
You can add fun flavors to your galette. Adding nuts like walnuts or pecans gives a nice crunch. Chop them finely and sprinkle them over the apples before baking. This adds texture and taste.
You can also use spices. Nutmeg and allspice enhance the apple flavor. Just a pinch of either spice can change the taste. Mix these spices with the apples for a new depth of flavor.
Alternative Toppings
When serving your galette, try different toppings. Whipped cream adds a light and fluffy touch. You can use store-bought or make your own.
You can also switch up the sauces. Chocolate sauce drizzled over the galette adds richness. Berry sauce gives a tart contrast. Both options bring fresh excitement to each slice.
Dietary Adjustments
If you need gluten-free options, swap the all-purpose flour for a gluten-free blend. Many blends work well in baking. Just check the package for the best results.
For vegan options, replace the butter with coconut oil or vegan butter. Use a flax egg instead of the beaten egg for the crust. These changes keep the galette tasty while meeting your dietary needs.
Storage Info
How to Store Leftovers
To keep your caramel apple galette fresh, place it in the fridge. Use an airtight container or wrap it tightly in plastic wrap. This helps prevent the galette from drying out. You can store it in the fridge for up to three days. If you want to keep it longer, freezing is a great option.
Reheating Tips
When it’s time to enjoy your galette again, reheating is key. Preheat your oven to 350°F (175°C). Place the galette on a baking sheet and cover it lightly with foil. This keeps the crust from burning. Heat for about 10-15 minutes, or until warm. The crust will stay crispy this way, which is what we all want!
Freezing Instructions
If you want to freeze your galette, freeze it unbaked. Wrap the assembled galette in plastic wrap and then foil. This protects it from freezer burn. You can freeze it for up to three months. To bake a frozen galette, remove it from the freezer. Thaw it in the fridge for a few hours. Then, bake it as directed in the recipe, adding a few extra minutes for baking time. Enjoy the warm, delicious flavors!
FAQs
What is a galette?
A galette is a free-form pastry. It has roots in France, where it was made for many years. It is often round and rustic. Unlike pie, it does not need a pie pan. You roll out the dough, place the filling in the center, and fold the edges. This makes it easier and fun to prepare.
Can I use other fruit for galette?
Yes, you can use many fruits for galette. Some great options include:
– Pears
– Peaches
– Berries (like blueberries or raspberries)
– Plums
These fruits add their own unique flavor and texture. You can mix fruits too for a fun twist. Just keep the same steps for the filling when preparing.
How do I know when the galette is done?
The galette is done when the apples are tender and the crust is golden brown. Here are some key signs to check for:
– The edges of the crust should look golden and crisp.
– The apples inside should be soft enough to pierce with a fork.
– You can also smell a sweet aroma as it bakes.
These signs show that your galette is ready to enjoy!
In this post, we explored how to make a caramel apple galette. You learned about the key ingredients, from flour to apples and caramel. The step-by-step guide made the process easy, from mixing dough to baking. I shared useful tips for a flaky crust and perfect apple filling. We discussed fun variations and how to store leftovers.
This galette is tasty and simple, perfect for any dessert lover. Enjoy creating your ow
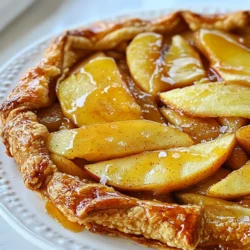
Caramel Apple Galette
A delicious rustic dessert featuring caramel-drizzled apples in a flaky crust.
Prep Time 30 minutes mins
Cook Time 35 minutes mins
Total Time 1 hour hr 5 minutes mins
Course Dessert
Cuisine American
Servings 8
Calories 250 kcal
- 1.5 cups all-purpose flour
- 0.5 teaspoon salt
- 1 tablespoon sugar
- 0.5 cup unsalted butter, chilled and diced
- 4 tablespoons ice water
- 3 medium apples (such as Granny Smith or Honeycrisp), peeled and sliced
- 1 tablespoon lemon juice
- 1 teaspoon cinnamon
- 0.25 cup brown sugar
- 0.25 cup caramel sauce (store-bought or homemade)
- 1 egg beaten (for egg wash)
- Sea salt, for sprinkling
In a mixing bowl, combine the flour, salt, and sugar. Add the chilled butter and mix with a pastry cutter or your fingers until the mixture resembles coarse crumbs.
Gradually add ice water, one tablespoon at a time, mixing until the dough comes together. Shape the dough into a disk, wrap in plastic wrap, and refrigerate for at least 30 minutes.
Preheat the oven to 400°F (200°C). Line a baking sheet with parchment paper.
In another bowl, toss the sliced apples with lemon juice, cinnamon, and brown sugar. Let it sit for about 15 minutes to allow the flavors to meld.
Roll out the chilled dough on a floured surface into a rough circle about 12 inches in diameter. Transfer it to the prepared baking sheet.
Carefully arrange the sliced apples in the center of the dough, leaving a 2-inch border. Drizzle caramel sauce over the apples.
Fold the edges of the dough over the apples, pleating it as necessary to create a rustic edge.
Brush the exposed dough with beaten egg and sprinkle with a pinch of sea salt.
Bake for 30-35 minutes or until the apples are tender and the crust is golden brown.
Allow cooling slightly before serving. Drizzle additional caramel sauce on top if desired.
Serve warm with a scoop of vanilla ice cream on the side for an extra indulgent treat, and drizzle more caramel sauce for added sweetness.
Keyword apple, caramel, dessert, galette
WANT TO SAVE THIS RECIPE?