Latest & Greatest
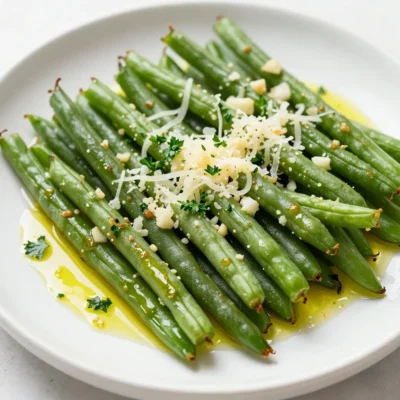
Garlic Parmesan Air Fryer Green Beans Tasty Treat
Looking for a quick and tasty side dish? You’ll love these Garlic Parmesan Air Fryer Green Beans! They’re easy to
Read more…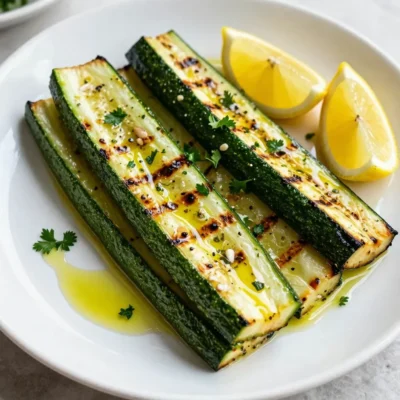
Lemon Herb Grilled Zucchini Perfectly Grilled Delight
Grilling season is here, and nothing captures summer better than Lemon Herb Grilled Zucchini. This quick dish bursts with fresh
Read more…
Chocolate Peanut Butter Cheesecake Dip Irresistible Treat
Get ready to satisfy your sweet tooth with my Chocolate Peanut Butter Cheesecake Dip! This dessert combines rich chocolate and
Read more…
Air Fryer Garlic Parmesan Wings Tasty and Simple Recipe
If you’re craving a tasty snack, these Air Fryer Garlic Parmesan Wings are the answer! This simple recipe combines juicy
Read more…
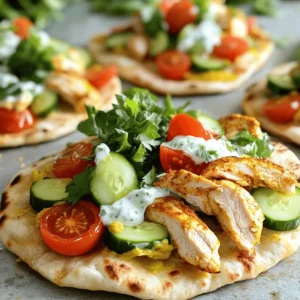
Strawberry Spinach Chicken Wraps Easy and Fresh Meal
Looking for a fresh and easy meal? My Strawberry Spinach Chicken Wraps are just what you need! These wraps burst
Read more…
Lemon Herb Ricotta Crostini Simple and Fresh Starter
Looking for a fresh and simple starter that wows guests? Try my Lemon Herb Ricotta Crostini! This dish combines creamy
Read more…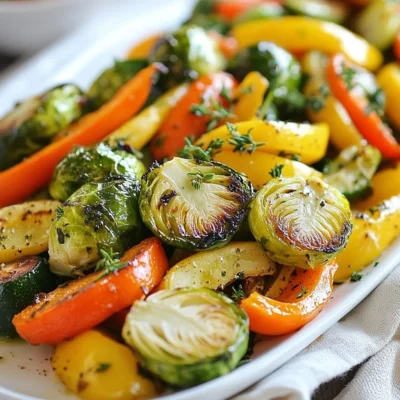
Garlic Herb Butter Roasted Vegetables Tasty Treat
Ready to elevate your veggie game? My Garlic Herb Butter Roasted Vegetables will do just that! With a mix of
Read more…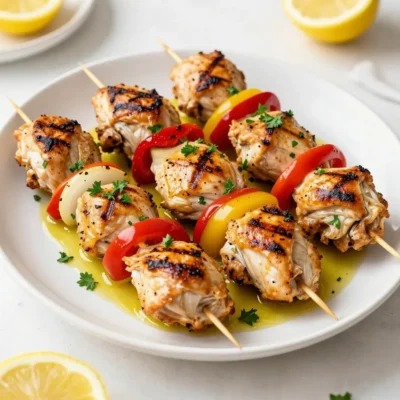
Greek Lemon Chicken Kebabs Flavorful and Easy Recipe
Are you ready to impress your friends and family with a tasty meal? My Greek Lemon Chicken Kebabs are not
Read more…browse recipes
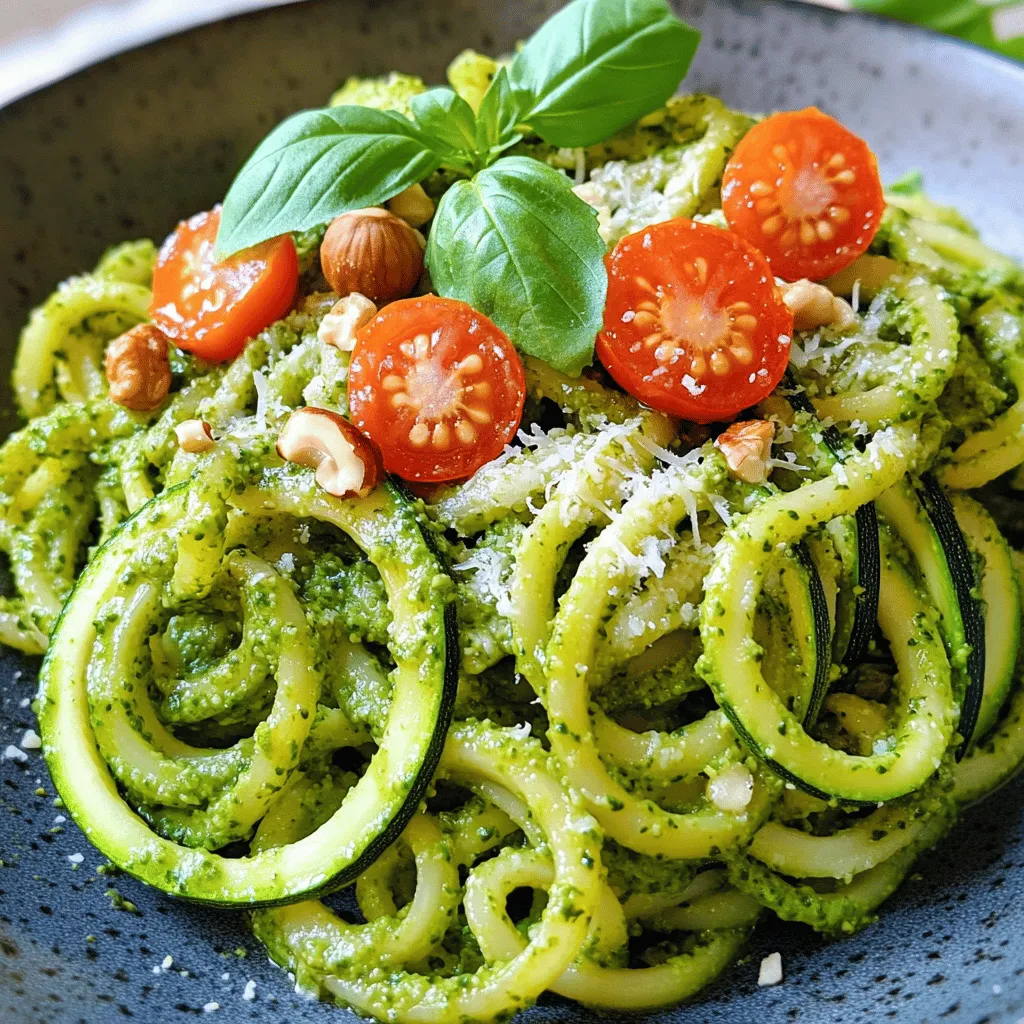
Zucchini Pesto Pasta Fresh and Flavorful Delight
Are you ready to elevate your pasta game? Zucchini Pesto Pasta is a fresh and flavorful delight that’s easy to make. With just a…
My Latest Desserts
My Latest Recipes

hey,
i’m !
I’m so happy you’re here!
Cooking is my love language, and I’m excited to share my best dishes with you. Hope they become your favorites too! Let’s enjoy every bite of this journey together.
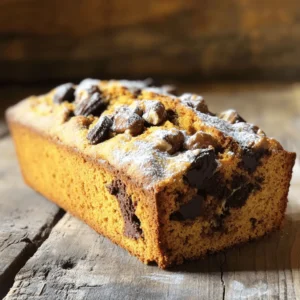
![This recipe uses simple ingredients you may already have. Here’s what you need: - 3 ripe bananas, mashed - 1/3 cup melted butter - 1 teaspoon vanilla extract - 1 teaspoon baking soda - A pinch of salt - 3/4 cup sugar (can reduce to 1/2 cup for less sweetness) - 1 large egg, beaten - 1 cup all-purpose flour - 1 tablespoon cinnamon - 1/4 cup brown sugar (for swirl) These core ingredients give your banana bread its rich flavor and moist texture. The ripe bananas are key. They make the bread sweet and soft. While the core ingredients are great, you can add a few optional items to boost flavor. Consider these: - Chopped nuts (like walnuts or pecans) - Chocolate chips for a sweet twist - A dash of nutmeg for warmth These ingredients can make your bread even more special. Feel free to mix and match! If you or someone you know has dietary needs, there are great substitutions: - Use coconut oil instead of butter for a dairy-free option. - Swap the egg for a flaxseed egg if you need it vegan. - Use gluten-free flour if you want to avoid gluten. These swaps keep the recipe flexible and tasty, no matter your needs. For the full recipe, check the section above. Start by preheating your oven to 350°F (175°C). Grease a 9x5 inch loaf pan. In a mixing bowl, mash 3 ripe bananas until smooth. Use a fork for this. Then stir in 1/3 cup of melted butter. Mix it well. Add 1 teaspoon of vanilla extract and 1 teaspoon of baking soda. Don’t forget a pinch of salt. Stir in 3/4 cup of sugar. If you want it less sweet, use 1/2 cup instead. Finally, add 1 beaten egg and mix until smooth. Gradually mix in 1 cup of all-purpose flour. Be careful not to overmix; this keeps your bread soft. In a small bowl, mix 1 tablespoon of cinnamon with 1/4 cup of brown sugar. This will be your swirl mixture. Pour half of the banana batter into the loaf pan. Next, sprinkle half of the cinnamon-brown sugar mix over the batter. Pour the rest of the banana batter on top. Finish by adding the remaining cinnamon-brown sugar mixture. Take a knife or skewer and gently swirl it through the batter. This will create a pretty marbled effect. Now, place the loaf pan in your preheated oven. Bake for 60-65 minutes. Check if it’s done by inserting a toothpick into the center. If it comes out clean, your banana bread is ready. Let the bread cool in the pan for about 10 minutes. Then, transfer it to a wire rack to cool completely. Enjoy your warm cinnamon swirl banana bread! For the full recipe, refer to the ingredient list above. When picking bananas, look for ones that are very ripe. The skin should have brown spots. These spots mean the bananas are sweet and soft. This is perfect for baking. If your bananas are green, wait a few days. Ripe bananas mash easily and add great flavor. Use three bananas for this recipe. One mistake is using cold bananas. Always let them reach room temperature first. Avoid overmixing the batter, as it can make the bread tough. Mix just until the flour disappears. Also, don’t skip the cinnamon-brown sugar swirl. This adds a delicious flavor and a nice look. Lastly, check your oven temperature. An oven that’s too hot can burn the bread. I recommend mixing the wet ingredients first. This includes bananas, butter, and egg. Stir until blended, but don’t overdo it. When adding dry ingredients, fold gently. This keeps the bread soft. Bake your banana bread at 350°F. Use a toothpick to check for doneness. Insert it into the center; it should come out clean. Follow the Full Recipe for the best results. {{image_2}} You can add nuts for a tasty crunch. Chopped walnuts or pecans work great. Mix in about 1/2 cup of nuts into the batter. This adds a nice texture and extra flavor. You can toast the nuts first for a deeper taste. Just be sure to fold them in gently. For a sweet twist, add chocolate chips. Use about 1/2 cup of semi-sweet or dark chips. Mix them into the batter before pouring it into the pan. The chocolate pairs well with the cinnamon swirl. You get a rich, sweet treat that kids and adults love. You can make this bread gluten-free by using almond or coconut flour. Replace the egg with a flaxseed meal. Mix one tablespoon of flaxseed with three tablespoons of water. Let it sit until it thickens. This makes a great binding agent. For a vegan option, substitute the butter with coconut oil or applesauce. Both options keep the bread moist and flavorful. Check the [Full Recipe] for specific instructions. After you bake your cinnamon swirl banana bread, let it cool completely. Once cool, wrap it in plastic wrap or foil. This helps keep it fresh. You can also store it in an airtight container. Place it at room temperature for up to three days. If you want to keep it longer, consider freezing it. To freeze your banana bread, slice it first. This makes it easy to grab a piece later. Wrap each slice in plastic wrap tightly. Then, place the wrapped slices in a freezer bag or container. Label the bag with the date. You can freeze it for up to three months. When you crave a slice, simply thaw it at room temperature or heat it in the microwave. To reheat banana bread, preheat your oven to 350°F (175°C). Place the slice on a baking sheet. Heat it for about 10 minutes. This keeps the bread moist and warm. You can also use the microwave. Heat a slice for 15 to 20 seconds. Just be careful not to overheat it. Enjoy your warm banana bread with a pat of butter or a drizzle of honey. For the full recipe, check out the details earlier. Use bananas that are very ripe for baking. They should have brown spots on the skin. This means they are sweet and soft. Ripe bananas blend easily into the batter. They add moisture and flavor. If your bananas are not ripe, they may not taste as good. Yes, you can use whole wheat flour. It adds a nutty flavor and more fiber. However, it may change the texture. The bread might be denser and less moist. If you want a lighter loaf, mix half whole wheat and half all-purpose flour. This keeps the taste good while adding nutrition. To keep banana bread moist, use ripe bananas. Adding melted butter helps too. After baking, let it cool in the pan for a bit. This keeps steam inside. Wrap the bread in plastic wrap or foil to trap moisture. Store it in a cool place or in the fridge. For longer storage, freeze it. The bread stays fresh and tasty this way. For the full recipe, check the recipe section above. Cinnamon swirl banana bread is a delightful treat. We explored its core and optional ingredients, plus substitutions for diets. I laid out step-by-step instructions to make it easy for you. Tips helped you choose the right bananas and avoid common mistakes. We also looked at fun variations, safe storage, and answered frequently asked questions. Now you can bake your own banana bread with confidence. Enjoy the process and share your delicious results!](https://recipespursuit.com/wp-content/uploads/2025/07/01d1ce29-1d22-433d-bb2c-7a49eae04f42-300x300.webp)

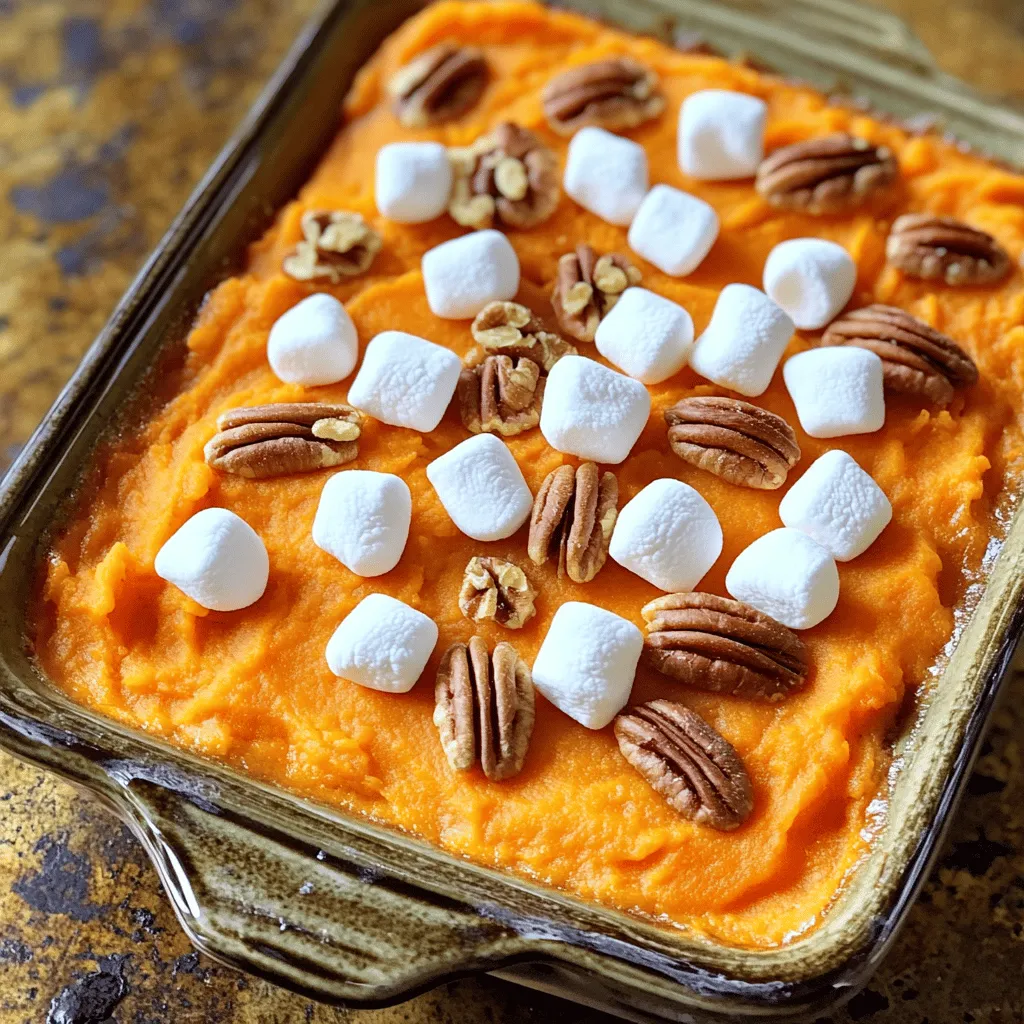
Savory Sweet Potato Casserole with Marshmallow Topping
If you want a dish that’s sweet, creamy, and cozy, look no further! This Savory Sweet Potato Casserole with Marshmallow Topping is the perfect…